Visual Insights Pro's QuickBooks Integration
QuickBooks Online Connector Setup
This guide explains how to configure the QuickBooks Online connector in Visual Insights, including authorization, connection validation, and dataset syncing.
Overview
The QuickBooks Online connector allows Visual Insights to securely access financial data from a customer’s QuickBooks Online account. Once connected, users can import multiple QuickBooks datasets and use them in dashboards and reports.
Prerequisites
Before starting, ensure:
- The QuickBooks Online connector is enabled in Visual Insights
- You have valid QuickBooks Online credentials
- You have permission to authorize third-party applications in QuickBooks
Setup Steps
1. Start the Connection
-
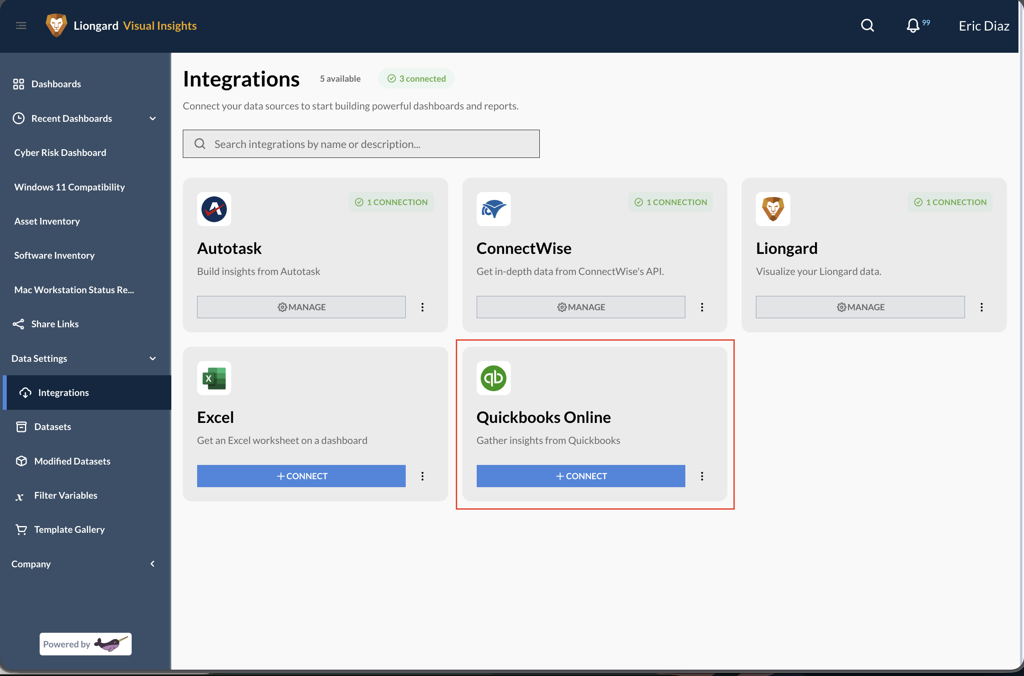
Navigate to the QuickBooks Online connector in Visual Insights.
-
Click Connect to begin the setup process.
2. Sign In to QuickBooks Online
-
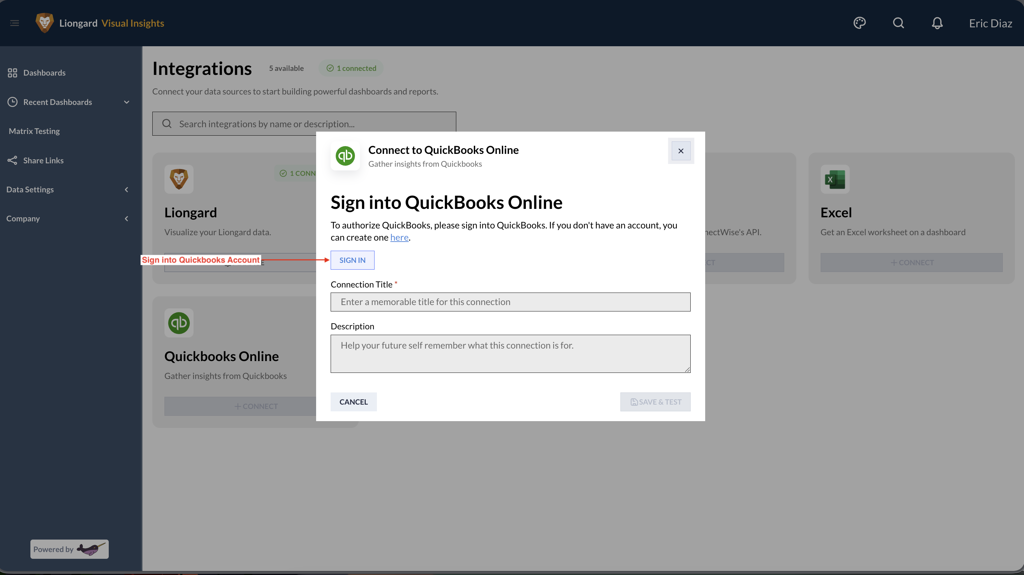
Click Sign In when prompted.
-
You will be redirected to the QuickBooks Online login page.
-
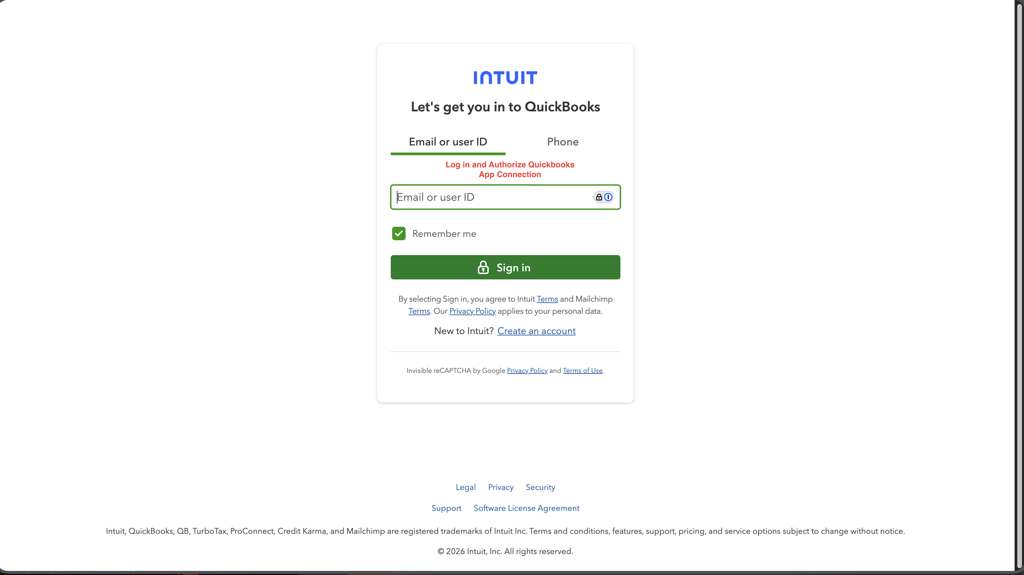
Sign in using your QuickBooks account credentials.
-
Review and approve the authorization request to allow Visual Insights access.
Once authorization is complete, you will be redirected back to Visual Insights.
3. Confirm the Connection
-
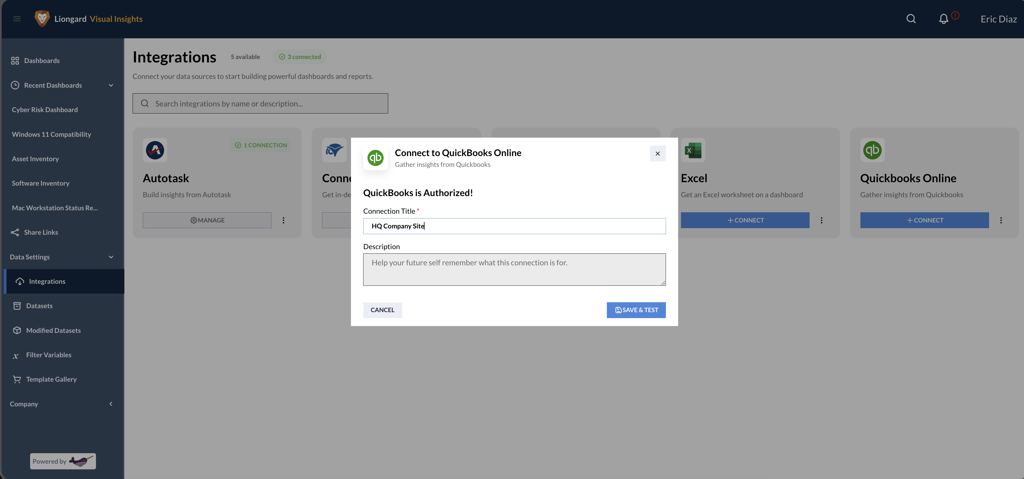
After returning to Visual Insights, the connector will appear as authorized.
-
Click Save and Test to validate the connection.
-
A successful test confirms the connector is properly set up.
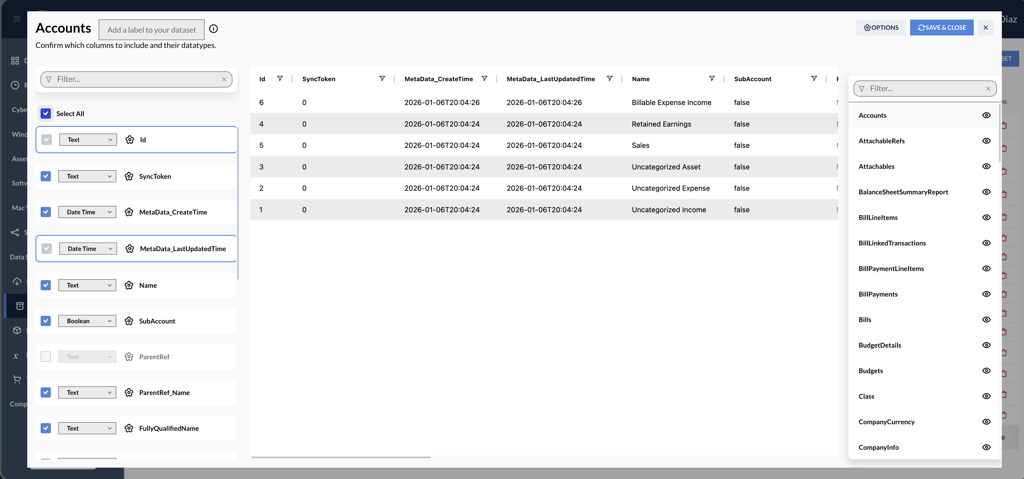
4. Sync QuickBooks Datasets
-
Click Sync Dataset.
-
Visual Insights will display all available datasets pulled from QuickBooks Online.
-
Select the datasets you want to import.
-
Complete the sync to make the data available for dashboards and reporting.