Slack
This document provides the steps required to configure the Slack Inspector.
Quick DetailsRecommended Agent: On-Demand
Supported Agents: On-Demand or Self-Manged
Is Auto-Discovered By: N/A
Can Auto-Discover: N/A
Parent/Child Type Inspector: No
Inspection via: API
Data Summary: Here
Overview
Liongard's Slack Inspector pulls information about a specific Slack workspace into Liongard.
See it in Action
Inspector Setup Preparation
1. Configure the Slack App
The Slack Inspector currently requires a single-workspace Slack app to be installed in the workspace that is to be inspected.
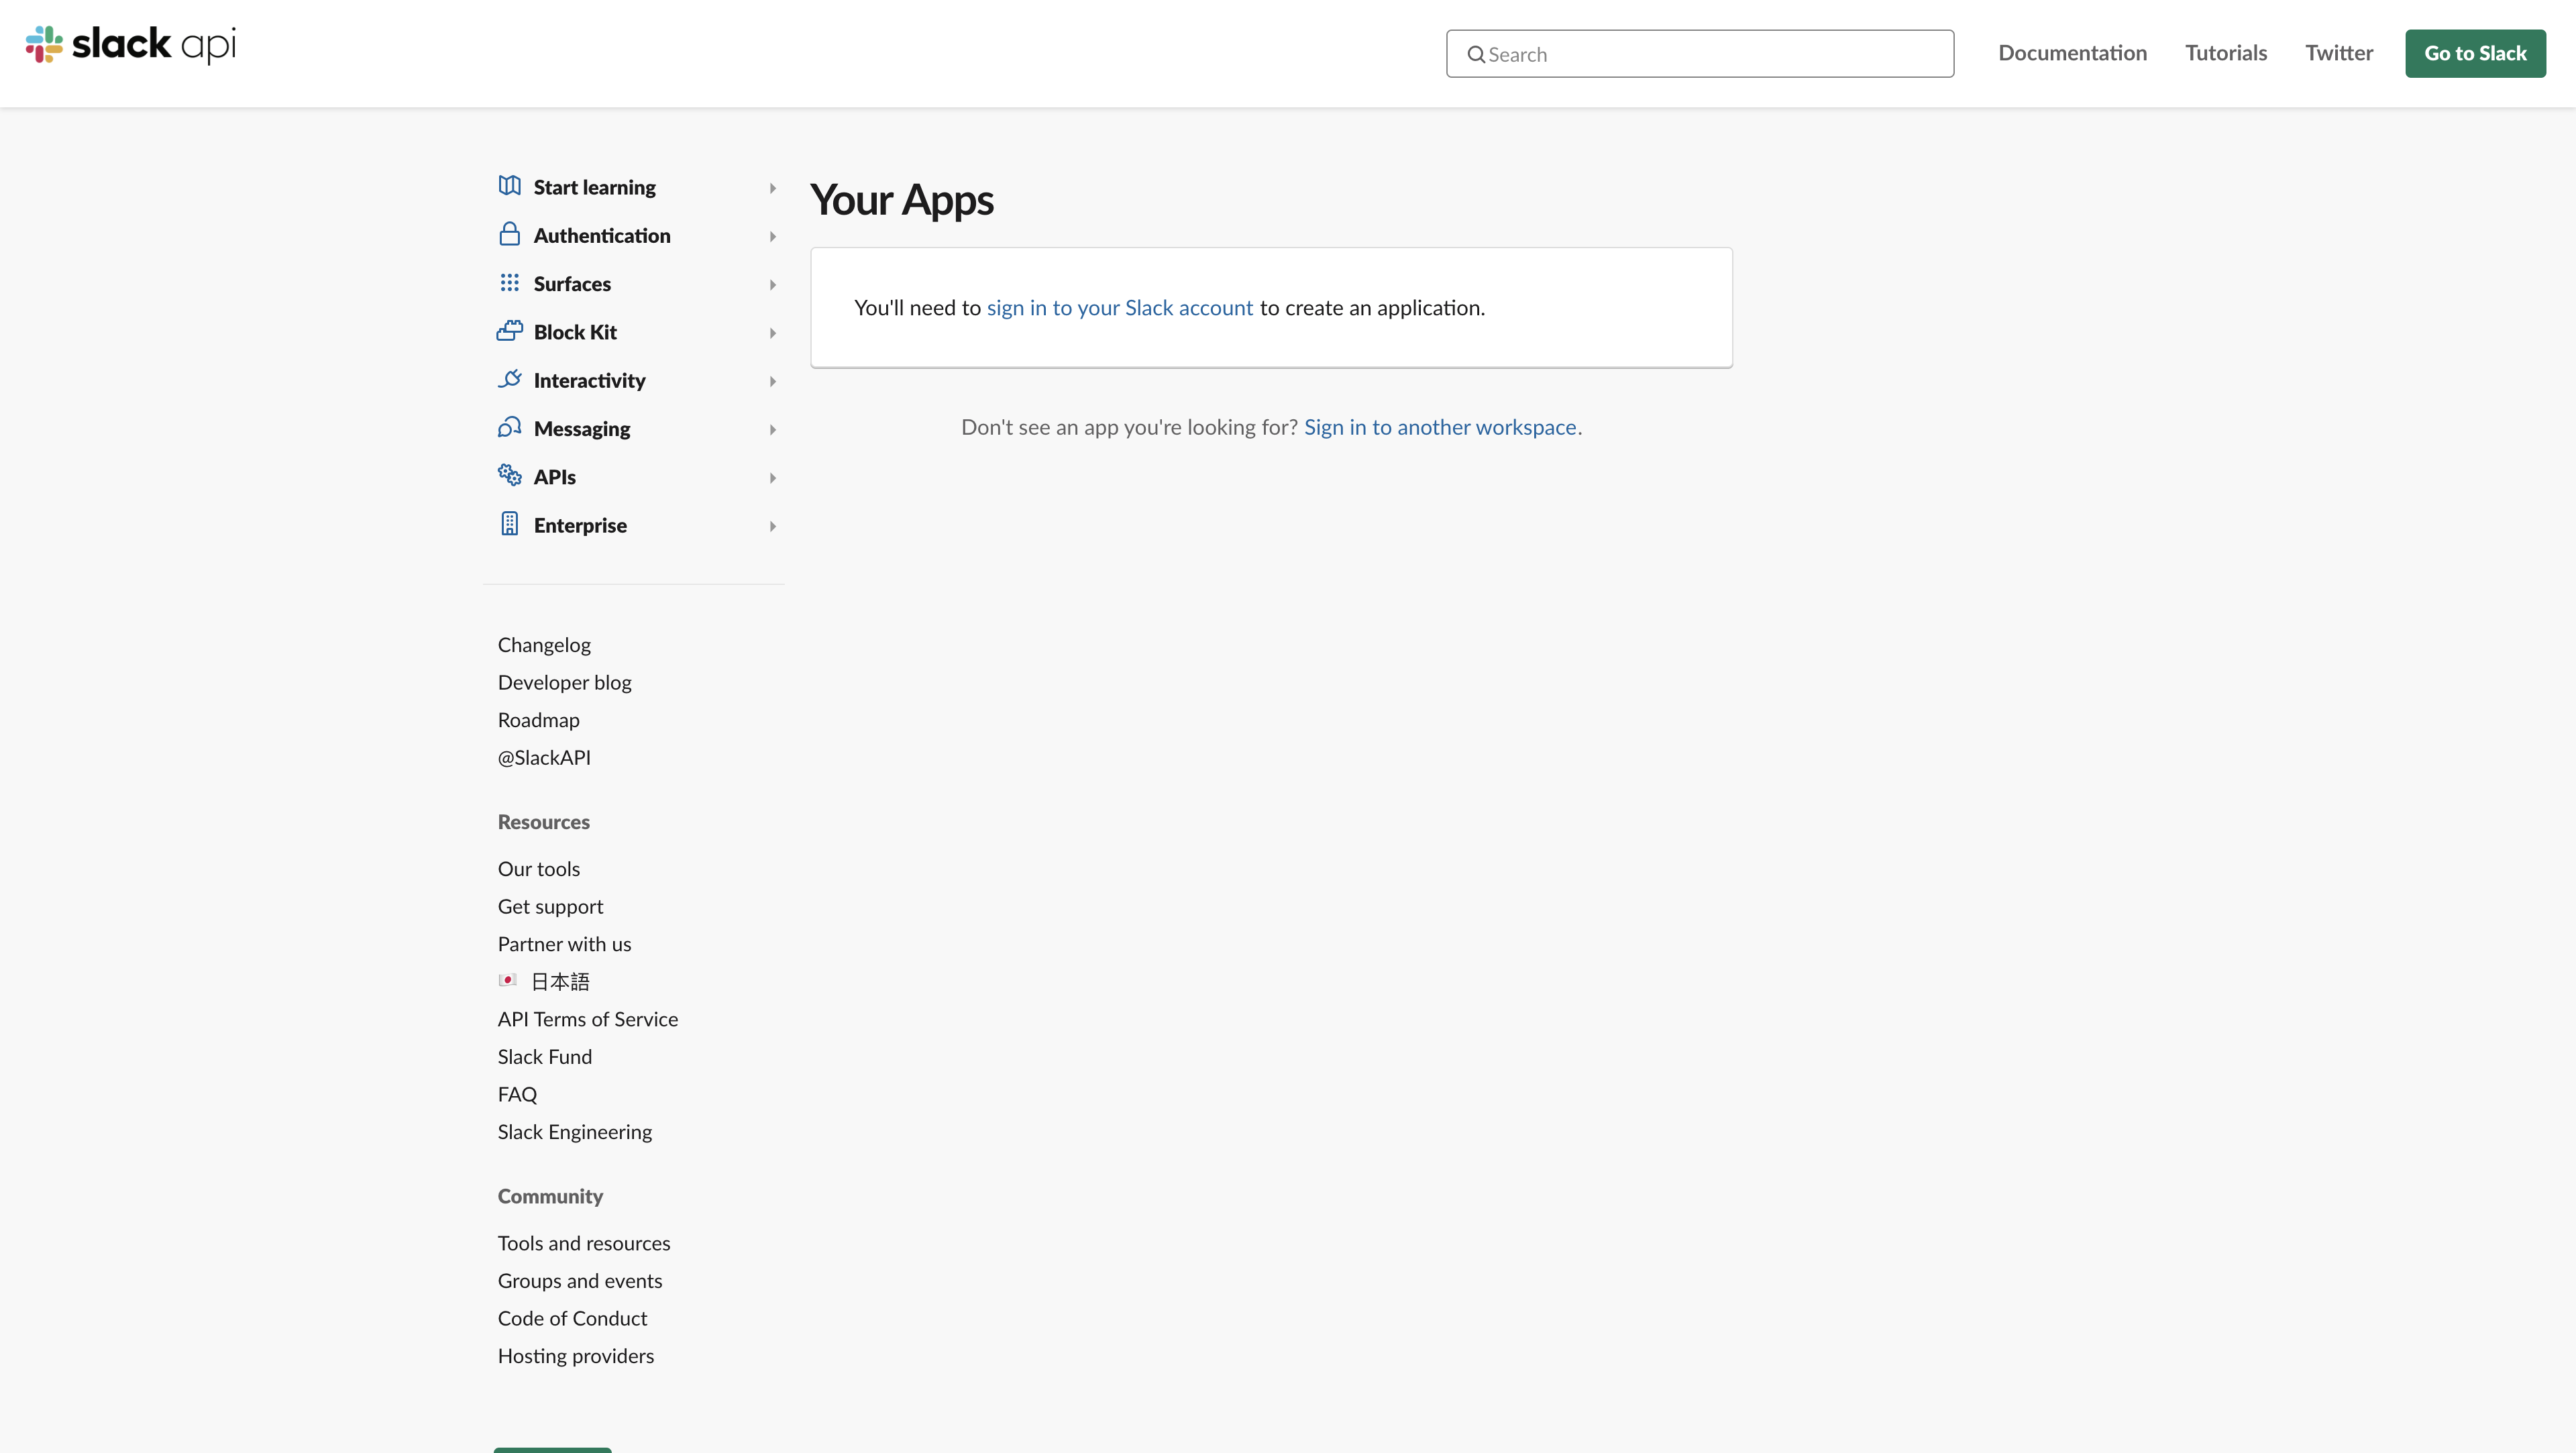
- Navigate to https://api.slack.com/apps and sign in to your Slack account. This account must be a workspace administrator for the to-be-inspected workspace.
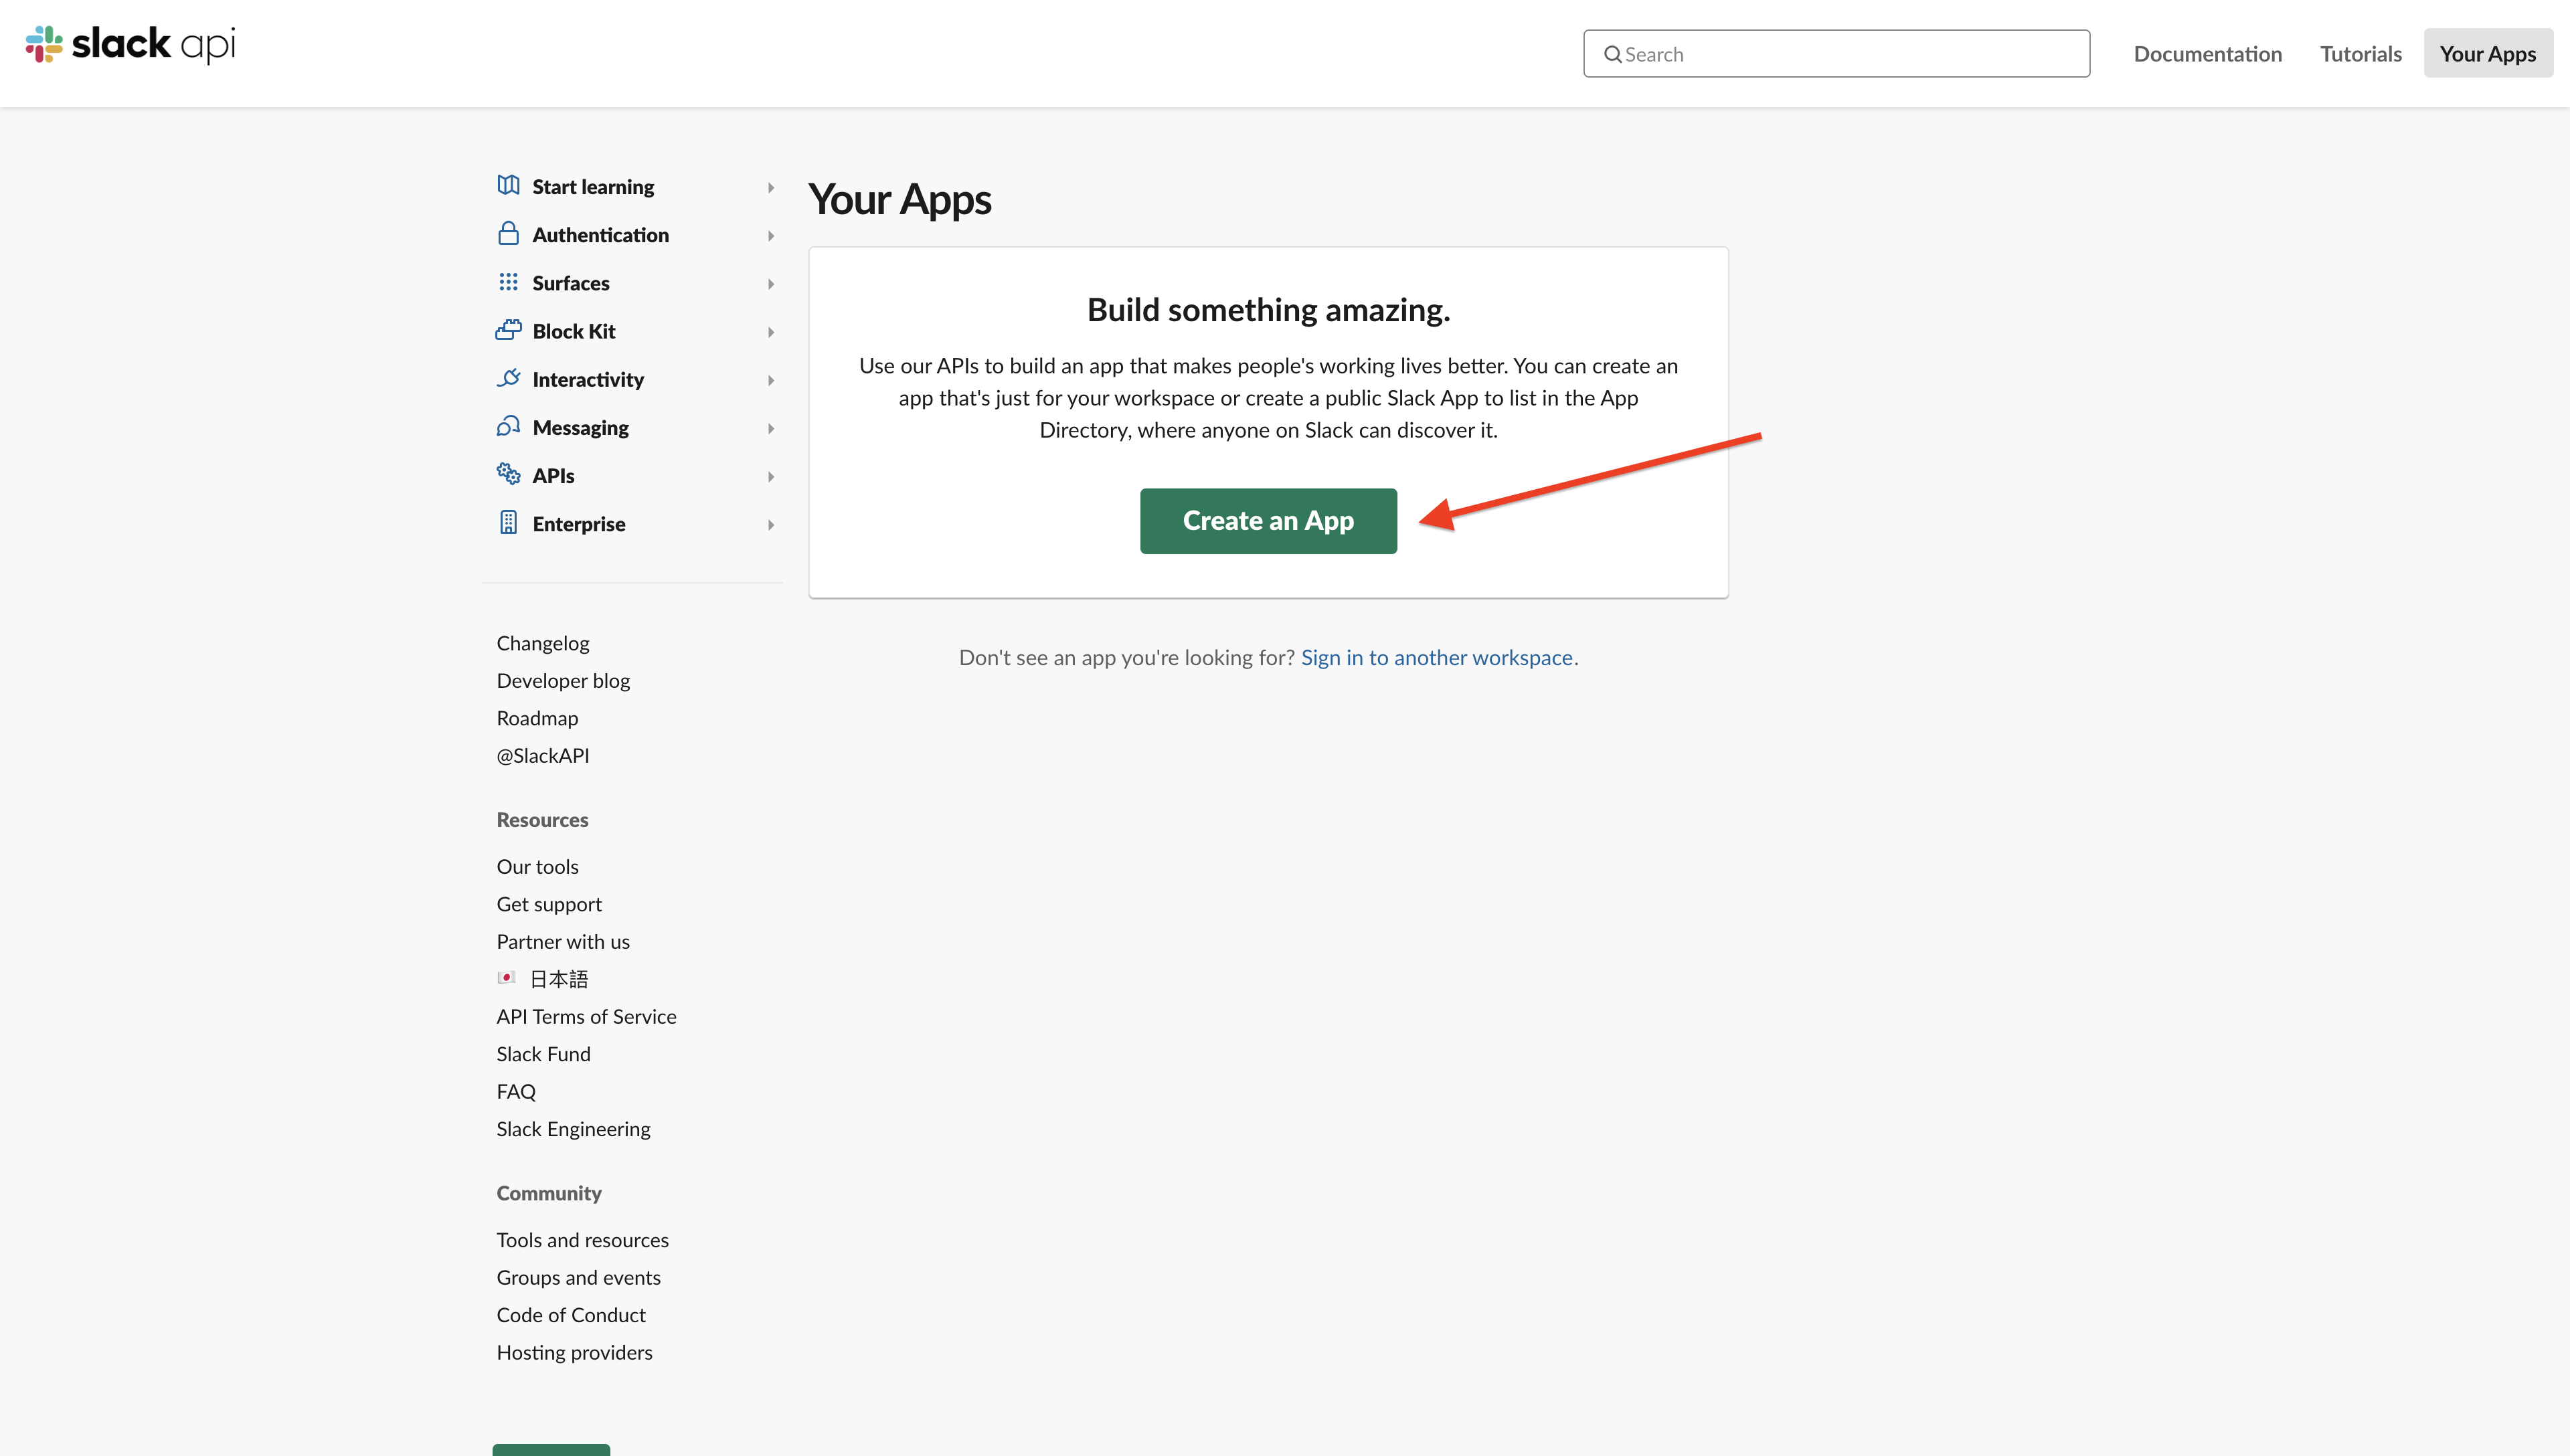
- Once you've logged in, click Create an App.
-
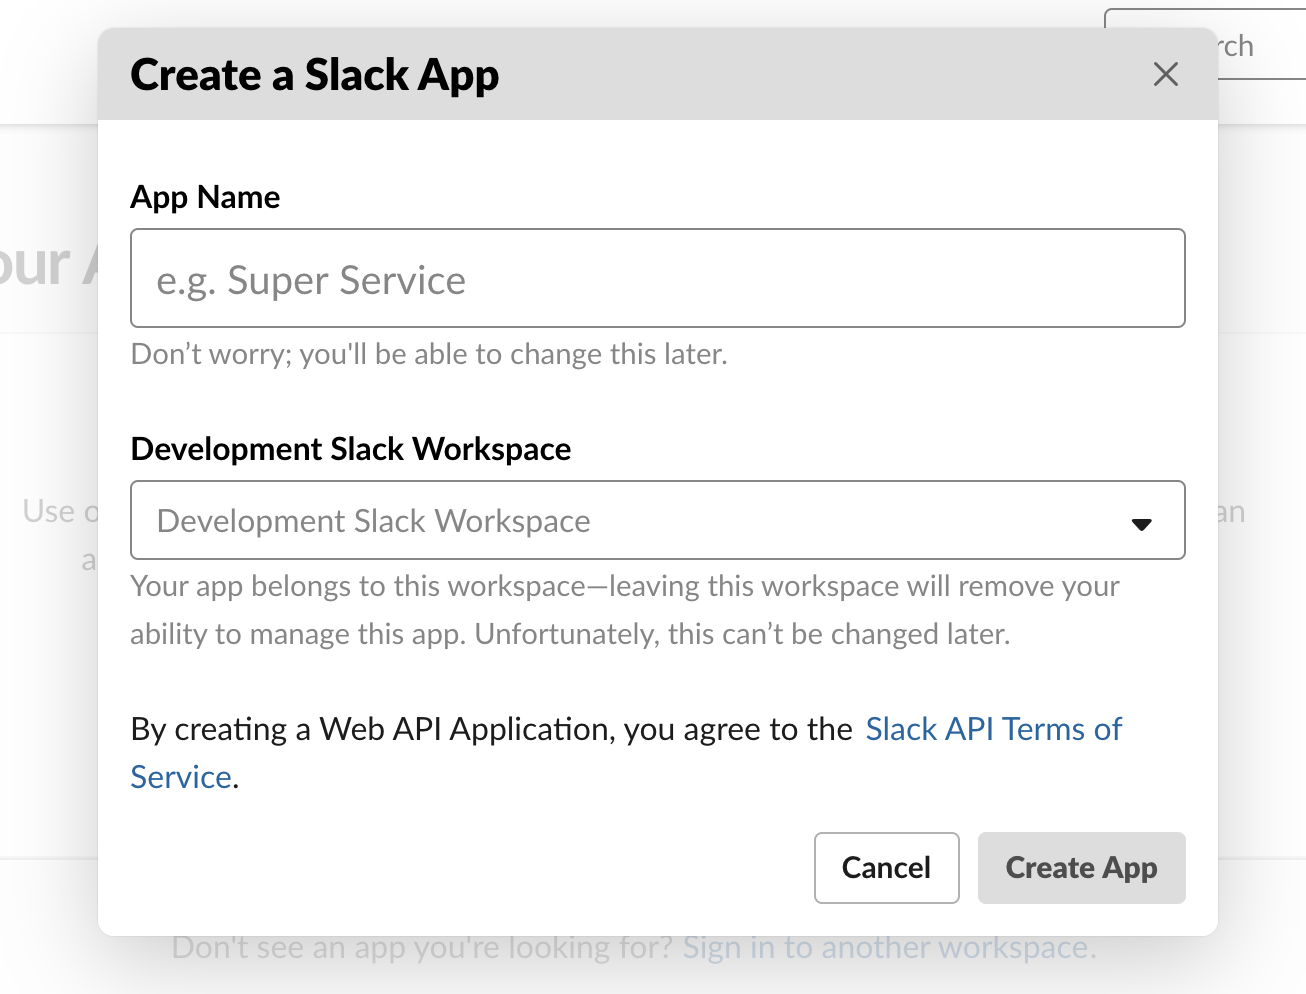
Under App Name, enter a name that will help you identify this app (e.g. 'liongard-slack-inspector')
-
Under Development Slack Workspace, select the workspace you want to inspect. Finally, click Create App.
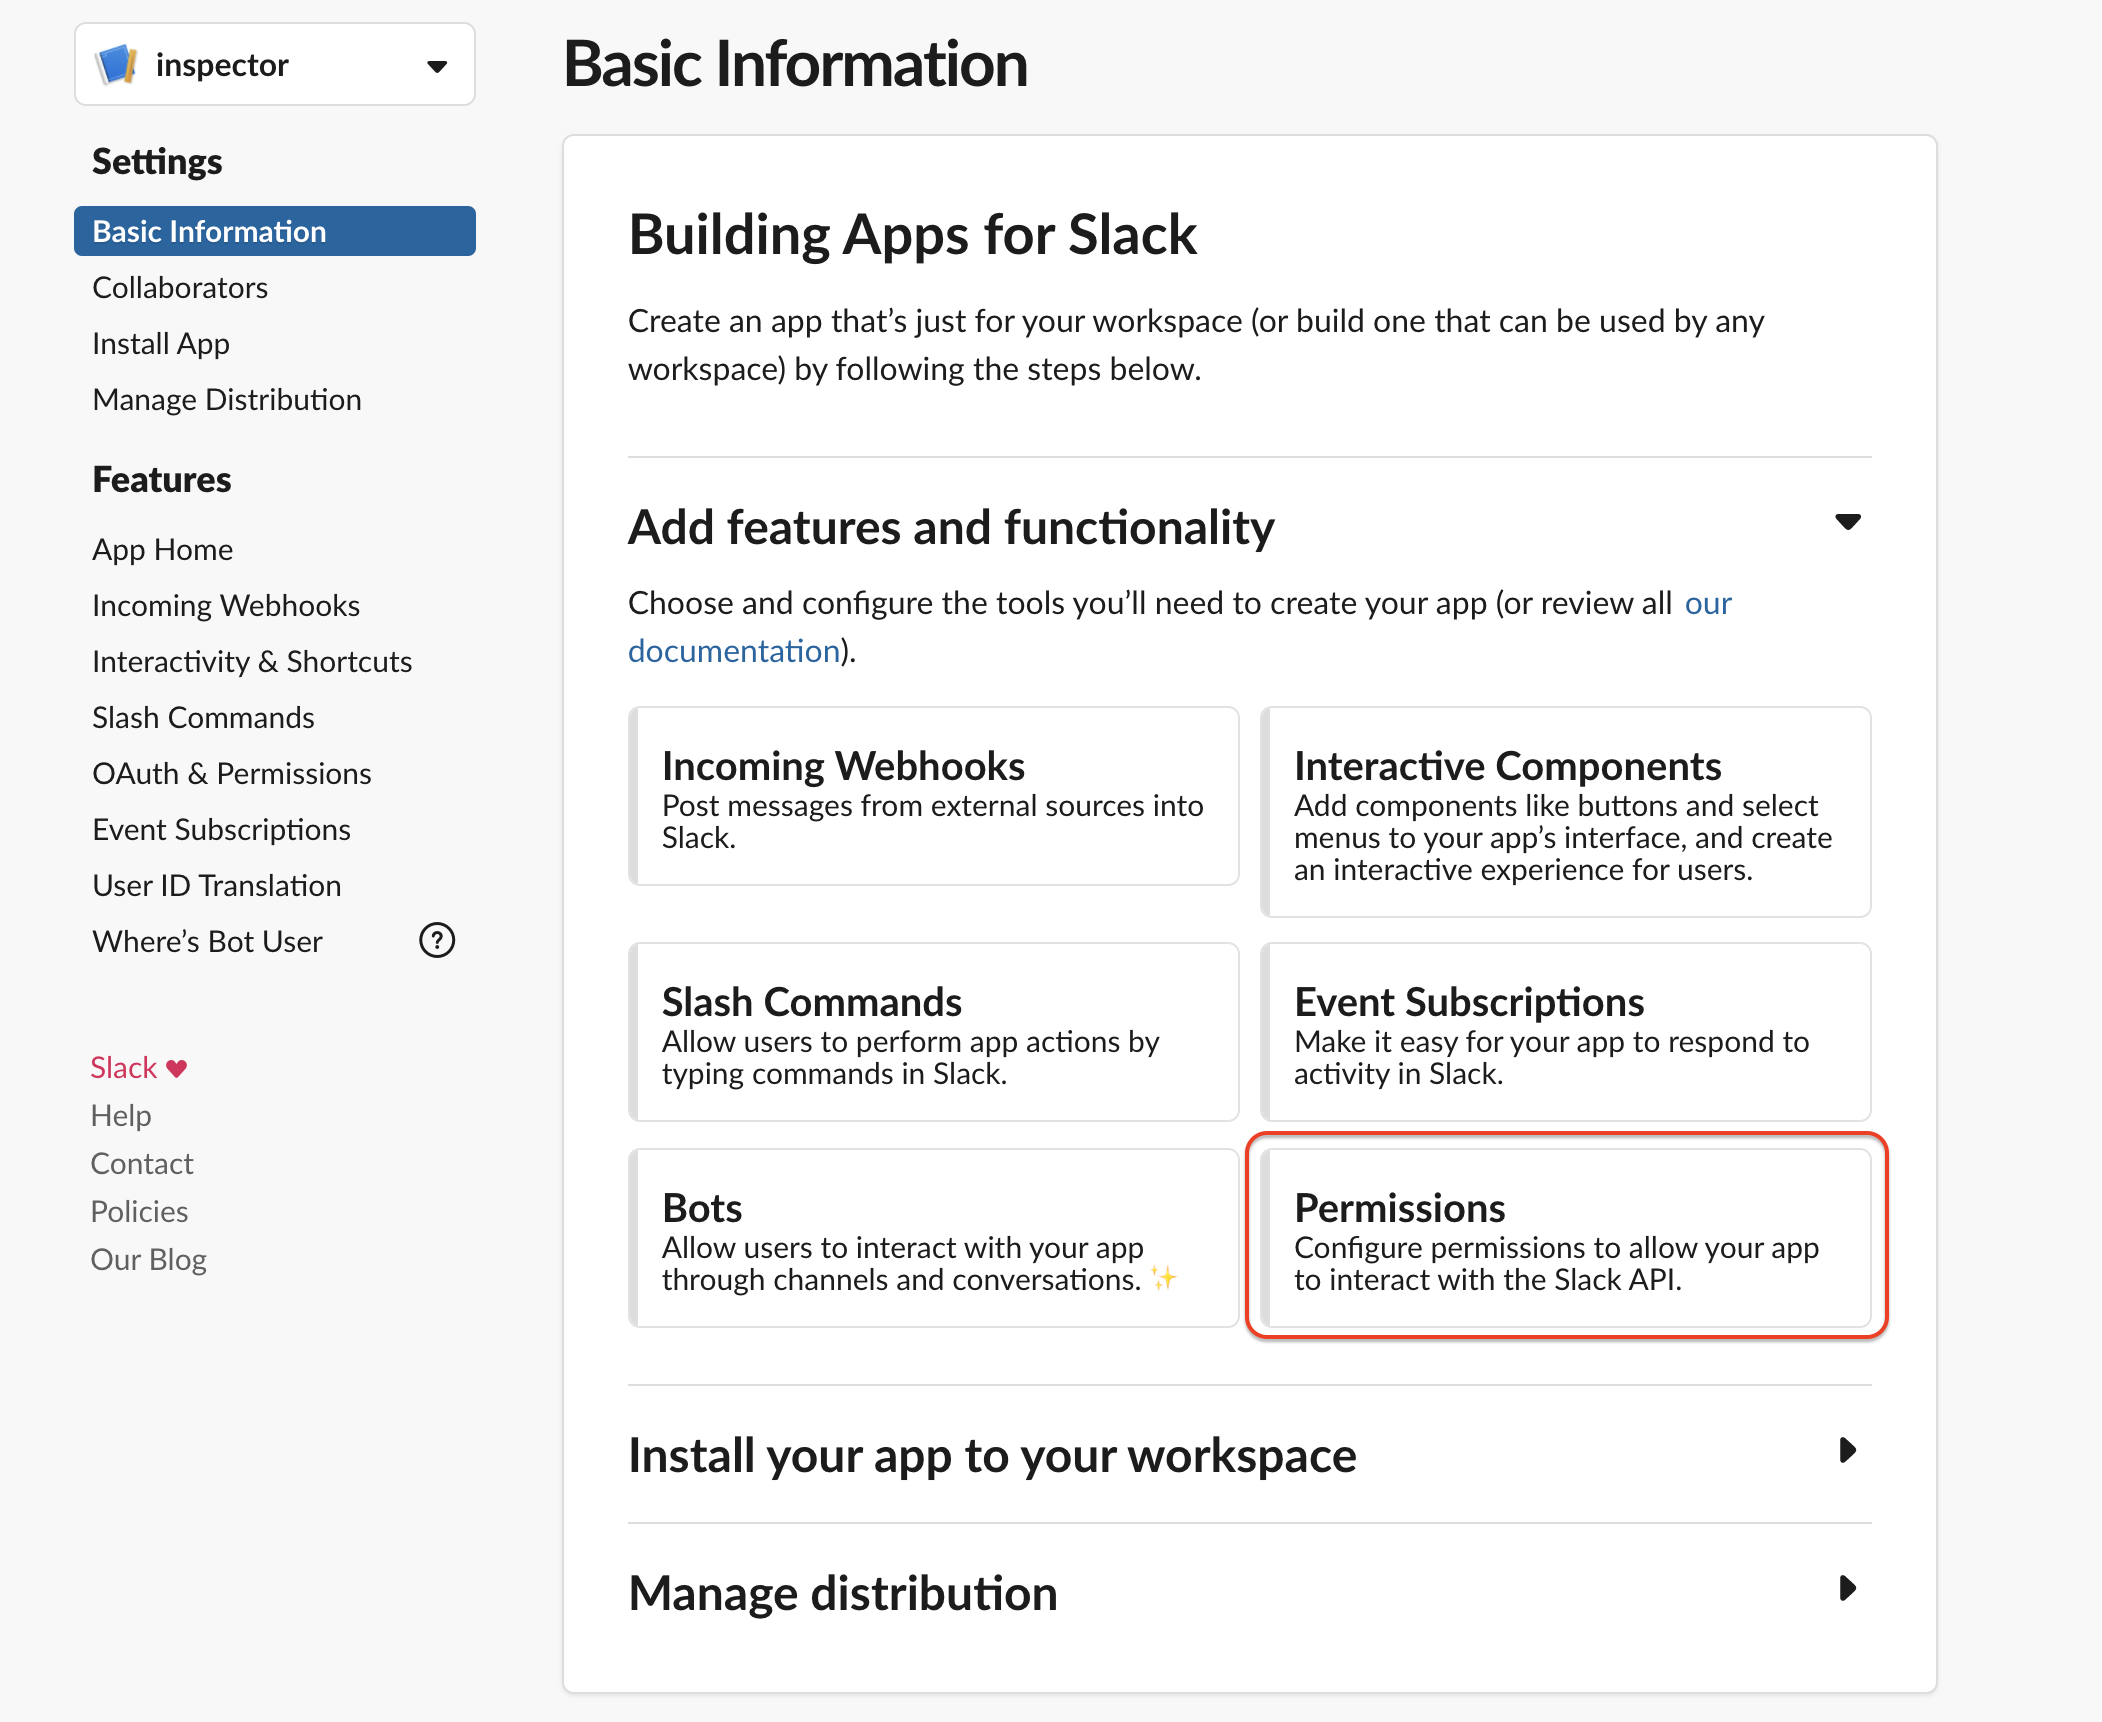
- On the next page, select Permissions under Add features and functionality to configure the scopes your application will need to call Slack's Web APIs.
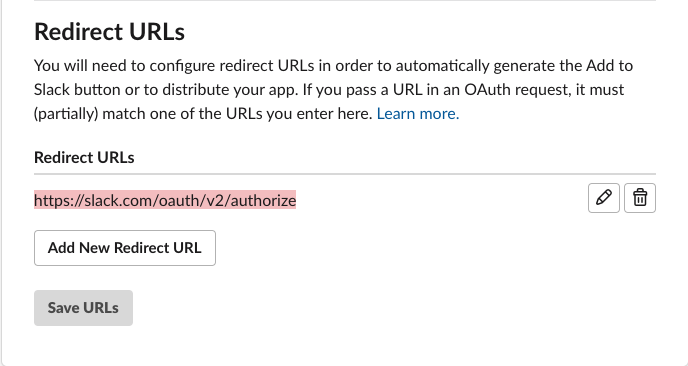
- On the next page, under Redirect URLs, select Add New Redirect URL and add "https://slack.com/oauth/v2/authorize" as a redirect URL for your app.
Further down on the same page, locate the section labeled Scopes.
This app utilizes "User Scopes," which allow the app to act on the behalf of the user(s) for which they've been authorized. In this case, you'll be authorizing these scopes to the account you're currently logged in as.
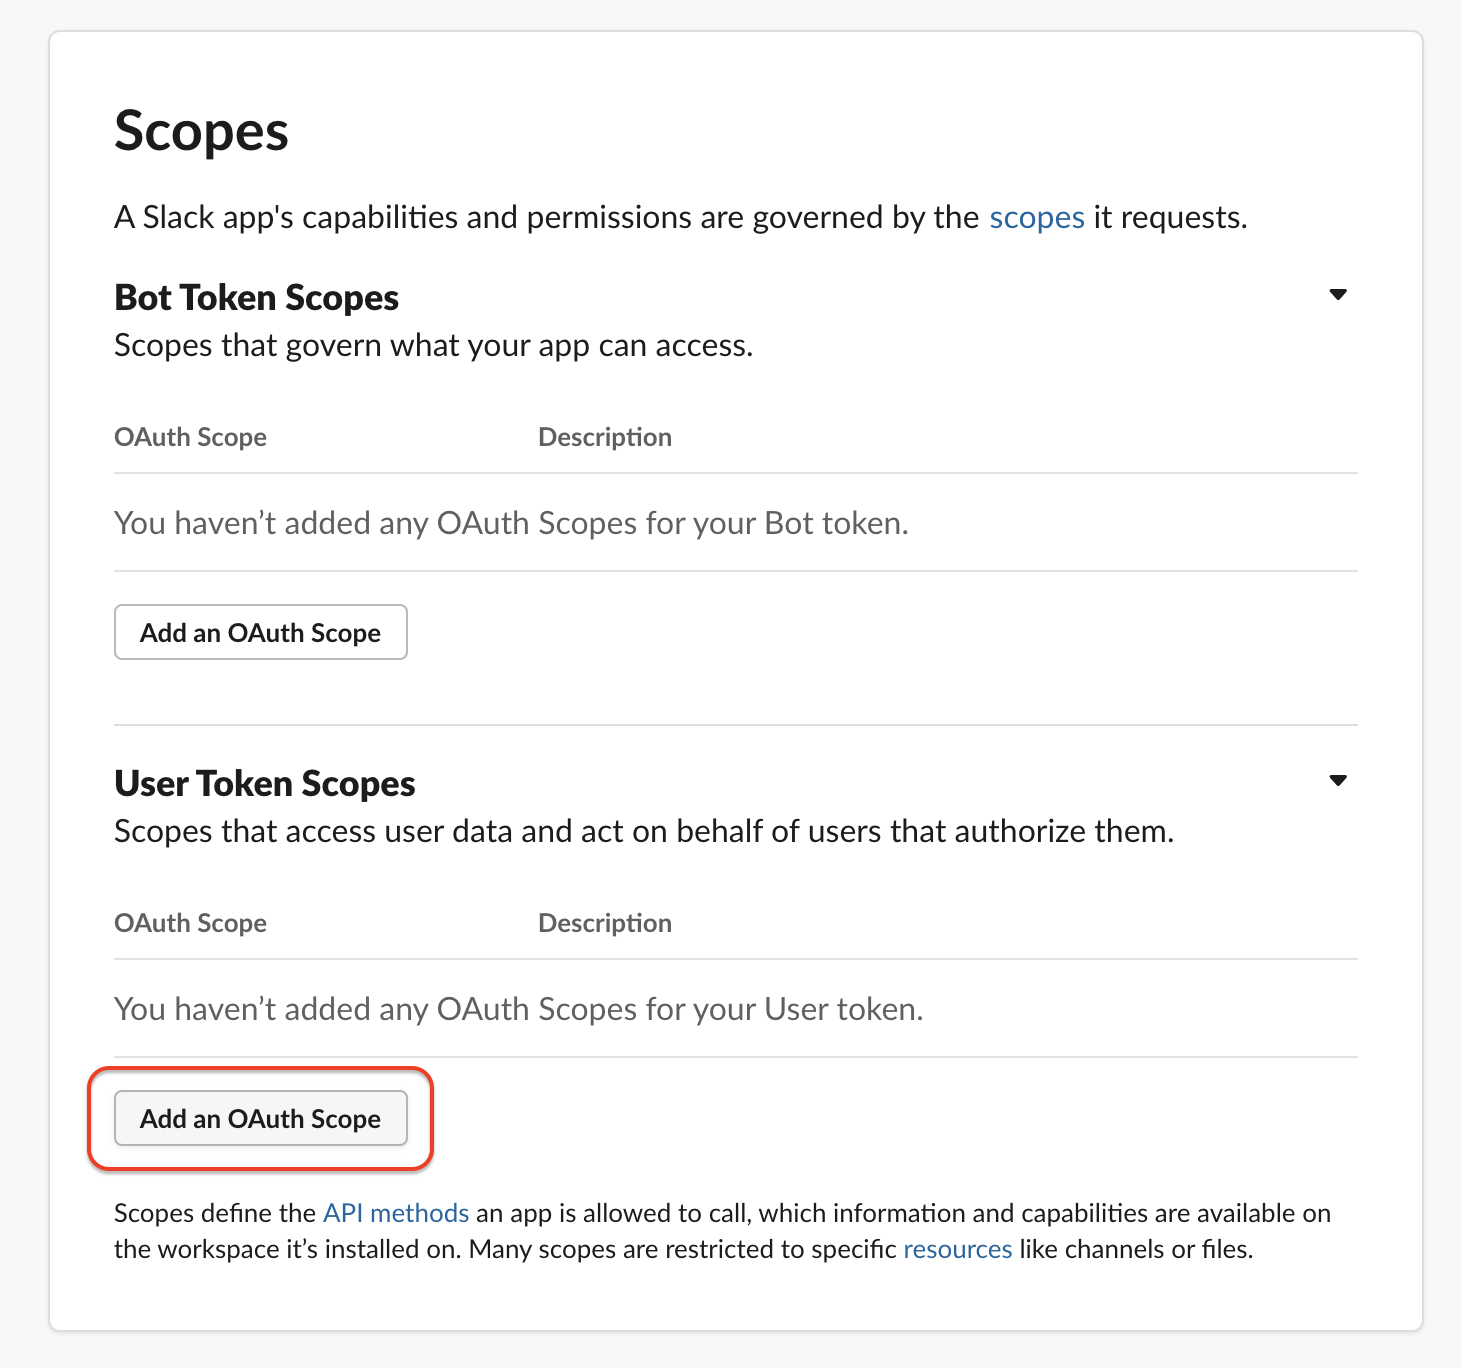
- Under User Token Scopes, click Add an OAuth Scope and add the following read-only user scopes:
- admin*
- channels:read
- groups:read
- team:read
- usergroups:read
- users.profile:read
- users:read
- users:read.email
- im:read*
- links:read*
- pins:read*
- search:read*
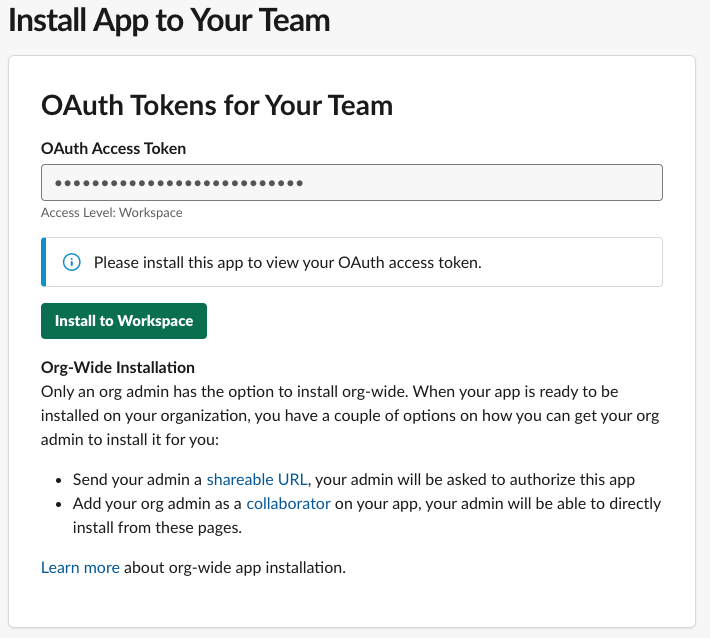
- Finally, navigate back to the top of the page to find the section labeled Settings > Navigate to Install App. Click Install to Workspace to connect the app to your workspace.
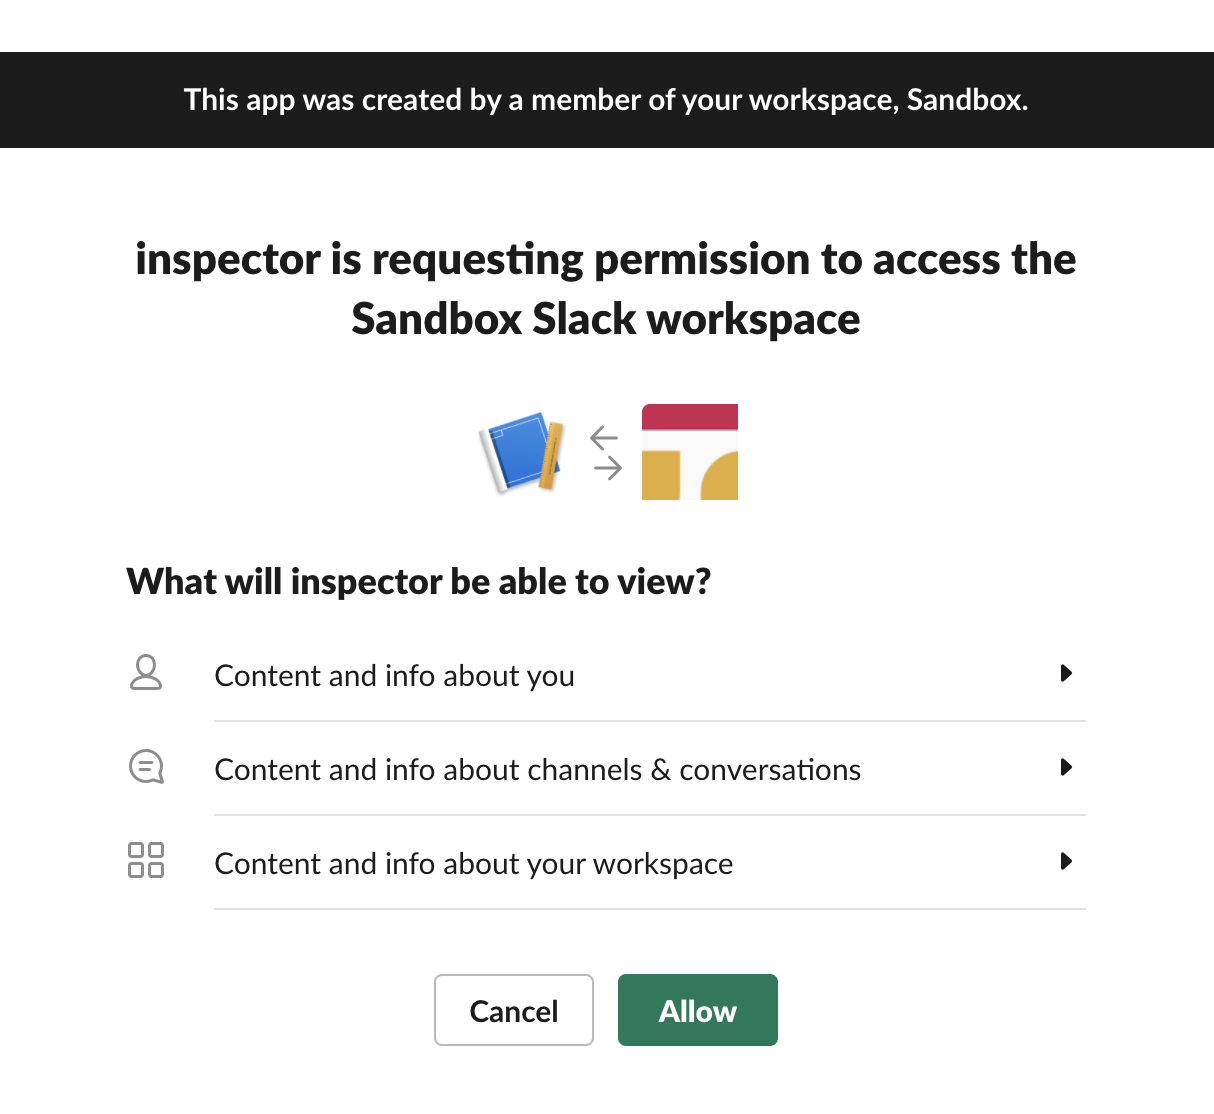
- On the next page, you'll be presented with a consent screen to authorize the requested scopes on behalf of the users in your workspace. Click Allow to grant the requested permissions.
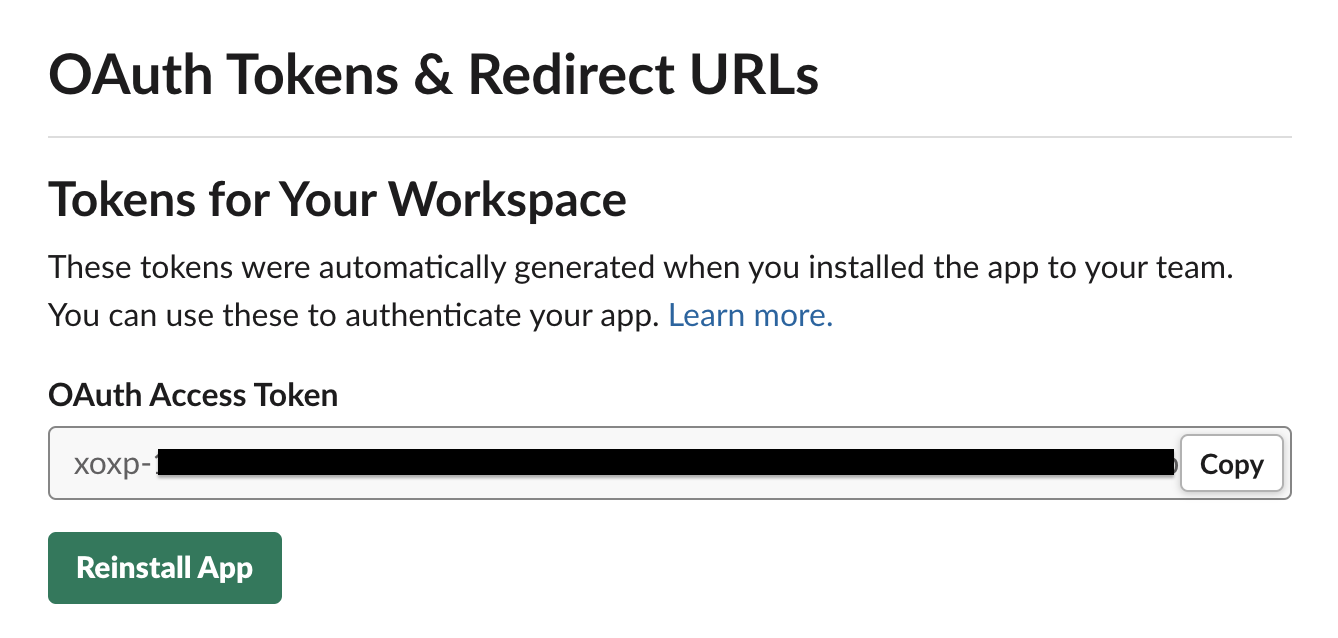
- On the page you're returned to, locate the section labeled Tokens for Your Workspace and copy down the OAuth Access Token. You'll need this token when configuring the inspector in Liongard.
Liongard Inspector Setup
In Liongard, navigate to Admin > Inspectors > Inspector Types > Navigate to the Slack Inspector > Select Add System.
Fill in the following information:
- Environment: Select the Environment this System should be associated with
- Friendly Name: Suggested "Slack Inspector nvironment Name]" "
- Agent: Select On-Demand Agent (Note: if you enable Slack's Restrict API Token Usage functionality, you must select your self-hosted agent and enter its IP address in the Allowed IP Address Ranges section in Slack.)
- Access Token: Enter the OAuth Access Token that was automatically generated when you installed the app to your workspace. You should have copied this token in Step 10.
- Scheduling: The Inspector will default to run once a day at the time the Inspector is set up. Here you can adjust the schedule
- Inspector Version: Latest
Select Save. The Inspector will now be triggered to run within the minute.
Roll out Inspectors at Mass via CSV Import
For more information, please visit our documentation.
To import Slack Inspectors via CSV Import, navigate to Admin > Inspectors > Slack > Select the down arrow icon in the top right-hand to Download CSV Import Template.
In the CSV Template, each row, starting on row three, will represent an Inspector. Fill in the following information for each Inspector you want to roll out:
- Agent.Name: This column is case sensitive. Copy and paste the associated Agent name from the Admin > Agents screen
- Inspector.Name: Enter "slack-inspector"
- Environment.Name: This column is case sensitive. Copy and paste the associated Environment name from the Dashboard screen
- Alias: Enter the Desired Friendly Name
- SecureConfig.ACCESS_TOKEN: The access token that was automatically generated when you installed the app to your team's workspace
- FreqType: Enter "days"
- FreqInterval: Enter "1"
When ready to Import the CSV Template of Inspectors, navigate to Admin > Inspectors > Slack > Select the up arrow icon in the top right-hand to Import CSV > Select your saved template.
After the successful import notification, reload your browser to find your imported Inspectors.
These Inspectors will automatically trigger themselves to run within a minute.
Optional: Turn on Flexible Asset/Configuration Auto-Updating
If you would like this Inspector's data to be sent to ConnectWise and/or IT Glue, turn on Flexible Assets/Configurations for this Inspector:
- ConnectWise: Admin > Integrations > ConnectWise > Configuration Types > Confirm the "Configuration Auto-Updating" toggle is enabled
- IT Glue: Admin > Integrations > IT Glue > Flexible Assets > Confirm the "Flexible Asset Auto-Updating" toggle is enabled
Updated 5 months ago
