Set up Billing for Liongard
Overview
The following document outlines the steps to set up billing for Liongard. Billing is set up using one of two methods, depending on when you became a Liongard Partner.
For Partners who joined after January 2022, billing is set up in the Salesforce portal using the instructions found here.
For Partners who joined before January 2022, billing is set up in the ConnectBooster portal using the instructions found here.
Setting up billing in Salesforce
For Partners who joined Liongard after January 2022, Liongard billing must be set up in Salesforce.
Add a Payment Method for Liongard
-
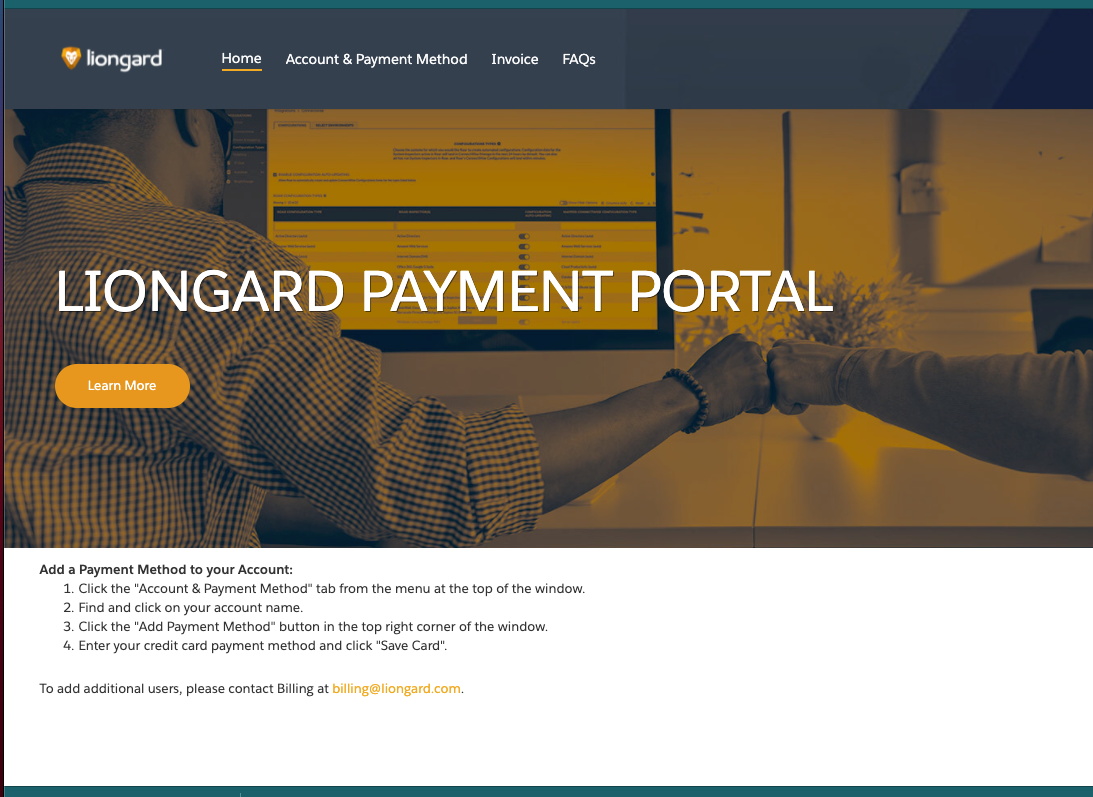
Login to https://portal.liongard.com
-
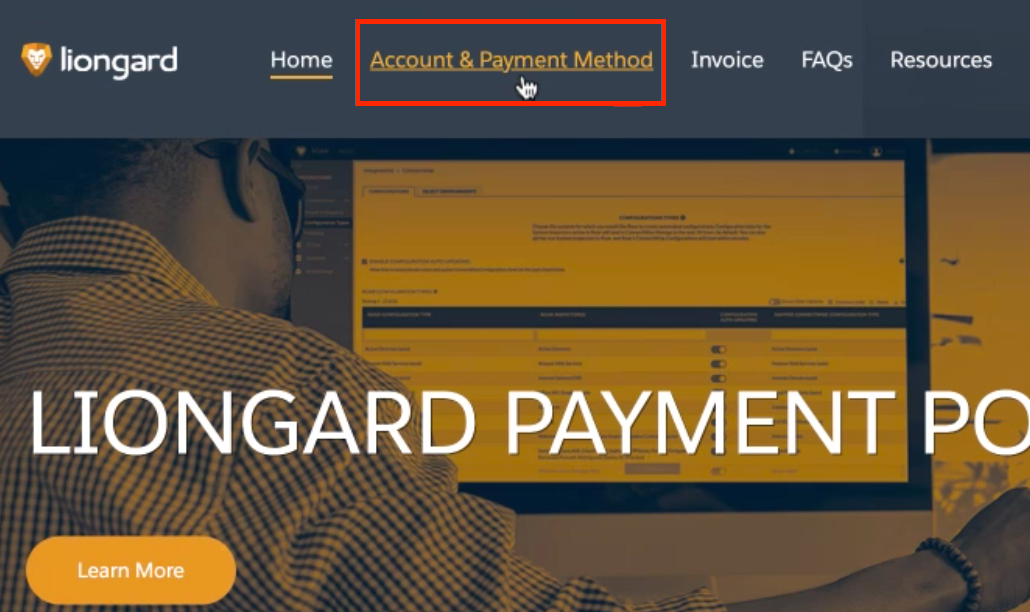
Click on Account and Payment Method in the top menu bar of your portal
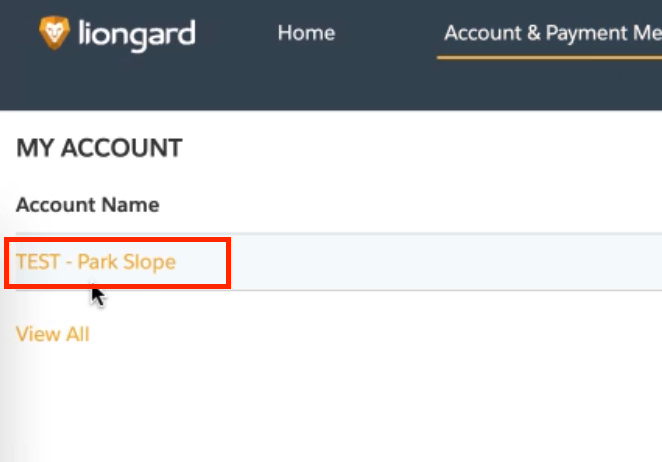
- Click on your Account Name
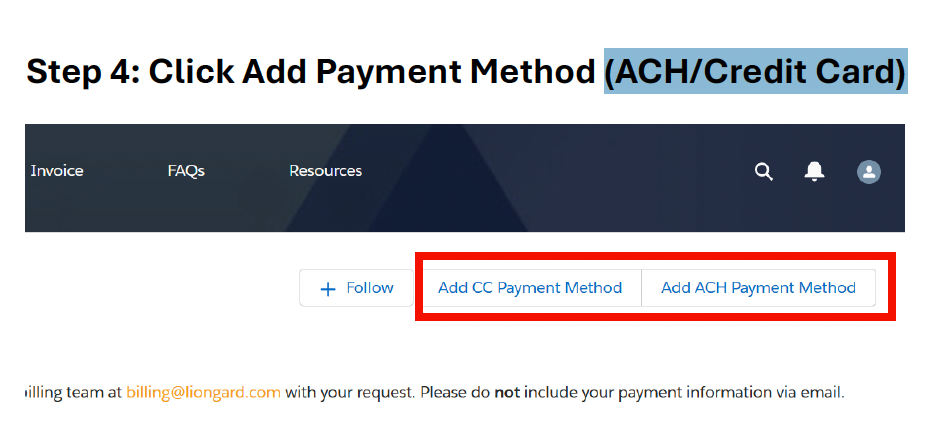
- Click Add Payment Method
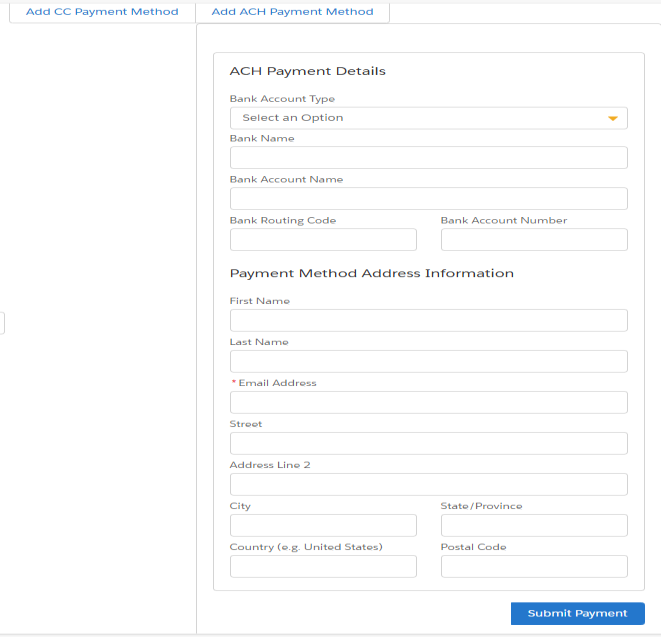
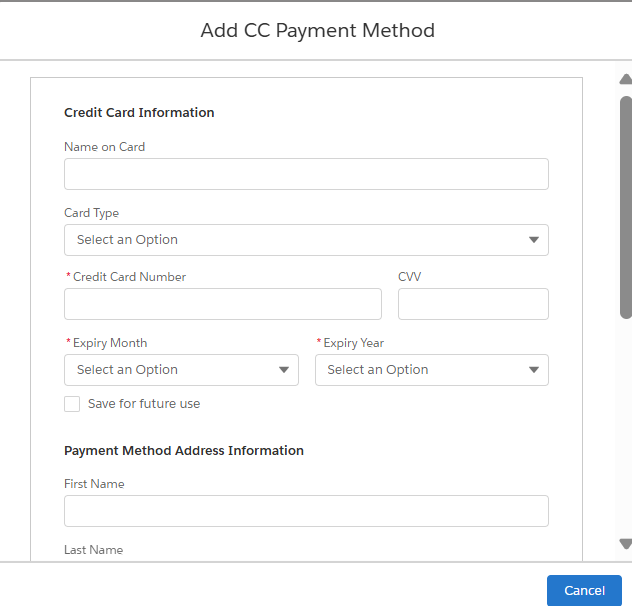
- In the pop up window, fill out the payment method form and click Save Card
Setting up billing in ConnectBooster
For Partners who joined Liongard before January 2022, Liongard billing must be set up in ConnectBooster.
The link to ConnectBooster can also be found in Liongard by clicking your name, then Company Settings
Add a Payment Method for Liongard
Step 1: Clear Cache and Cookies
Before adding a payment method in ConnectBooster, you must clear your browser's cache and cookies. To do so, please click the applicable link below:
Step 2: Add a New Payment Method
- Log in to ConnectBooster.
- Click "NEW" to enter a Credit Card, or another supported form of payment.
- Note: Clicking "EDIT" will require a re-entry of ALL payment information, regardless of type.
Step 3: Select Payment Type
- Click Credit Card or Bank Account (ACH) for the desired payment type
- Click "Next"
- Complete all fields:
- Note: Friendly Name should be the title of the payment within ConnectBooster (i.e. "Bob's Primary Card", "Mary's Business Visa")
Credit Card
ACH Form
- After completing and validating all fields, click "Next"
- Fill in the address information, if required.
- Note: International partners must leave the address information blank. If you are an international partner, only provide an email address.
- After completing and validating all fields, click "Next"
Step 4: Authorize Payment Method
- Select the checkmark to authorize the addition of the payment method to your account.
- Note: Clicking "Submit" does NOT process a transaction.
- Once the payment method is submitted, you should see a confirmation message.
Troubleshooting
For removing payments or for troubleshooting, email [email protected]
Updated about 1 year ago