ESET Licensing
Quick DetailsRecommended Agent: On-Demand
Supported Agents: On-Demand or Self-Managed
Is Auto-Discovered By: N/A
Can Auto-Discover: ESET Licensing Child Inspectors
Parent/Child Type Inspector: Yes
Inspection via: API
Data Summary: Here
ESET MSP Administration 2 (EMA2)The ESET Licensing Inspector only supports the inspection of ESET's latest MSP Administration portal. More information about the MSP Administration portal can be found on ESET's documentation.
Overview
Inspector Description
The ESET Licensing Inspector inspects the latest ESET EMA 2 Portal which contains licensing and usage information across all of your tenants. This Inspector contains information under both Parent and Child systems. Users can expect to see user, licensing usage/status, and license history in this Inspector
See it in Action
Inspector Setup Preparation
There are two different paths to take when setting up this Inspector. You are able to use either an existing user in your system or you can create a new user specifically for our integration.
Enabling MFAEnabling MFA on the user account will not break authentication and is recommended.
Create a New User
- Log in to your EMA Portal here
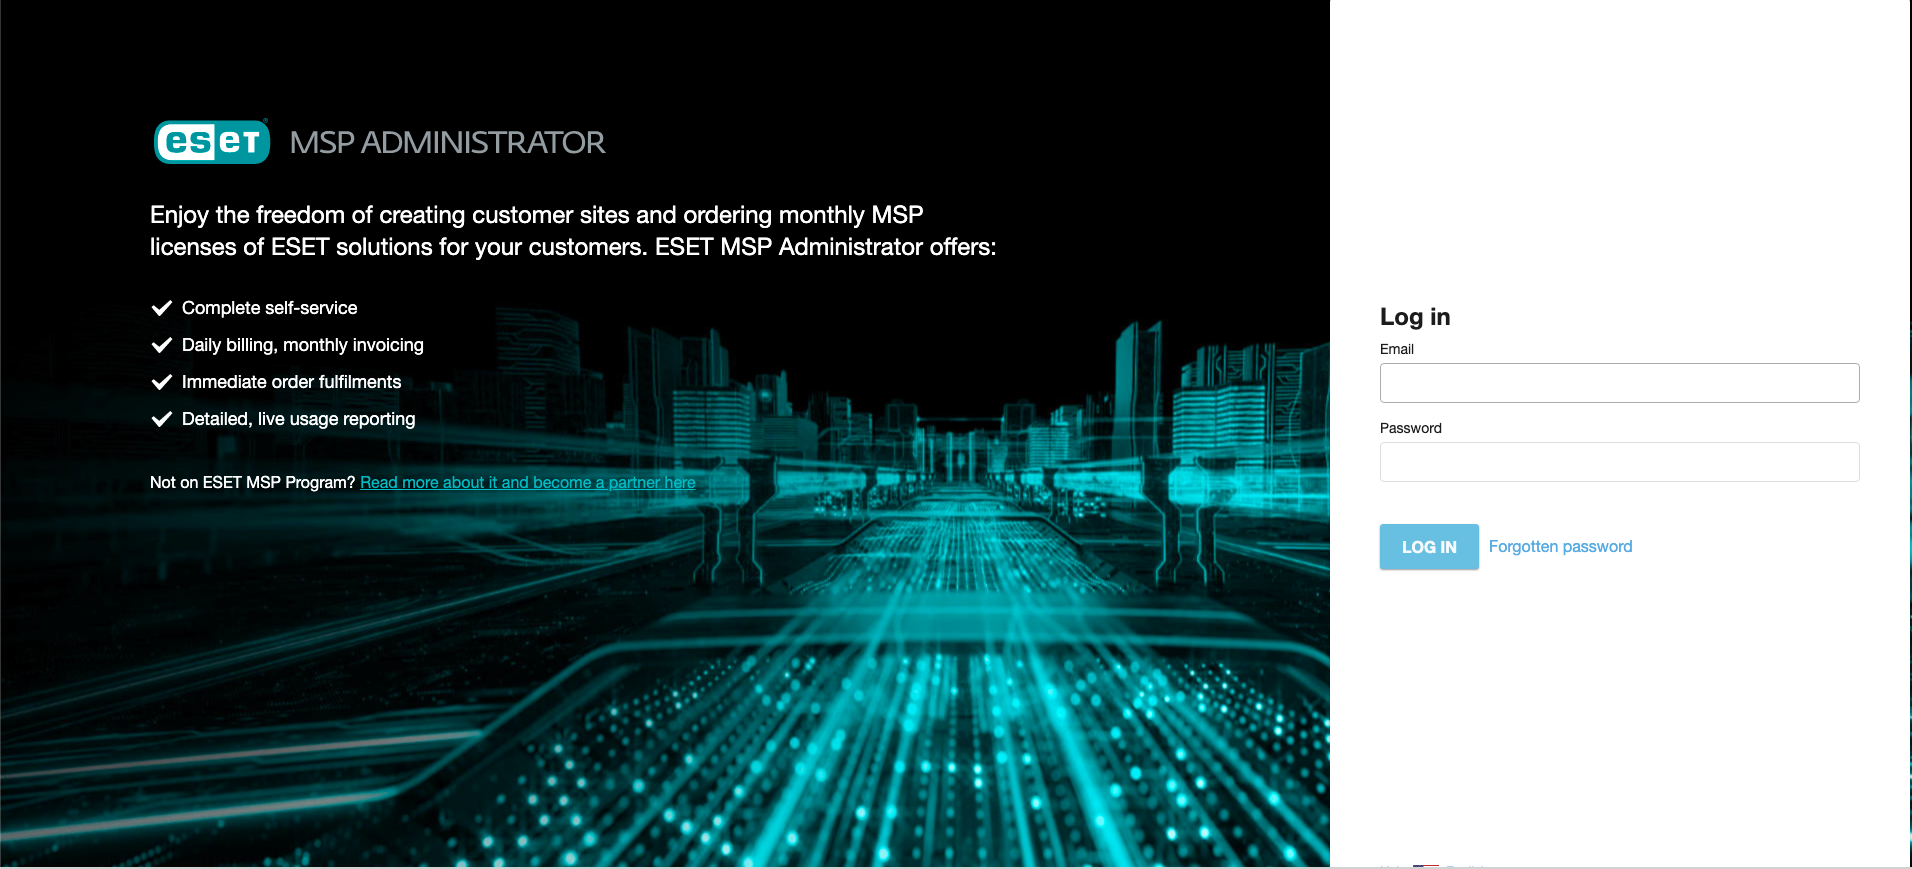
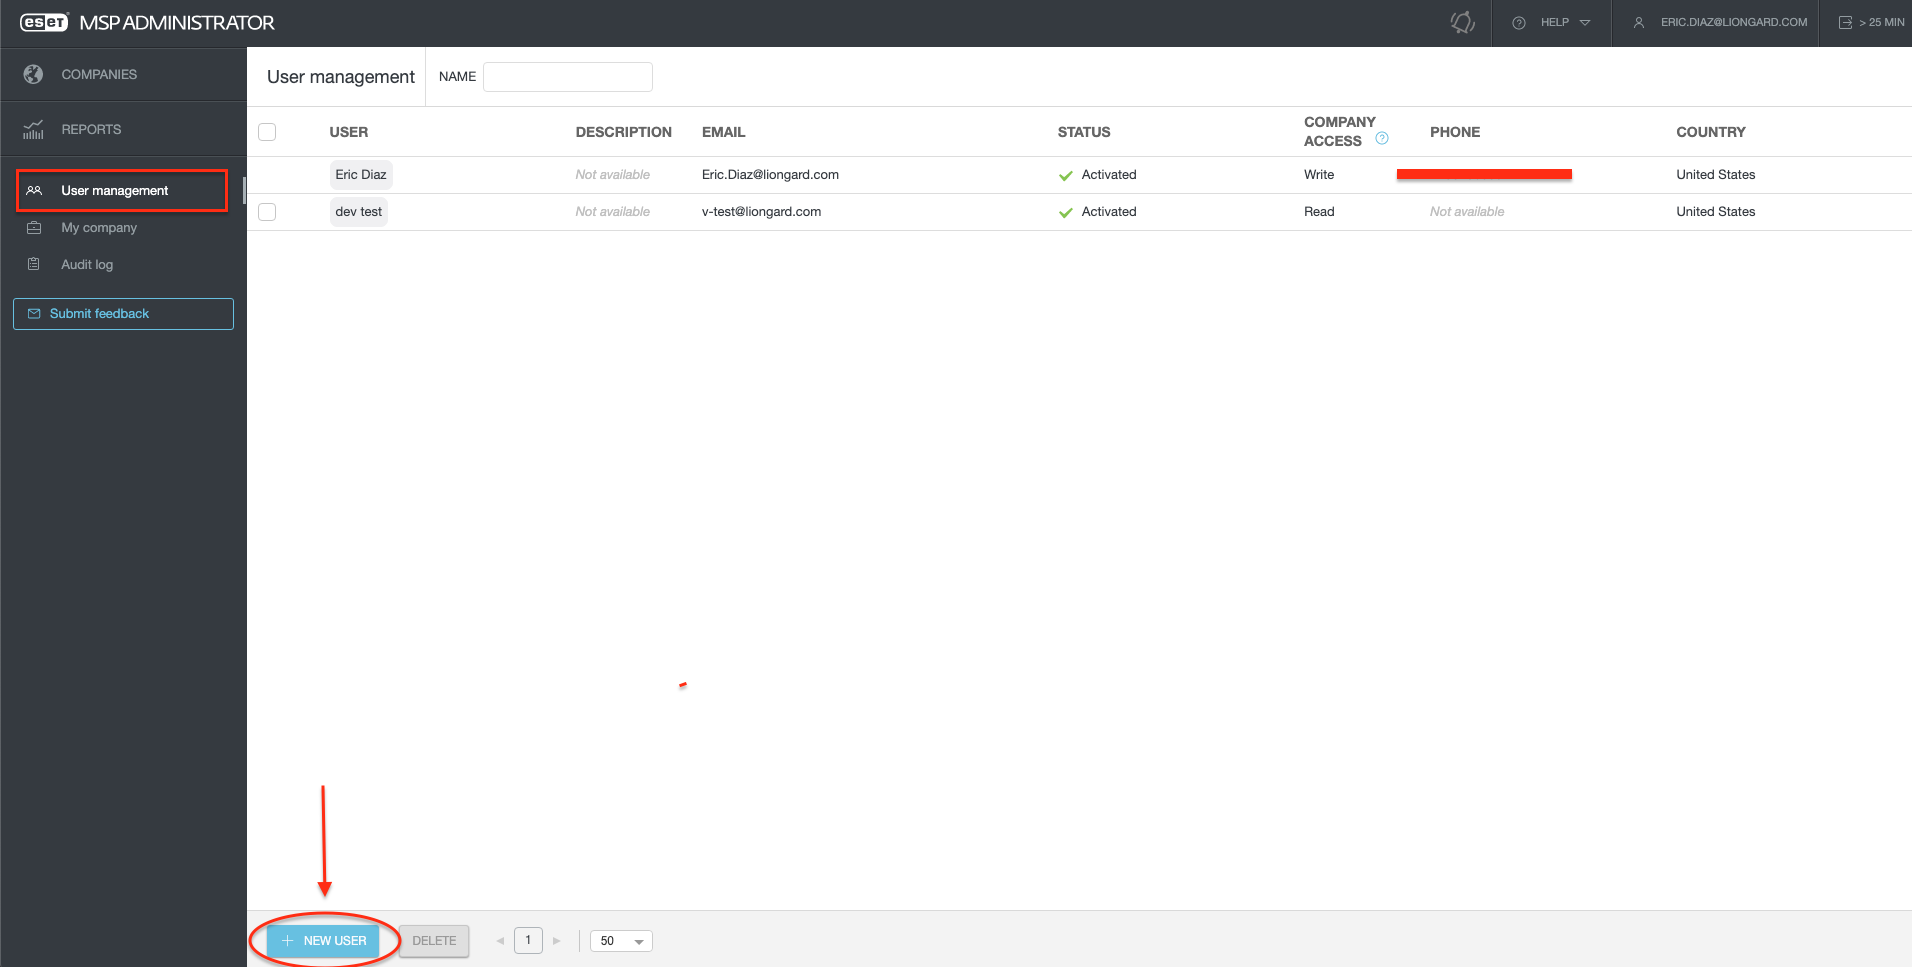
- Once you log into the system, navigate to User Management on the left-hand portion of your screen and select New User at the bottom of the page.
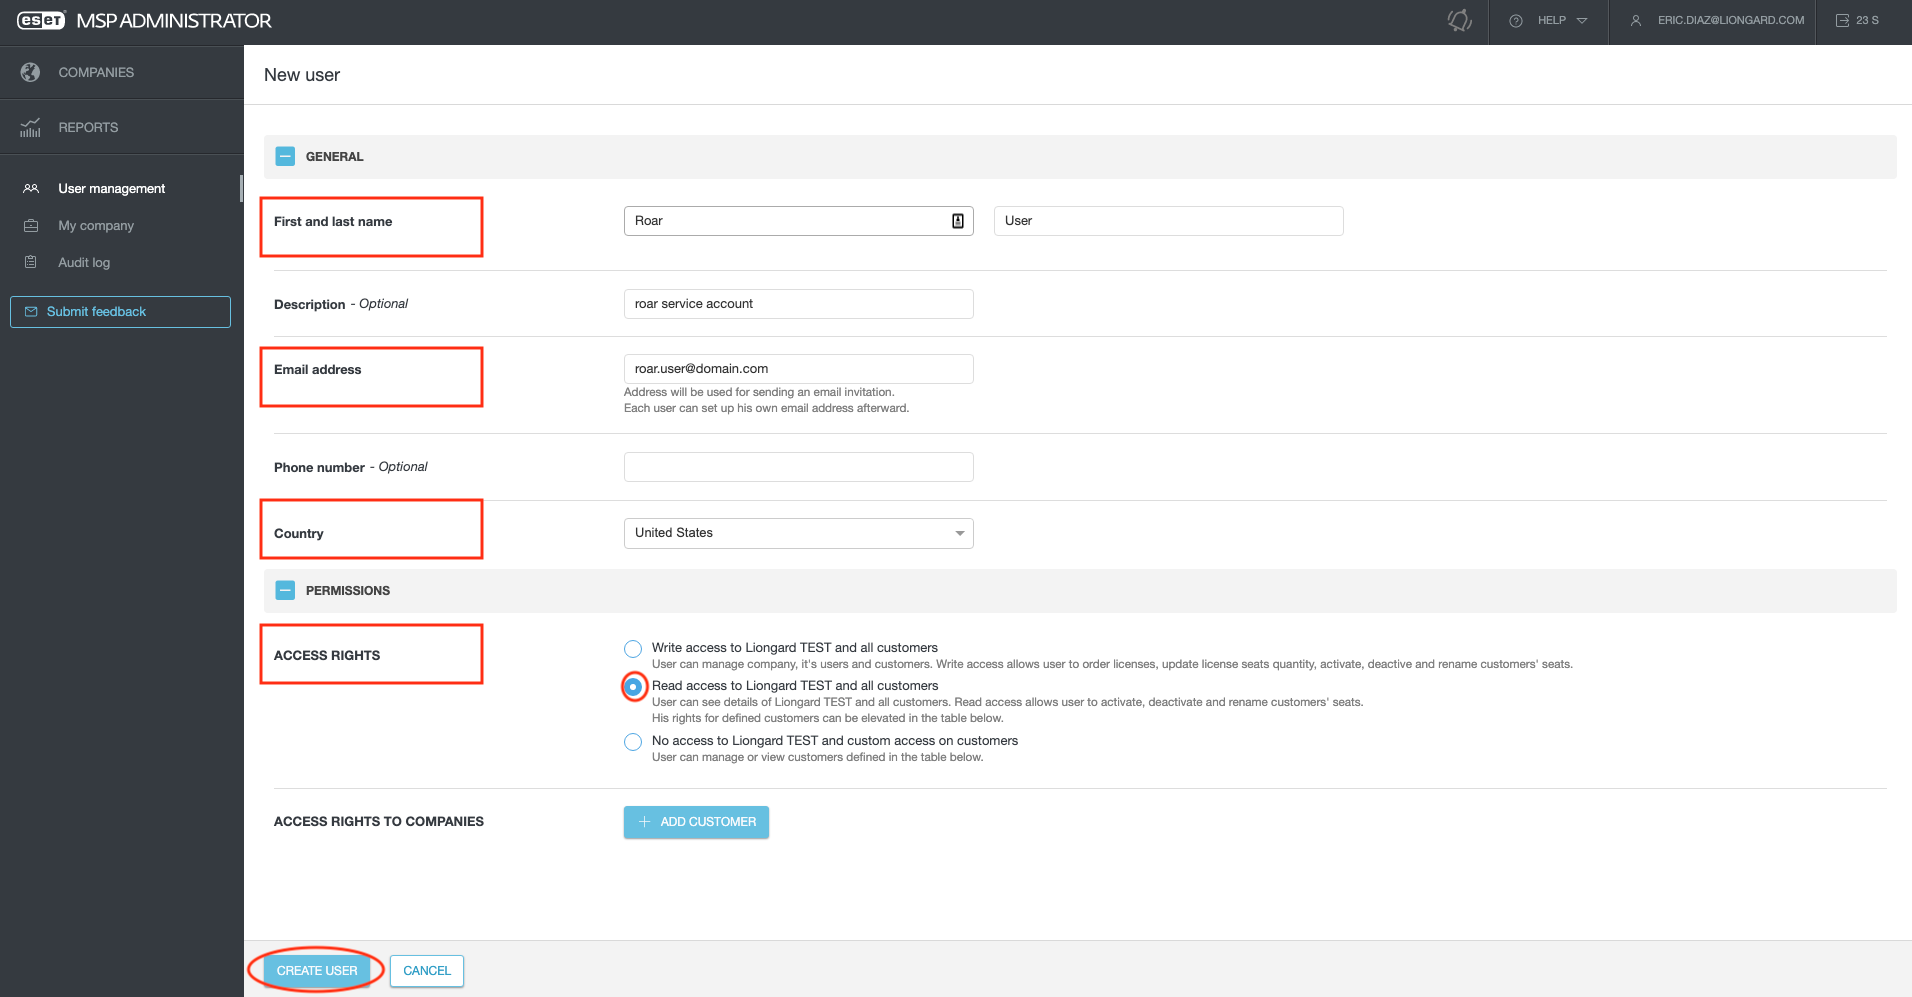
- On the User creation screen, fill out the required fields:
- First and Last Name: First and last name of the user
- Email Address: Email address for the user, required for password setup
- Country: Country of the User
- Permissions (Access rights: The permissions required to run this Inspector is at minimum Read Access
- Access Rights to Companies: It is recommended to leave this field alone unless you want to only inspect certain customers.
- Once you have filled out the required fields, select Create User at the bottom of the page to finalize user creation.
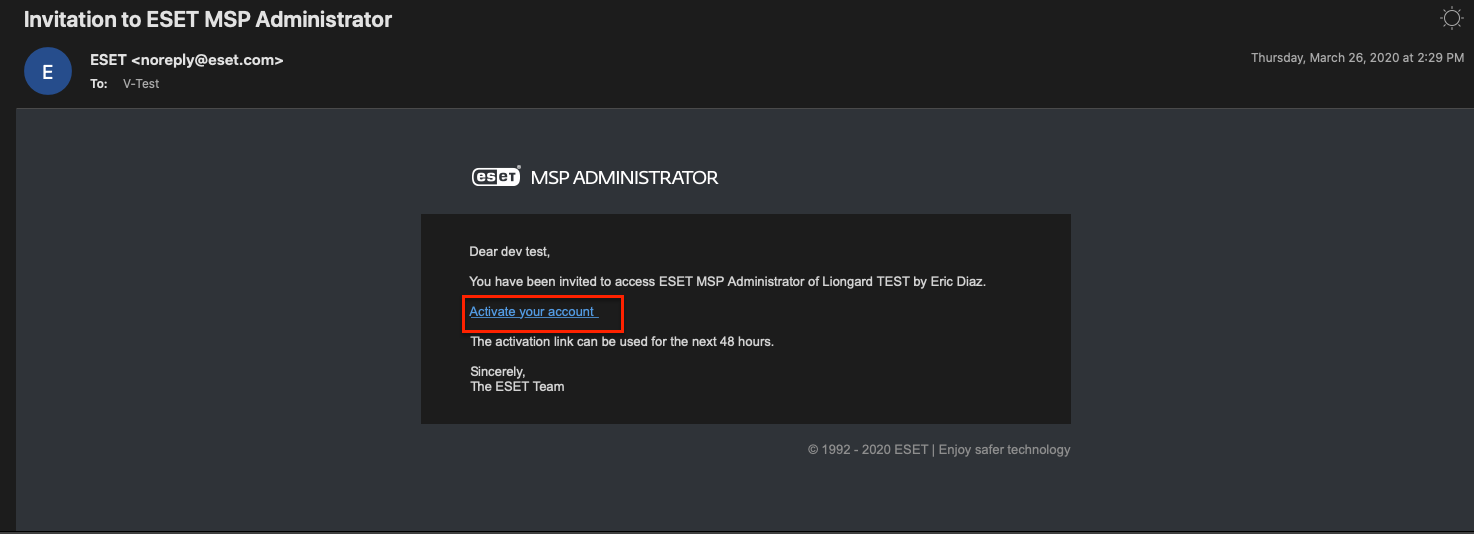
An email will be sent to the email address specified where the remainder of the setup will continue.
- You should receive an email that contains the next steps to finalize your user creation.
- Once you finish creating the user, note down the Email address and Password for the user. These credentials will be needed later during the Inspector setup process.
Use Existing User
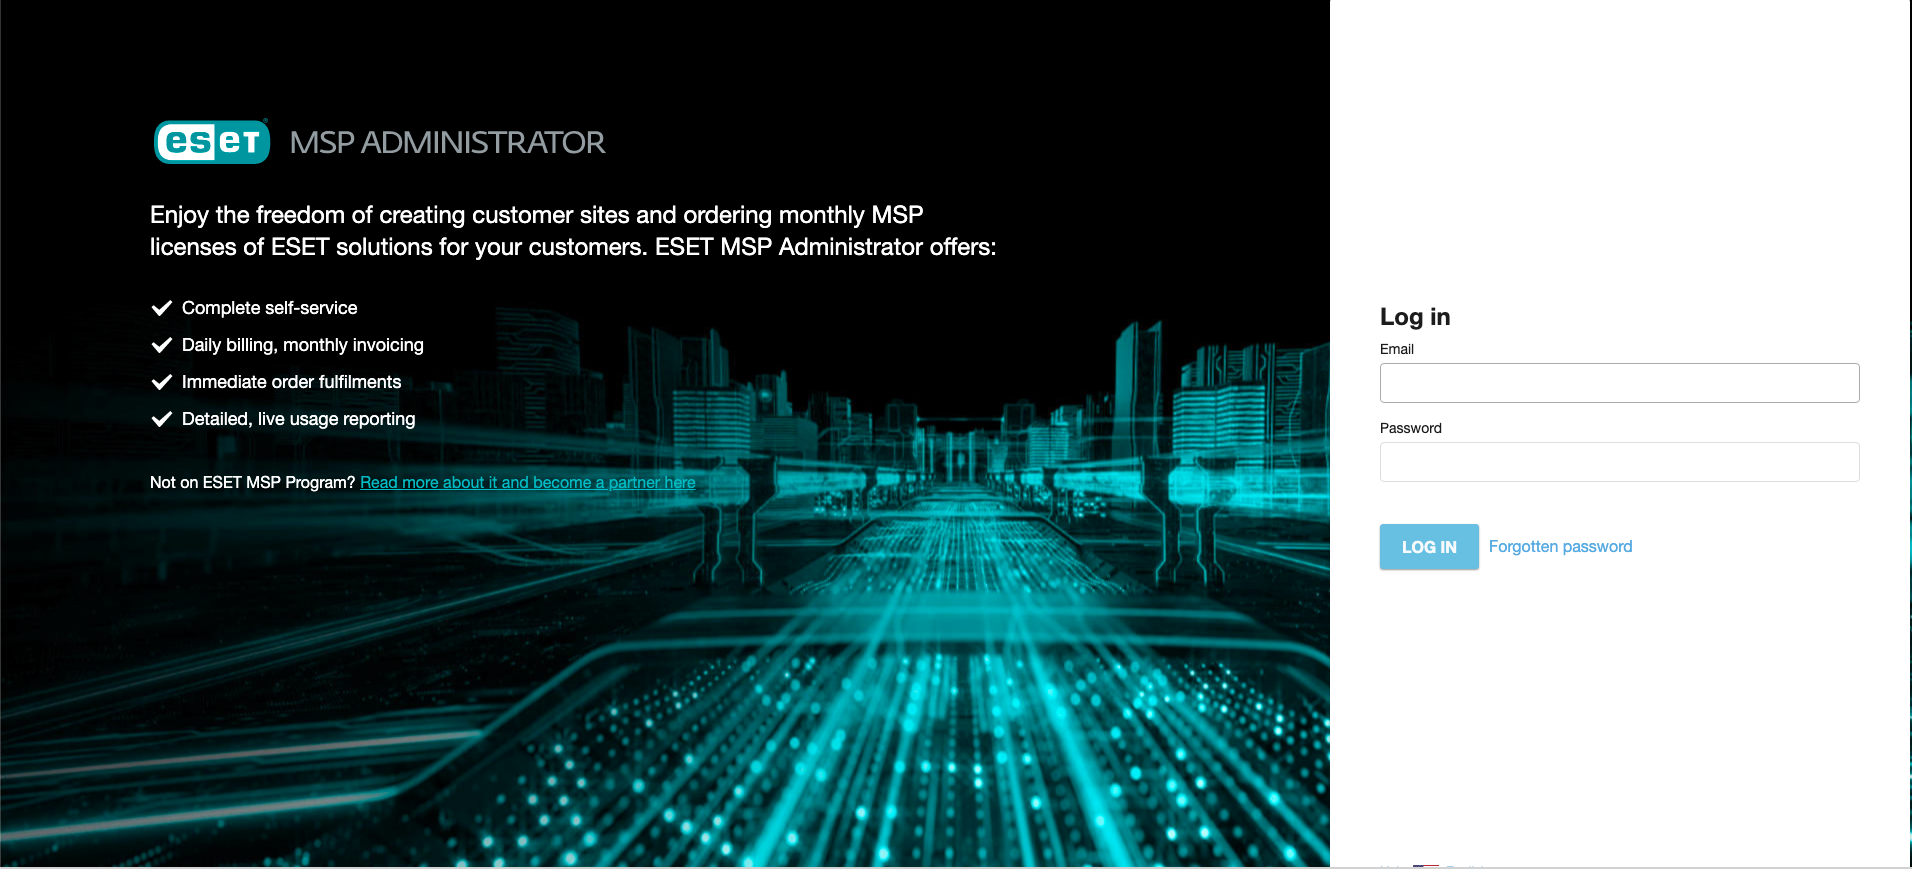
- Log in to your EMA Portal here
- Once logged in, find the user you wish to use for the setup and ensure the proper access is assigned to that particular user.
Read Access to MSP and all customer accounts is the minimum required access.
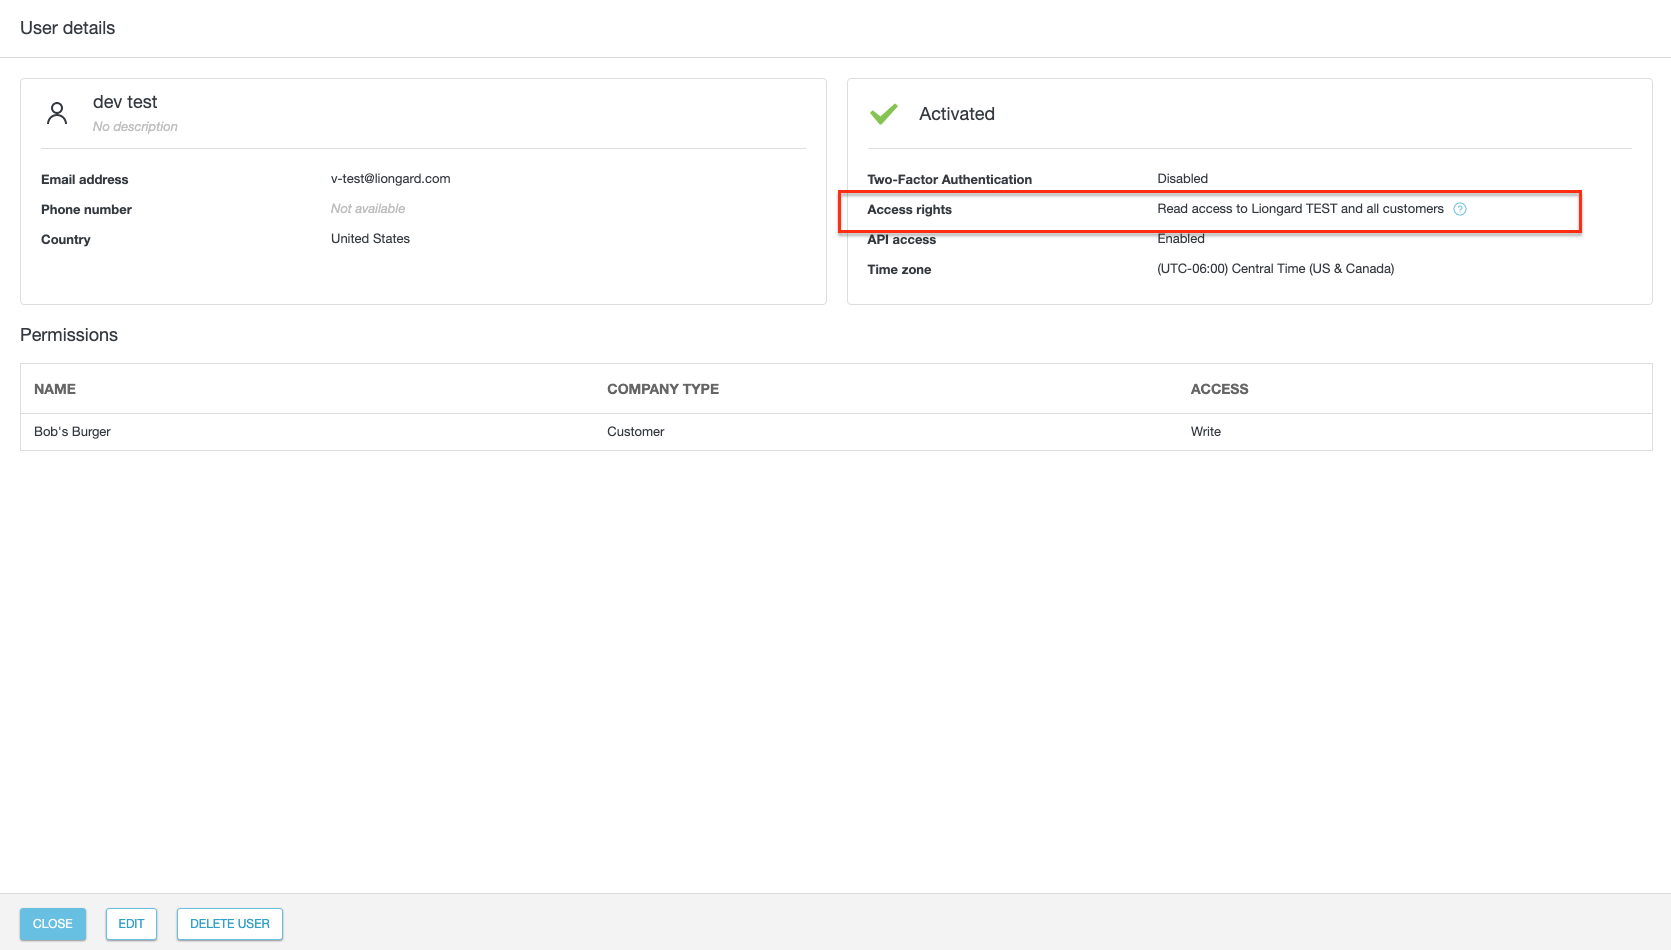
- Once you confirm the permissions are correct for the existing user you would like to use, note down the Email and Password for this user as it will be needed during the Inspector setup.
Liongard Inspector Setup
Step 1: Parent Inspector Setup
Since ESET is a multi-tenant system where a single portal is used to manage many Environments, you will set up a single "Parent" Inspector with the Username and Password for your MSP console, that you either created above or for an existing user, that will then auto-discover "Child" Inspectors for each Environment.
In Liongard, navigate to Admin > Inspectors > Inspector Types > Navigate to the ESET Licensing Inspector > Select Add System.
Fill in the following information:
- Type of Inspector: Parent
- Environment: Select your MSP's Environment
- Friendly Name: Suggested Naming: SP Name] EESET Licensing Parent
- Agent: Select On-Demand Agent
- Inspector Version: Latest (Auto-Update)
- ESET Username: Username for the User of the MSP account
- ESET Password: Password for the User of the MSP account
- Scheduling: The Inspector will default to run once a day at the time the Inspector is set up. Here you can adjust the schedule
Select Save. The Inspector will now be triggered to run within the minute.
Step 2: Child Inspector Setup
After the first run of the Parent Inspector, your clients' ESET organizations will be Auto-Discovered and surfaced on the Discovered Systems page.
Navigate to the Discovered Systems tab in your Inspectors > ESET Licensing page
- Activate your Discovered Systems by ensuring they're mapped to the correct Environment > Select the checkbox to the left of Inspector(s) > Select the Actions drop-down menu > Activate Launchpoints.
- Users may also Archive Discovered Systems by Selecting the checkbox to the left of the Inspector(s) > Select the Actions drop-down menu > Archive Launchpoints.
Optional: Turn on Flexible Asset/Configuration Auto-Updating
If you would like this Inspector's data to be sent to ConnectWise and/or IT Glue, turn on Flexible Assets/Configurations for this Inspector:
- ConnectWise: Admin > Integrations > ConnectWise > Configuration Types > Confirm the "Configuration Auto-Updating" toggle is enabled
- IT Glue: Admin > Integrations > IT Glue > Flexible Assets > Confirm the "Flexible Asset Auto-Updating" toggle is enabled
Updated 5 months ago
