Continuum RMM
This document provides the steps required to configure the Continuum RMM Inspector.
Intermittent Inspector FailuresWe are currently experiencing issues with the Continuum RMM Inspector that are causing an increase of intermittent Inspector failures. We have determined this to be an issue with the information being returned by the Continuum API.
We have escalated the issue to ConnectWise and we are uncertain as to the future of this API as this product is being superseded by the newer ConnectWise RMM product. In addition to the Liongard support request, we also suggest creating a support request with ConnectWise Support, as well.
Quick Details:Recommended Agent: On-Demand
Supported Agents: On-Demand or Self-Managed
Is Auto-Discovered By: N/A
Can Auto-Discover: Continuum RMM Child Tenants
Parent/Child Type Inspector: Yes
Inspection via: API
Data Summary: Here
Overview
See it in Action
Inspector Setup Preparation
Step 1: Acquire User API Token
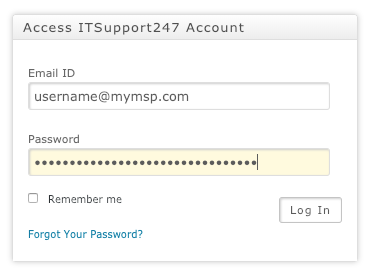
- Log in to your Continuum Portal at https://control.itsupport247.net

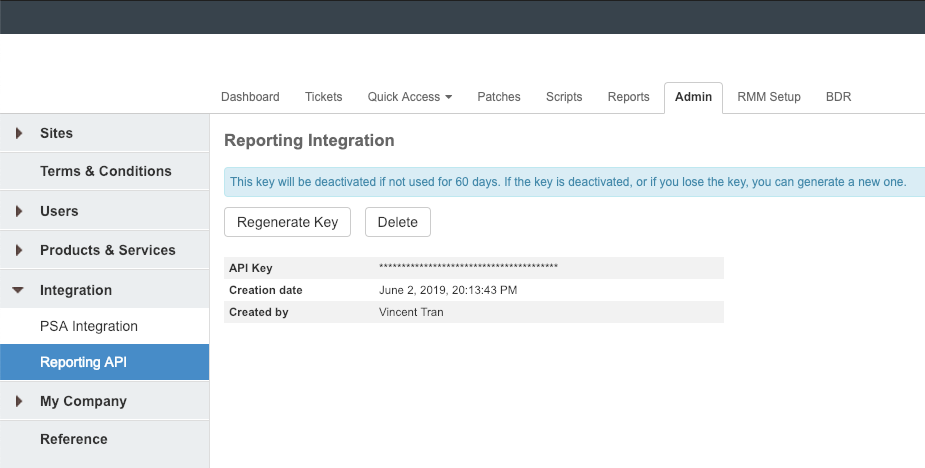
- Navigate to Admin > Reporting API and Regenerate a Key

- Copy and save the Key in your password management repository
- Use this API Key as the Token for Liongard
Liongard Inspector Setup
Step 1: Parent Inspector Setup
Since Continuum RMM is a multi-tenant system where a single portal is used to manage many Environments, you will set up a single "Parent" Inspector with the API Key that will then auto-discover "Child" Inspectors for each Environment.
In Liongard, navigate to Admin > Inspectors > Inspector Types > Navigate to the Continuum RMM Inspector > Add System.
Fill in the following information:
- Type of Inspector: Parent
- Environment: Select your MSP's Environment
- Friendly Name: Suggested Naming: SP Name] CContinuum RMM Parent
- Agent: On-Demand Agent
- Inspector Version: Latest
- Continuum Token: Insert the Token generated above
- Scheduling: The Inspector will default to run once a day at the time the Inspector is set up. Here you can adjust the schedule
Select Save. The Inspector will now be triggered to run within the minute.
Step 2: Child Inspector Setup
After the first run of the Parent Inspector, your client Continuum RMM organizations will be Auto-Discovered in the Discovered Systems tab on the Inspectors > Continuum RMM page.
Navigate to the Discovered Systems tab in your Inspectors > Continuum RMM page
- Activate or Archive your Discovered Systems by ensuring that they're mapped to the correct Environment > Check the checkbox to the left of Inspector(s) > Select the Actions drop down menu > Activate Launchpoints
Optional: Turn on Flexible Asset/Configuration Auto-Updating
If you would like this Inspector's data to be sent to ConnectWise and/or IT Glue, turn on Flexible Assets/Configurations for this Inspector:
- ConnectWise: Admin > Integrations > ConnectWise > Configuration Types > Confirm the "Configuration Auto-Updating" toggle is enabled
- IT Glue: Admin > Integrations > IT Glue > Flexible Assets > Confirm the "Flexible Asset Auto-Updating" toggle is enabled
Continuum RMM Quick Tips/FAQs
- How do I resolve a "Response status 200 failed with error message: Timeout expired. The timeout period elapsed prior to completion of the operation or the server is not responding" error?
This error appears when too many calls are made to the Continuum API within a set period of time. To correct this issue, space out the run of Child Inspectors using the following instructions.
Updated 5 months ago
