Installing a macOS Agent
This document provides instructions on how to set up and install a macOS-based Agent
Supported macOS VersionsCurrently, the macOS agent only officially supports macOS 12.x (Monterey), macOS 13.x (Ventura) and macOS 14.x (Sonoma). Although most of the data collection is generic to the macOS versions, thus far testing has only been completed on macOS 12.x (Monterey), macOS 13.x (Ventura) and macOS 14.x (Sonoma).
Additionally, please note that in order to install the Liongard macOS agent on Apple Silicon (M1/M2/M3 CPUs), the Rosetta 2 translation layer must be installed prior to attempting the install agent.
Mass DeploymentIf you are looking to leverage mass deployment options, you can reference our documentation here
In this article
Record a Liongard Access Key ID and Secret
Access TokensLiongard Access Key Tokens and Secrets can be reused when installing Agents, or you can generate a new Access Key Token and Secret every time.
If you do decide to reuse the Access Key and Secret, it should be secured as you would any other sensitive password.
Our Access Tokens are used only to register an Agent. It is not something that the Agent stores, so if a token gets deleted, nothing will happen to Agents that were installed using that token.
Agent Install Token: Required PermissionsTo create an "Agent install token," a user must have one of the following permissions:
- Global Admin
- Global Environment Manager
- Global System Integrators
- Environment Administrators
Permissions Breakdown:
- Global Roles (Global Admin, Global Environment Manager, Global System Integrators):
Can install agents.
Can view and associate all agents.- Environment Administrators:
Can install agents.
Can map installed agents to their assigned environments.
Cannot view agents from other environments.
Cannot view unassigned agents not installed by them.
- In Liongard, navigate to Your Name > Account Settings > Access Tokens
- If you have an existing Access Token, you may use it to deploy the Agent.
- If you need to generate a new token, select Generate New Token then select Agent Install Token.
- Note: Users must be a member of the Global Admin, Global Environment Manager, or Global System Integrators groups to see the Agent Install Token option.
- Record a Liongard Access Key ID and Secret as you will need them in the next steps.

Download the Installer
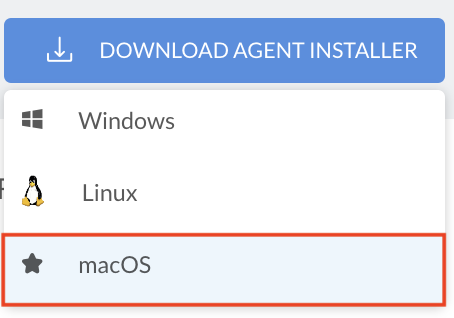
- Navigate to Admin > Agents > Hover over "Download Agent Installer" > Select macOS
- Copy the installer link or download the installer
Install the Agent
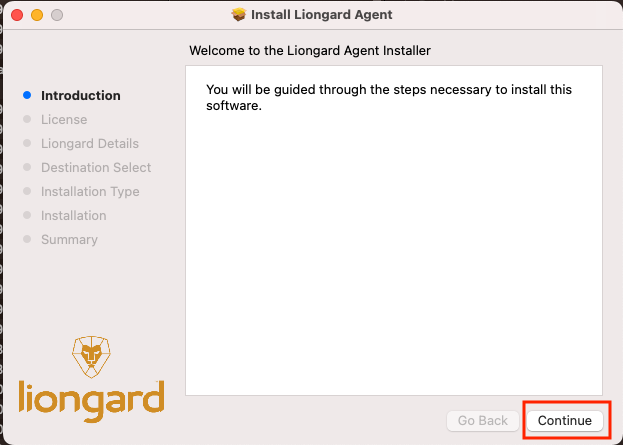
- Open the package > Select Continue
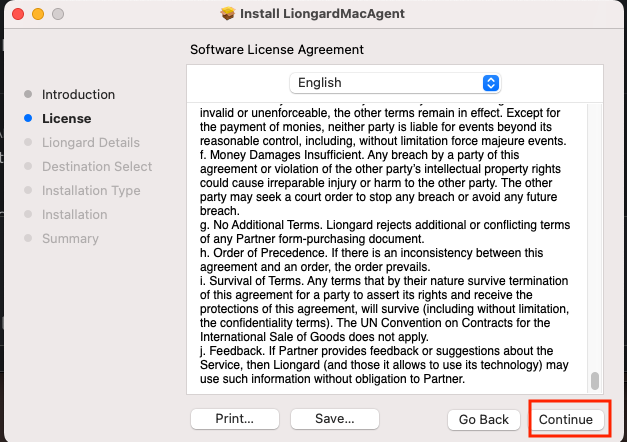
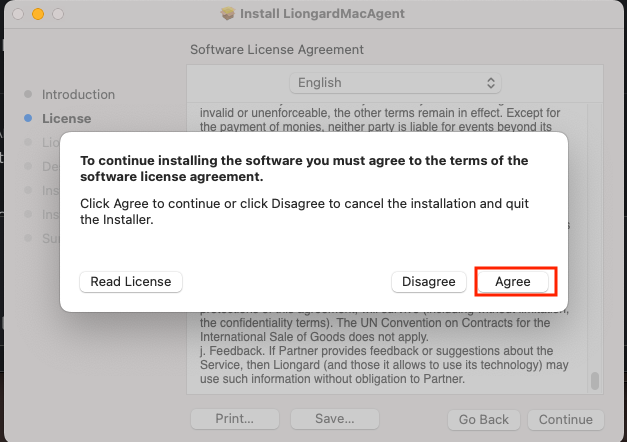
- Select Continue > Select Agree

- Complete the following fields:
- Your Liongard URL (e.g., "us1.app.liongard.com"): Enter the core of your Liongard URL. Do NOT include "https://". Must also be in lowercase letters.
- Liongard Access Key ID and Secret: Enter the Access Key ID and Secret generated in Liongard from Step 1 above.
- Review the following field:
- Agent Name: Liongard will populate this field using the hostname of the device the Agent is being installed on. If the Agent name already exists, Liongard will auto-concatenate a numerical value (in parenthesis) to the new Agent name
Naming Your AgentAt the moment, the Agent name cannot accept =, <, >, (, ), {, }, [, ] characters. Please avoid using them in the Agent name.
- If desired, complete the following fields:
- Liongard Environment: This field is optional, but if skipped the Environment must be assigned in Liongard on the Admin > Agents screen. For more information review our Agent Management documentation.
- Select Continue
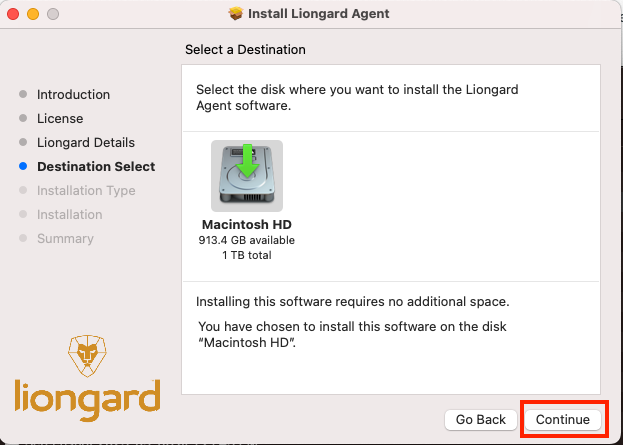
- Select the Disk to install the Agent onto then select Continue

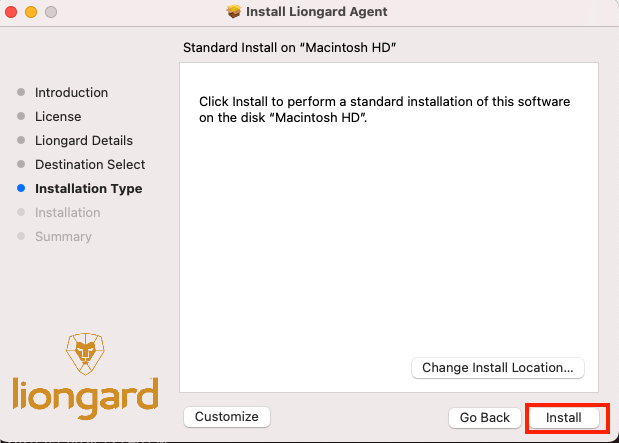
- Select Install
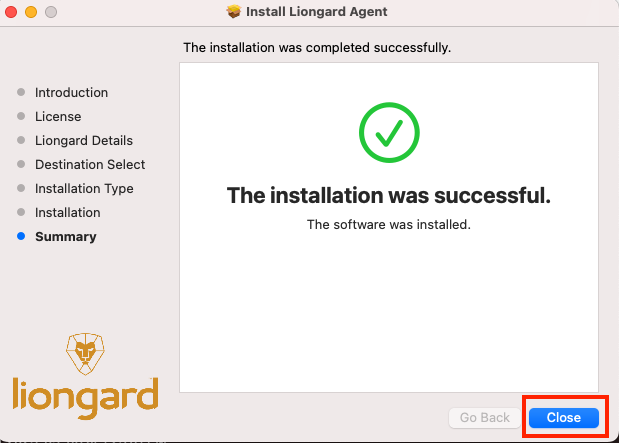
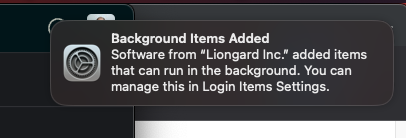
- If the installation was successful you should see the notification in the top right hand of your screen
The Agent is now successfully installed. Return to Liongard and follow our Agent Management documentation for next steps:
Optional: Use a Per-Environment Agent
You also have the option to download a Windows, Mac, or Linux agent installer that has been pre-configured for a specific environment. This pre-configured installer can then be used to install the agent without the need for any manual configuration.
To download a per-environment agent installer, navigate to the Admin > Agents page, click Download Agent Installer and select your operating system. In the agent installer modal, click on Per-Environment Installer. In the Environment field, search for the name of the environment you are creating the installer for. After a few seconds, you can download your per-environment agent installer by clicking the Download button.
Uninstalling the Mac Agent
The macOS agent can be removed from a system by running the command below:
sudo sh /Library/liongard/uninstall.sh
Alternatively, you can find the uninstall script in the liongard agent's directory at the following location:
- /Library/liongard/uninstall.sh
Troubleshooting
Checking Liongard Agent Logs
To assist support with troubleshooting Agent issues the following log files may be required to send to support for further analysis:
- /Library/liongard/logs/debug.log
- /Library/liongard/logs/error.log
- /Library/liongard/logs/heartbeat.log
- /Library/liongard/logs/updater.log
Checking Installation Logs
If you encounter issues with installing the macOS agent you can find installation logs at the following location:
- /tmp/liongard-agent-installer.log
Or running the command in your terminal:
cat /tmp/liongard-agent-installer.log
Checking if the Agent is Installed and Running
If you would like to see if the agent is installed and running you can use the command below:
[ -f "/Library/LaunchDaemons/com.liongard.liongard-agent.plist" ] && launchctl print system/com.liongard.liongard-agent > /dev/null 2>&1 && echo "Liongard Installed and Running" || echo "Liongard Not Installed"
Inspector Auto-Discovery
In order for Liongard to perform auto-discovery and auto-activation processes, an Environment must be assigned to an Agent. Liongard will determine the Inspectors discovered based on the operating system of the Agent.
Keep in mind that macOS Inspectors are Endpoint Inspectors. Endpoint Inspectors are billed per unit according to your agreement with Liongard. Usage beyond the contracted amount will be charged on your monthly invoices.
If you would like Endpoint Inspectors to auto-activate after auto-discovery, navigate to your Username > Company Settings and turn on the Endpoint Auto-Activation toggle as shown. After this toggle has been enabled, individual Environments can be excluded from the Endpoint auto-activation process by adding them to the list below the toggle. Enabling auto-activation means that Endpoint Inspectors will be automatically Auto-discovered, activated, and billed accordingly.

Please keep in mind that Endpoint Inspectors are billed per unit, and usage beyond your minimum commitment (also found on the Company Settings screen) will incur additional costs.
Updated 10 months ago