SentinelOne
This document provides the steps required to configure the SentinelOne Inspector.
Quick DetailsRecommended Agent: On-Demand
Supported Agents: On-Demand or Self-Managed
Is Auto-Discovered By: N/A
Can Auto-Discover: SentinelOne Child Inspectors
Parent/Child Type Inspector: Yes
Inspection via: API
Data Summary: Here
See it in Action
SentinelOne User InformationThe SentinelOne Inspector only pulls user accounts from the SentinelOne Management Console.
Inspector Setup Preparation
The SentinelOne Inspector is used to inspect the SentinelOne management console via their API. The Inspector returns data on SentinelOne sites and their statuses.
Create a Service User for Liongard and Set Account Permissions
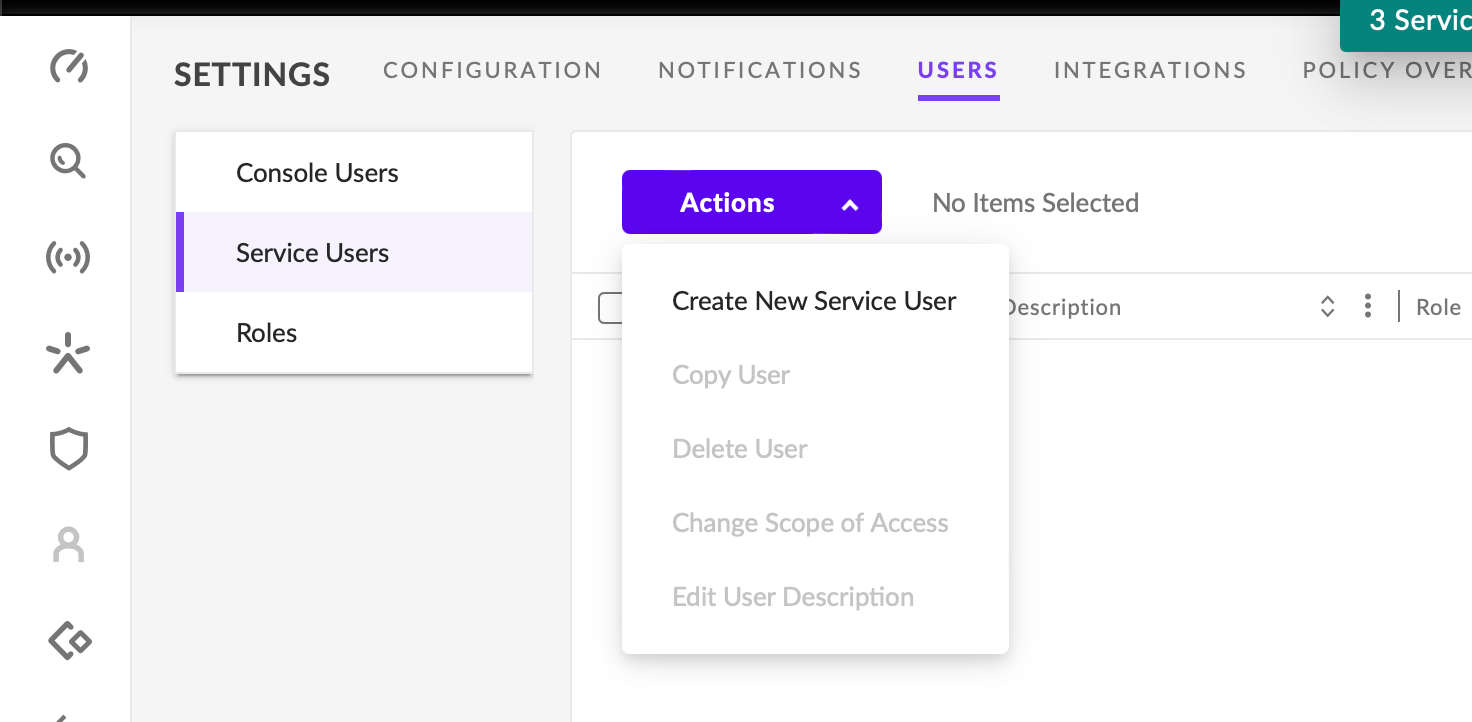
- Log in to your SentinelOne management console with an Administrator account and navigate to Settings > Users > Service User
- Click Actions > Add New Service User
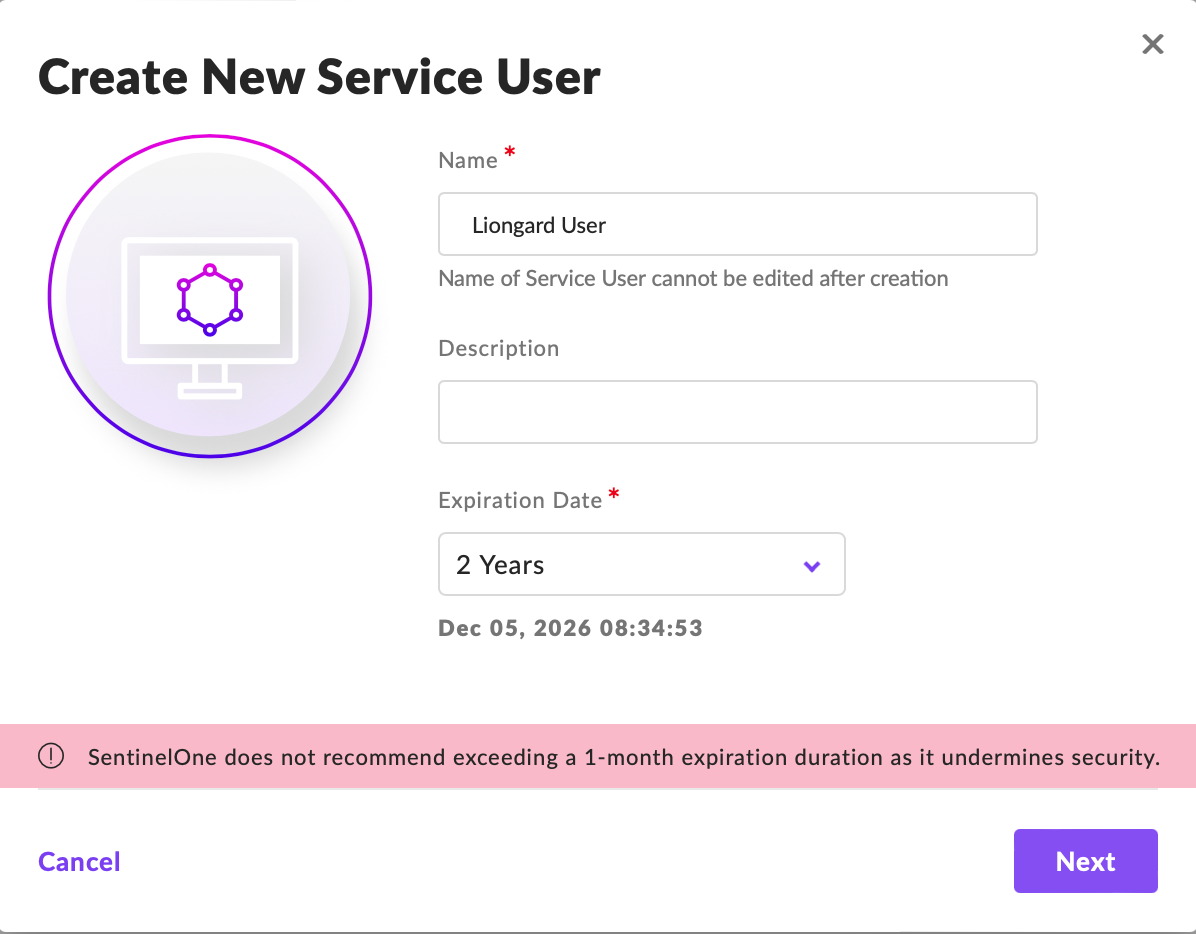
- Enter an appropriate Full Name, Description and set an expiration that works best for your team click Next.
- Recommended Name: Liongard
- Recommended Description: This user will be used for the liongard inspection.
- Expiration Date: This is unable to be set to an unlimited value and SentinelOne recommends 1 month expiration
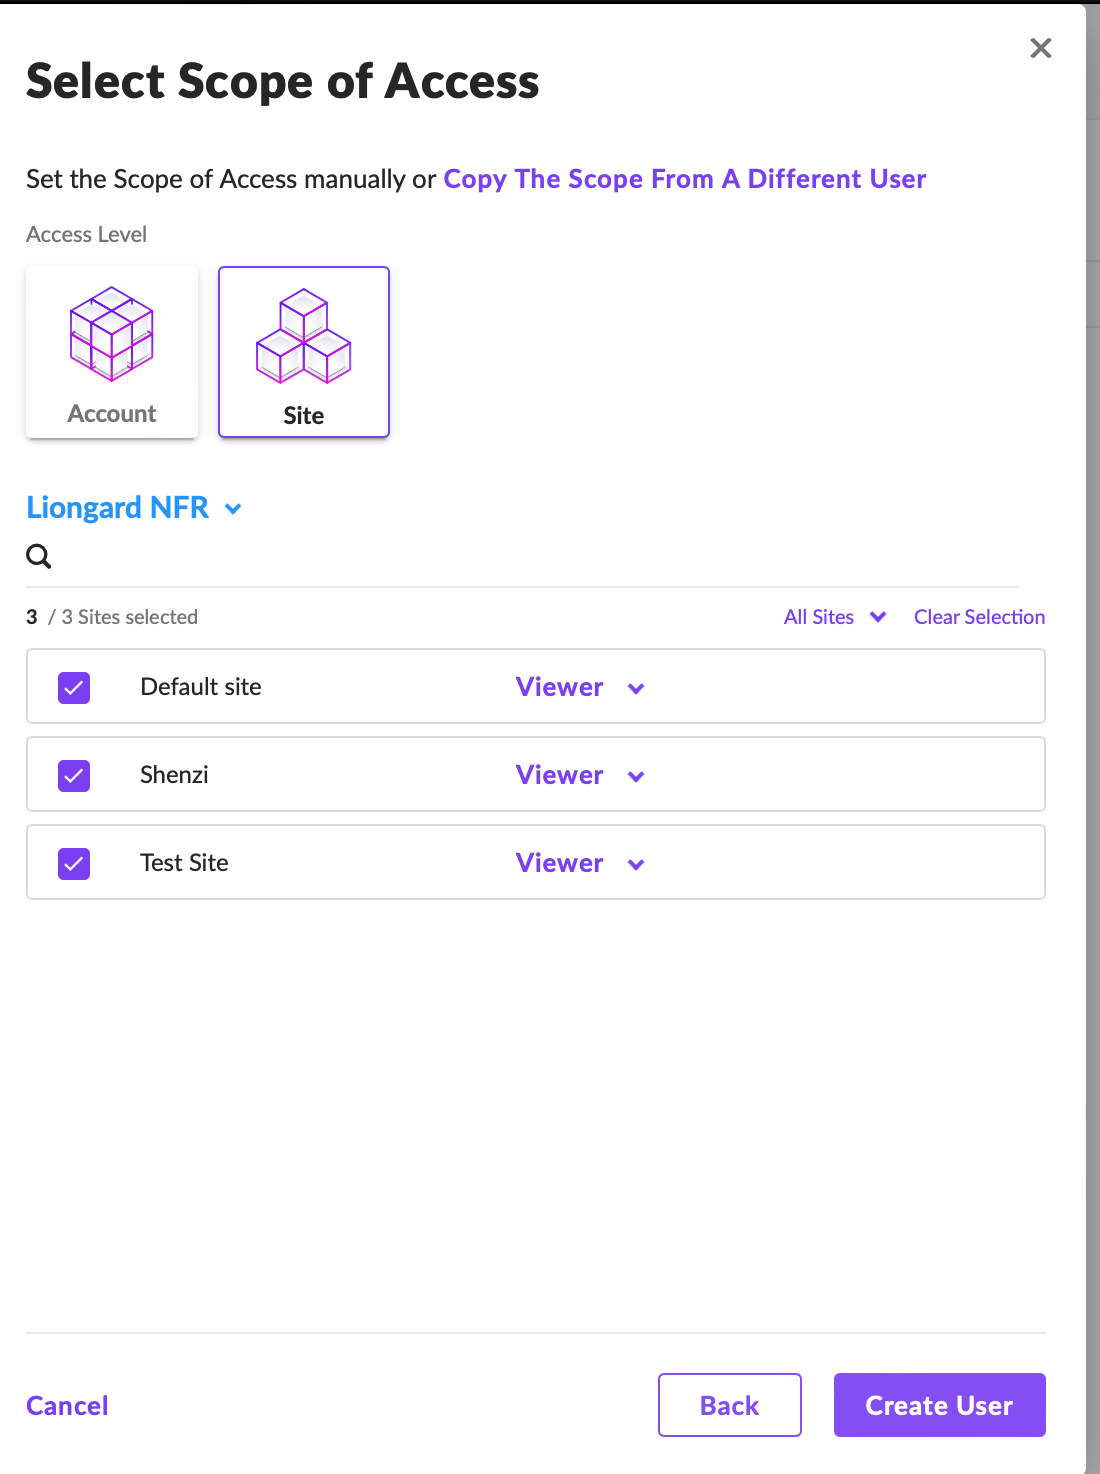
- Under Access Level, select Site. Select the checkbox next to any sites you want to inspect and ensure the role for each account is set to Viewer. Click Create User.
-
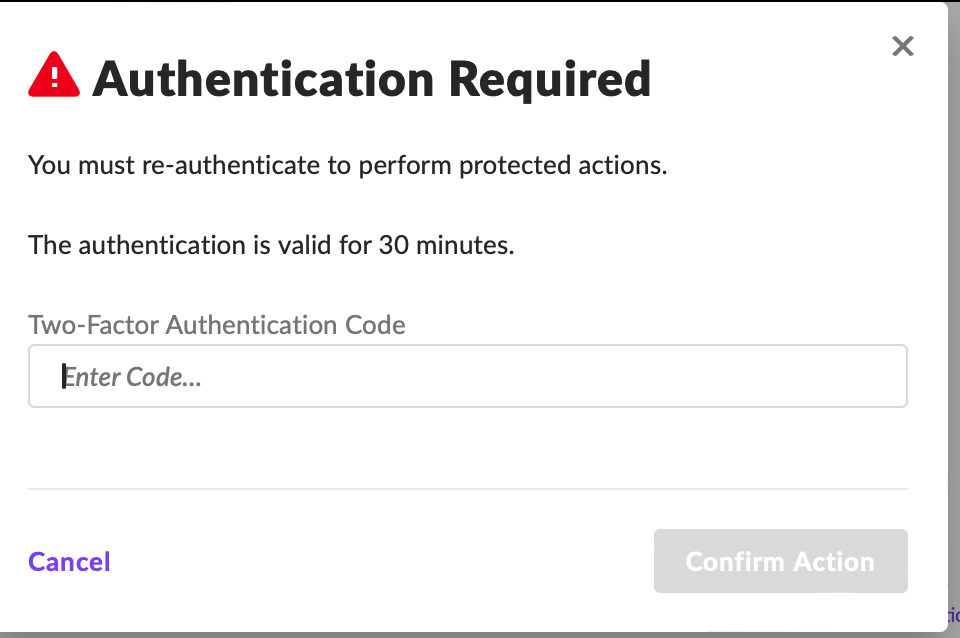
You may be asked for the MFA code of the logged in user to be able to apply the change, if so this will be the MFA code of the logged in user
-
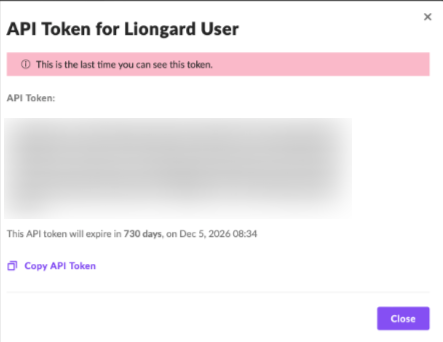
Take note of the API key that appears on the page you will not be able to see this key after leaving the page.
- Record your SentinelOne Instance ID. Your instance ID is the part of your management console URL that appears before sentinelone.net. If using a standalone instance of SentinelOne, you will need to record the entire URL including the protocol and domain

Liongard Inspector Setup
Step 1: Parent Inspector Setup
Since SentinelOne is a multi-tenant system where a single portal is used to manage many Environments, you will set up a single "Parent" Inspector with the access credentials for your SentinelOne portal that will then auto-discover "Child" Inspectors for each Environment.
In Liongard, navigate to Admin > Inspectors > Inspector Types > Navigate to the SentinelOne Inspector > Add System.
Fill in the following information:
- Type of Inspector: Parent
- Environment: Select your MSP's Environment
- Friendly Name: Suggested Naming: entinelOneSentinelOne Parent
- Agent: Select On-Demand Agent
- Inspector Version: Latest
- SentinelOne API Key: The SentinelOne API Key generated above.
- SentinelOne Instance: This is the part of your SentinelOne URL for your instance that you recorded earlier. This should only be the Instance ID and should not contain .sentinelone.net or https:// unless you are using a standalone instance of SentinelOne. Standalone instances will require the entire URL.
- Scheduling: The Inspector will default to run once a day at the time the Inspector is set up. Here you can adjust the schedule.
Select Save. The Inspector will now be triggered to run within the minute
Step 2: Child Inspector Setup
After the first run of the Parent Inspector, your SentinelOne client sites will be Auto-Discovered in the Discovered Systems tab on the Inspectors > SentinelOne page.
Navigate to the Discovered Systems tab in your Inspectors > SentinelOne page
- Activate or Archive your Discovered Systems by ensuring that they're mapped to the correct Environment > Check the checkbox to the left of Inspector(s) > Select the Actions drop down menu > Activate Launchpoints
Optional: Turn on Flexible Asset/Configuration Auto-Updating
If you would like this Inspector's data to be sent to ConnectWise and/or IT Glue, turn on Flexible Assets/Configurations for this Inspector:
- ConnectWise: Admin > Integrations > ConnectWise > Connfiguration Types > Confirm the "Configuration Auto-Updating" toggle is enabled
- IT Glue: Admin > Integrations > IT Glue > Flexible Assets > Confirm the "Flexible Asset Auto-Updating" toggle is enabled
Updated 10 months ago