Addigy
This document provides the steps required to configure the Addigy Inspector.
Quick DetailsRecommended Agent: On-Demand
Supported Agents: On-Demand or Self-Managed
Is Auto-Discovered By: N/A
Can Auto-Discover: N/A
Parent/Child Type Inspector: Yes
Inspection via: API
Data Summary: Here
Inspector Setup Preparation
Step 1: Generate Your v2 API Key in Addigy
- Log in to Addigy
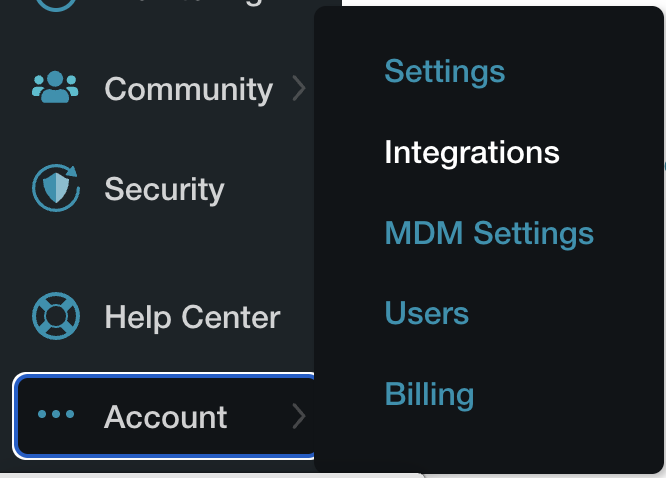
- On the left-hand navigation pane, expand Account and click on Integrations
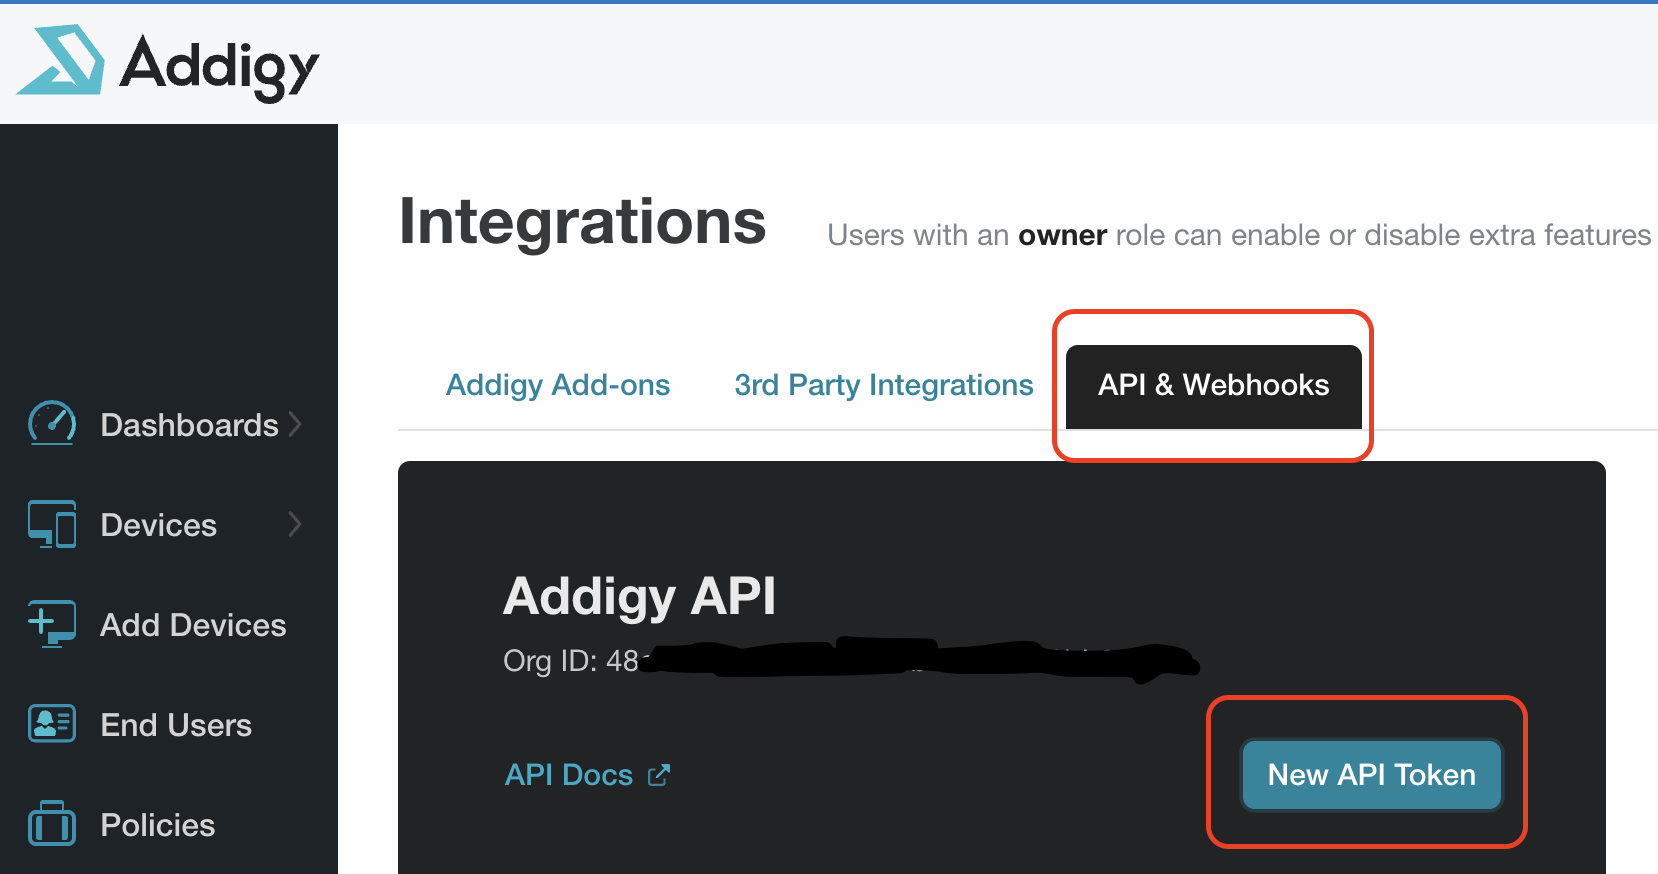
- Navigate to the Addigy API & Webhooks section at the top of the Integrations page. Then select “New API Token”
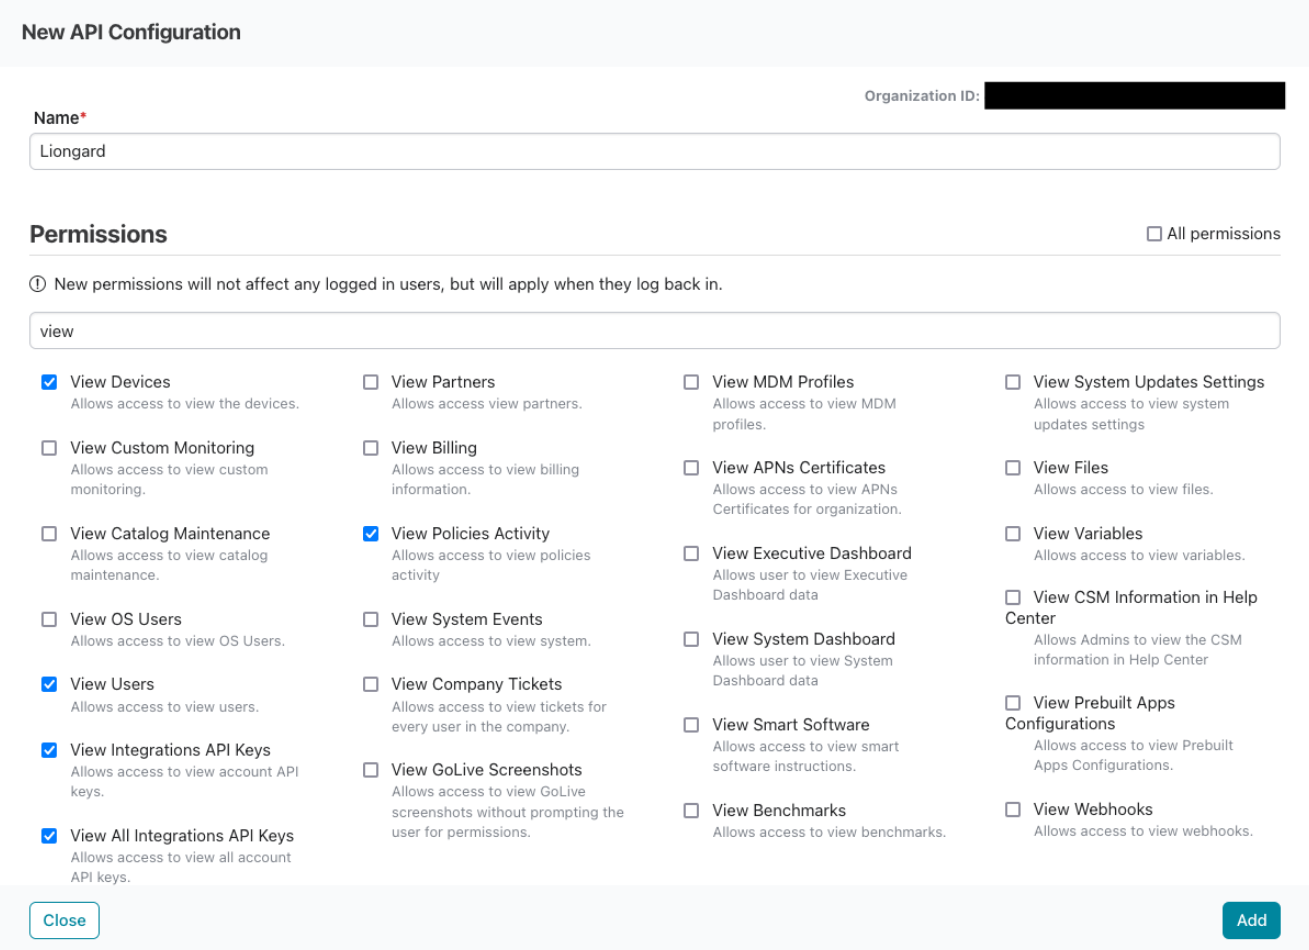
- Enter a name for your API key (ex: Liongard) and select the following permissions:
- View Devices
- View Users
- View Integrations API Keys
- View All Integrations API Keys
- View Policies Activity
- Click Add.
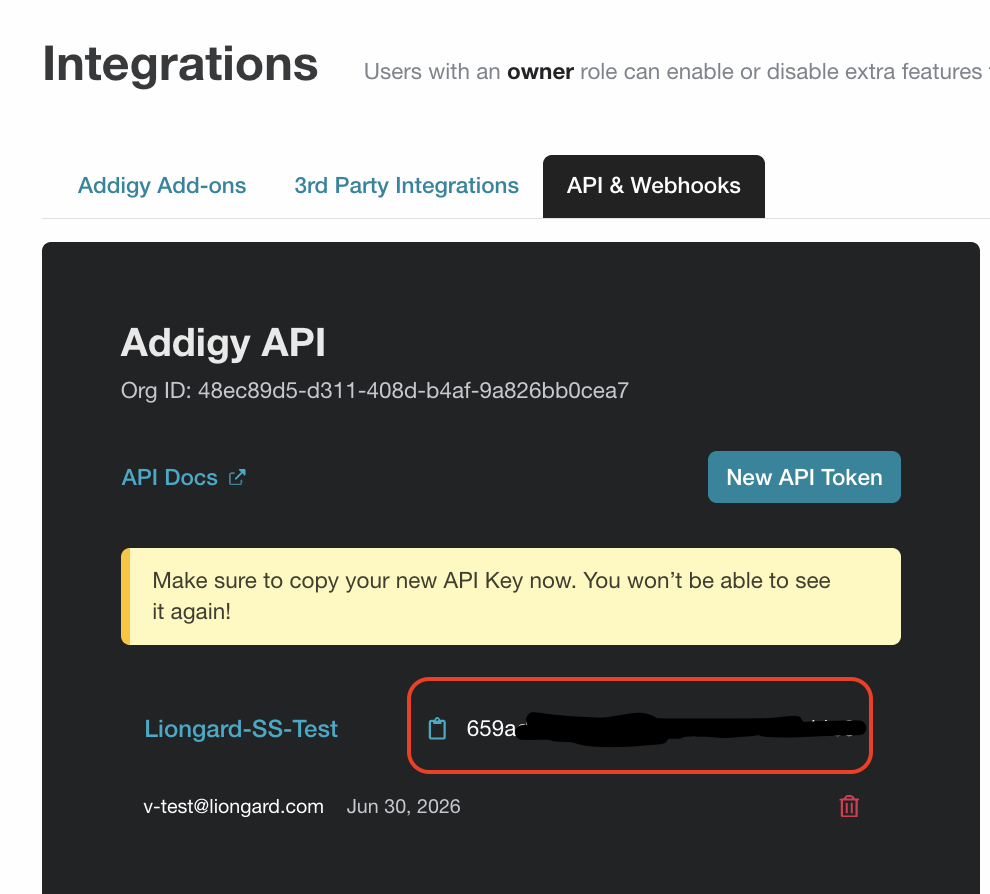
- Copy the API key and store it in a secure location. This is the only credential needed for the Liongard inspector setup.
Step 2. (Optional): Get your Alternative Root Policy ID
This inspector uses your top-level Addigy policies to discover child inspectors. If your customer policies are top-level policies in Addigy, you will not need to take any further action. If your customer policies are organized under a top-level policy, you’ll need to provide the ID of the root policy in order to discovery your customer policies as children:
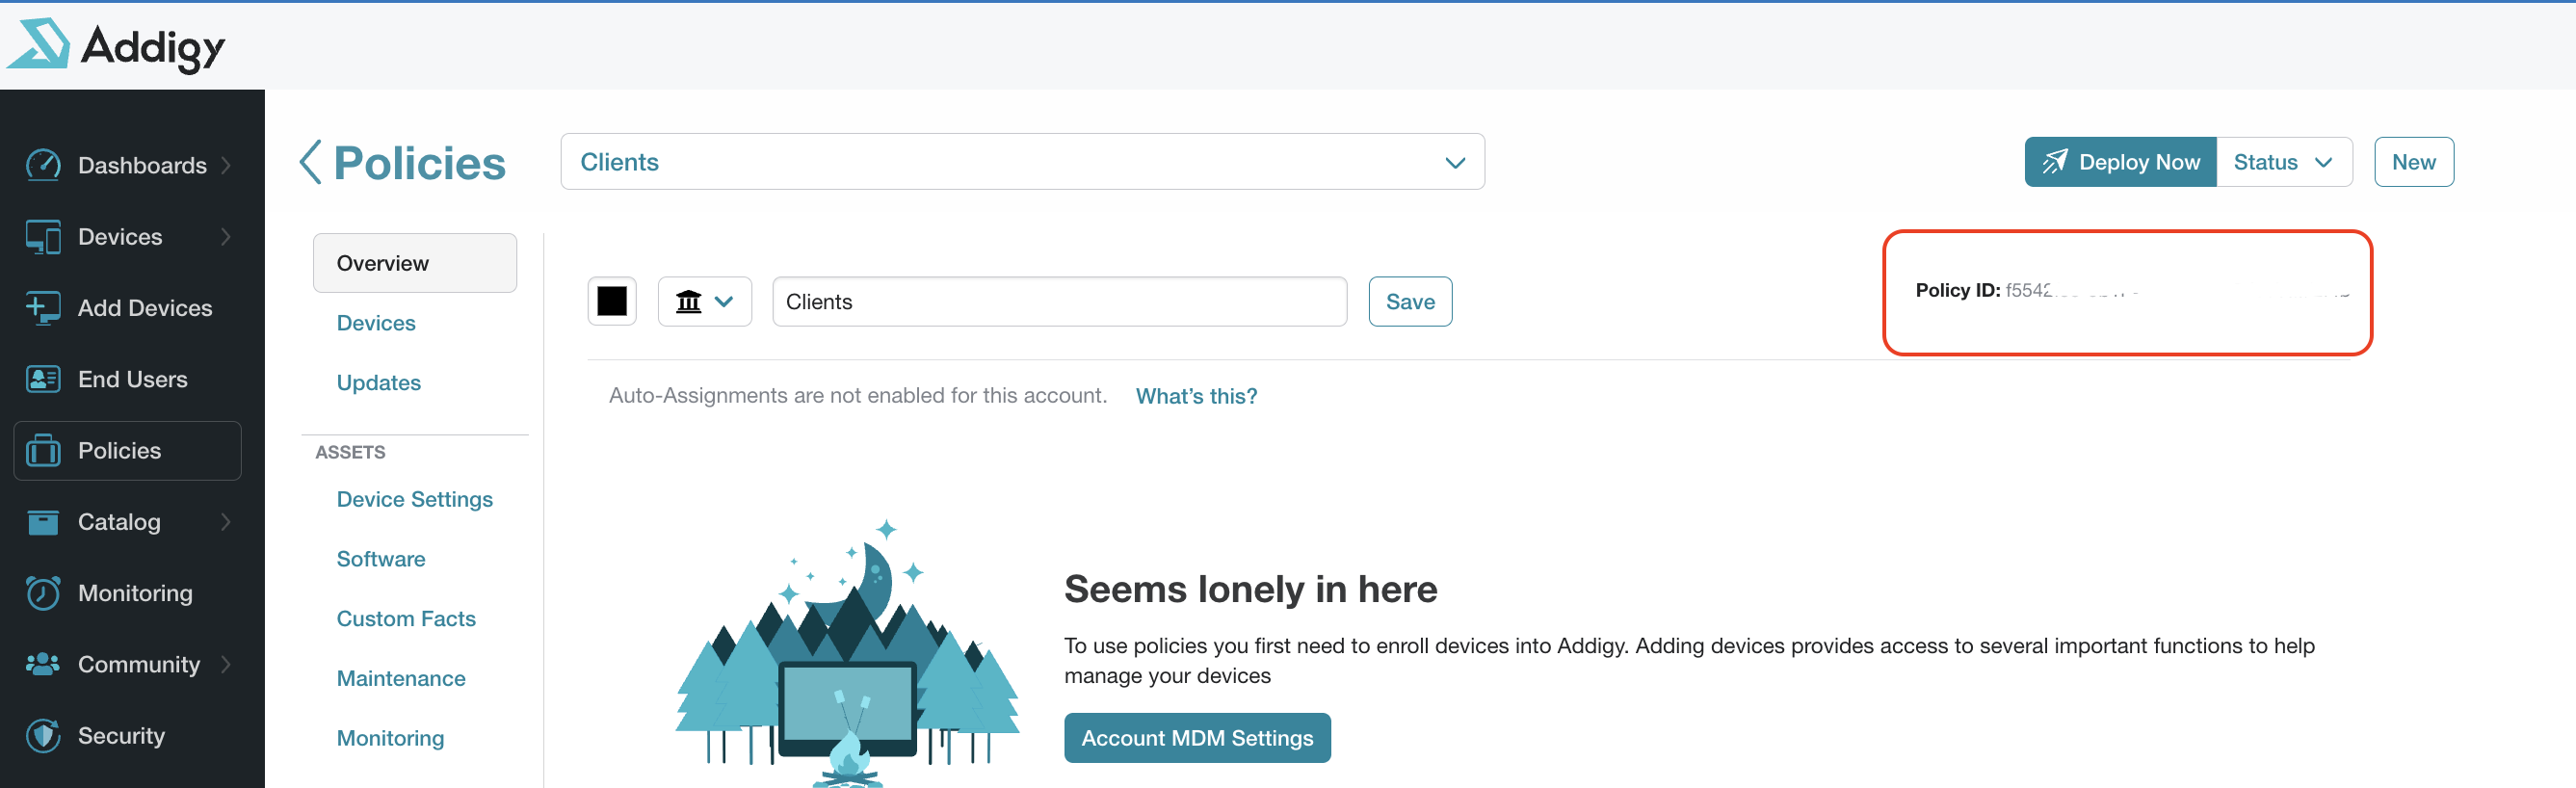
- Log into your Addigy account. In the left-hand menu, navigate to Policies.
- Click on the policy name that your customer policies are organized under.
- Copy the policy ID from the page’s URL or the Policy ID field on the right side of the page. The policy ID will be a hyphenated alphanumeric string in the following format: xxxxxxxx-xxxx-xxxx-xxxx-xxxxxxxxxxxx
Liongard Inspector Setup
Step 1. Parent Inspector Setup
The Addigy inspector supports parent/child inspections by treating top-level policies in Addigy as customer environments. The inspector also allows users to specify an “alternate root policy ID” in case customer policies are stored under a particular policy instead of being top-level policies. This approach should make child launchpoint discovery possible in most Addigy environments.
In Liongard, navigate to Admin > Inspectors > Inspector Types > Navigate to the Addigy Inspector > Select Add System.
Fill in the following information:
- Environment: Select the Environment this System Inspector should be associated to
- Friendly Name: Suggested "Addigy e]"
- Agent: O"
- Agent: On-Demand Agent
- Inspector Version: Latest
- v2 API Key: The client API generated in step 2 to access the Addigy API V2.
- Alternative Root Policy ID: (Optional) Only use this if your customer policies are not top-level policies.
- Scheduling: The Inspector will default to run once a day at the time the Inspector is set up. Here you can adjust the schedule
Select Save. The Inspector will now be triggered to run within the minute.
Step 2. Discovered Child Inspectors
After the first run of the Parent Inspector, your client Addigy organizations will be Auto-Discovered in the Discovered Systems tab on the Inspectors > Addigy page.
Navigate to the Discovered Systems tab in your Inspectors > Addigy page
Activate or Archive your Discovered Systems by ensuring that they're mapped to the correct Environment > Check the checkbox to the left of Inspector(s) > Select the Actions drop down menu > Activate Launchpoints
Step 3. Child Inspector Setup (If Needed)
If your Addigy policy hierarchy is too complex for all child launchpoints to be discovered, you can manually create child launch points after running the parent inspector for the first time.
In Liongard, navigate to Admin > Inspectors > Inspector Types > Navigate to the Addigy Inspector > Select Add System.
Fill in the following information:
- Type of Inspector: Select Child
- Parent: Select the parent Addigy inspector.
- Friendly Name: Suggested "Addigy e]"
- Agent: O"
- Agent: On-Demand Agent
- Policy ID: Enter your Child policy id.
Optional: Turn on Flexible Asset/Configuration Auto-Updating
If you would like this Inspector's data to be sent to ConnectWise and/or IT Glue, turn on Flexible Assets/Configurations for this Inspector:
- ConnectWise: Admin > Integrations > ConnectWise > Configuration Types > Confirm the "Configuration Auto-Updating" toggle is enabled
- IT Glue: Admin > Integrations > IT Glue > Flexible Assets > Confirm the "Flexible Asset Auto-Updating" toggle is enabled
Addigy Quick Tips/FAQs
Updated 14 days ago