How to Write a Custom Actionable Alert Rule
Invalid MDX Cannot read properties of undefined (reading 'type')
Liongard AcademyLearn more about writing custom Actionable Alerts with Liongard Academy's "Liongard Customized" course.
Access today at Liongard Academy.
Overview
Liongard's custom Actionable Alerts give you the ability to get automated alerts on the data that is critical to your team when and where it is valuable.
Liongard's custom Actionable Alerts allow you to answer questions like:
- Do we have tenants in Office 365 with unused licenses?
- When does our client's firewall software need an update?
- Did a Duo user put herself/himself in bypass mode?
You can create your own custom Actionable Alerts in two ways:
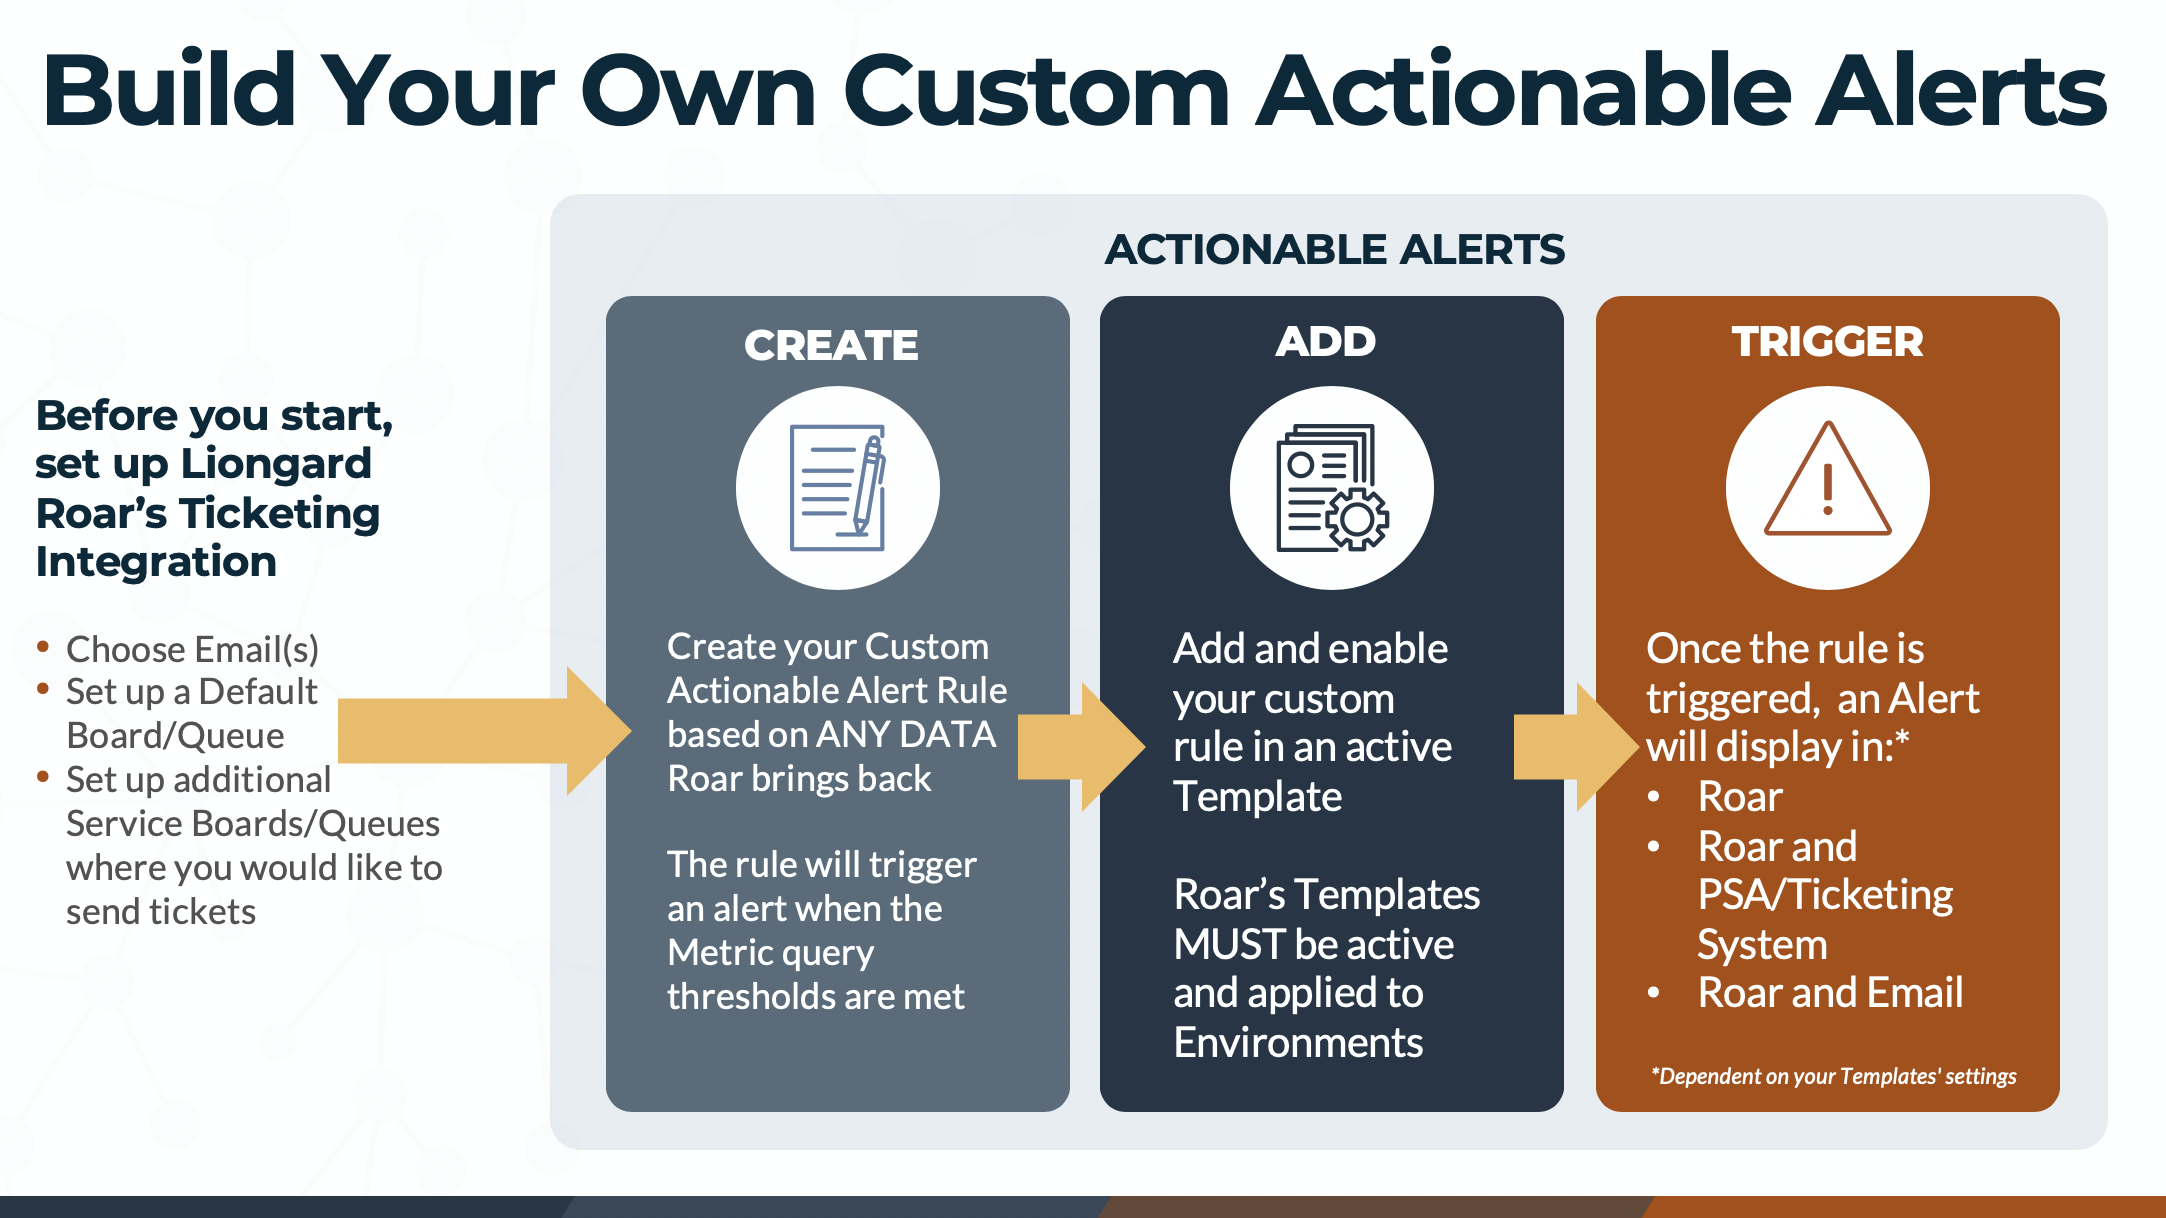
- Clone an Existing Actionable Alert
- To edit an existing Actionable Alert rule in Liongard, you must clone the existing rule and edit it to meet your team's needs.
- Write a Custom Actionable Alert
- If you would like to write a custom Actionable Alert, you must have a Metric prewritten. To learn more about Metrics, please review our Metrics documentation
Clone an Existing Actionable Alert
Step 1: Select Existing Actionable Alert Rule to Clone
- Navigate to Admin > Actionable Alerts

-
Search for the Rule you would like to clone using Liongard's table filtering capabilities.
-
Notate the Rule Name for the rule you are cloning. You will need to know the Rule Name for the final step in this process.

Step 2: Clone the Existing Alert
Select the Clone icon next to the Rule to open the Rule Builder

Step 3: Edit the Rule Builder
General Section
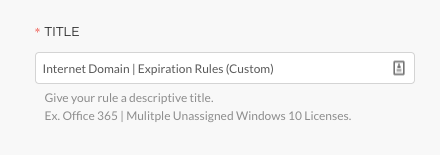
- Edit the Title to name the new rule

Rule Conditions Section
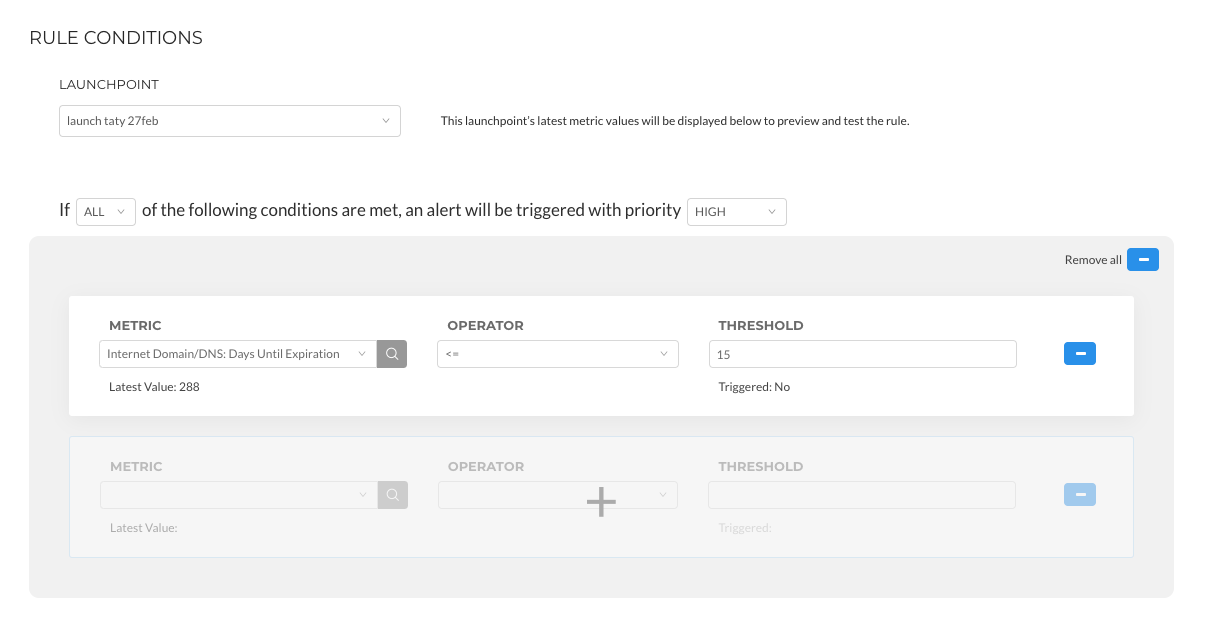
Here you will create rules based on thresholds. Using the "+" sign, you can create multiple rules within one condition.
You can also clone conditions to adjust the priority of each conditional statement.
Edit Fields:
- System: The System/Inspector is preselected. If you would like to test against a different System/Inspector, select the desired System/Inspector from the dropdown menu.
- Conditional Statement: Adjust the Conditional Statement to meet your team's needs.
- In the If statement, select:
- ALL: Trigger an alert if ALL statements outlined below are met.
- ANY: Trigger an alert if ANY statements outlined below are met.
- Priority: Select the priority desired for the alert based on the conditions below.
- In the If statement, select:
- Metric: In most cases, you will not adjust the Metric prepopulated. If you would like to change the Metric, use the dropdown menu or the search icon to do so.
- Operator: Adjust the operator to fit your rule{s) needs.
Operator | Value |
|---|---|
> | Greater than |
< | Less than |
= | Equals |
>= | Greater than or equal to |
< = | Less than or equal |
!= | Does not equal |
changed | Will trigger an Alert if the Metric selected changes from one inspection to another. Additionally, any time the selected Metric changes the Roarbot will trigger an Alert Comment showing the change to the Metric. If selected, this operator automatically triggers a Change Detection. For more information, review our Change Detections documentation. |
empty | Will trigger an Alert if this Metric is empty. A Threshold is not required. |
is not empty | Will trigger an Alert if this Metric is not empty. A Threshold is not required. |
contains | Will trigger an Alert if this Metric contains what is listed in the Threshold field. The Threshold field is case sensitive. |
does not contain | Will trigger an Alert if this Metric does not contain what is listed in the Threshold field. The Threshold field is case sensitive. |
-
Threshold: Edit as needed. This field is case sensitive. Ensure you are using exact spelling and capitalization.
-
Continue to edit additional Conditional Statements. You can choose to remove additional Conditional Statements and/or edit them to fit your team's needs.
Alert Content Section
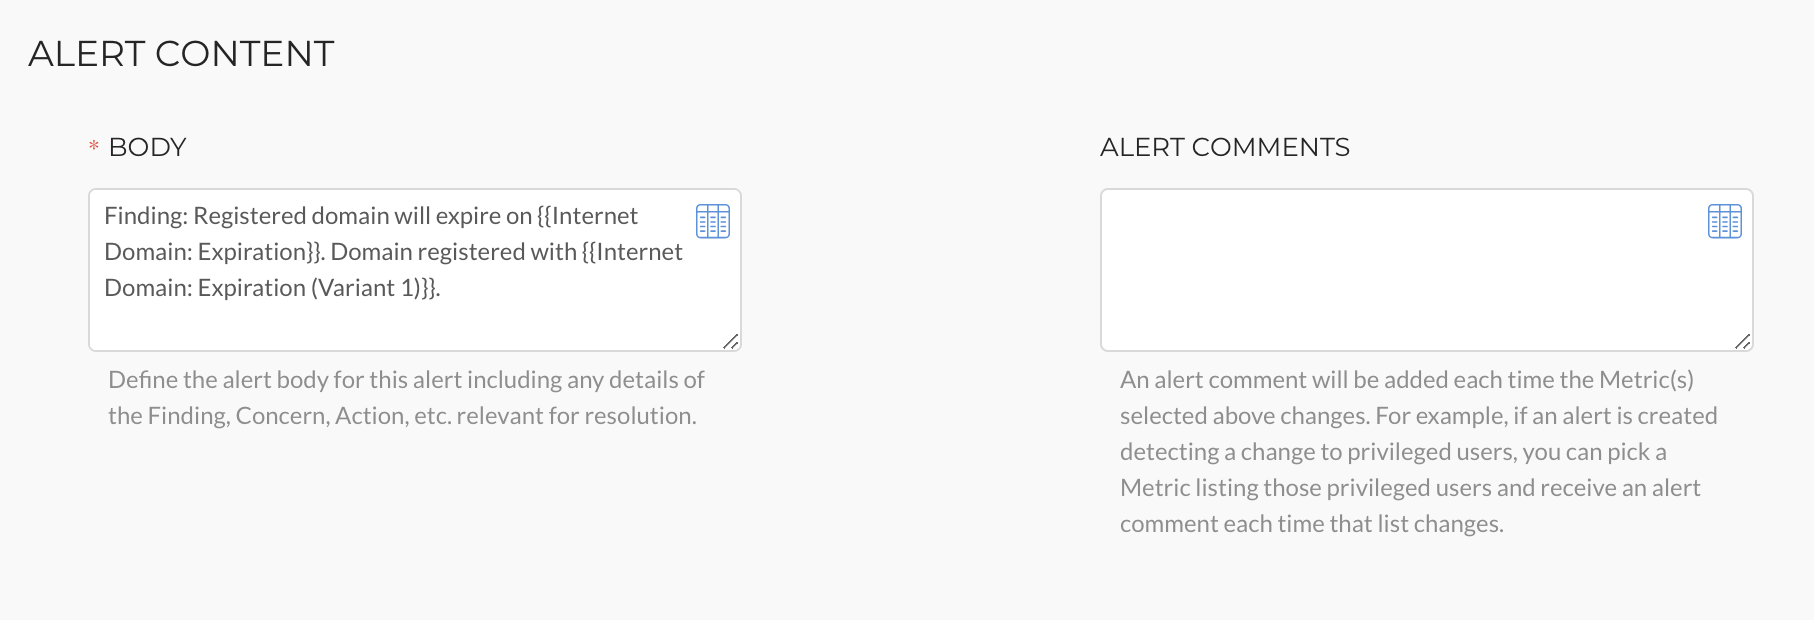
- Body: The Body of the alert will prepopulate when you clone an existing rule. Edit the Body to best suit your team's needs
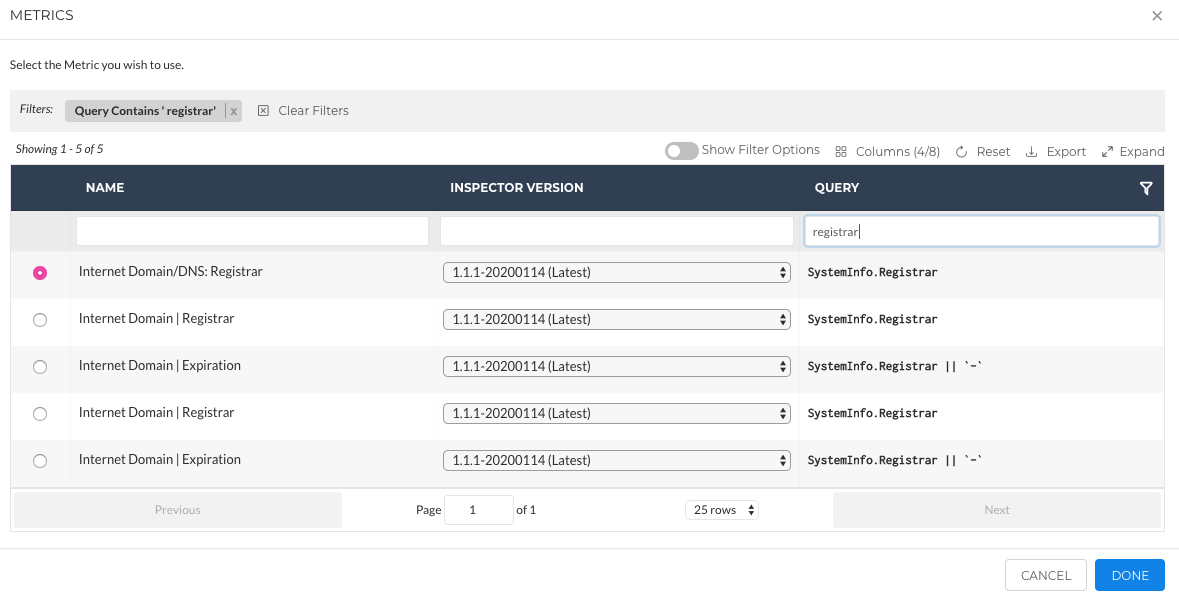
- Add a Metric: Using the table icon, add an additional Metric(s) if you would like for it to be included in the Body of the alert. This Metric(s) is not dynamic and will not change if there are updates to alert.
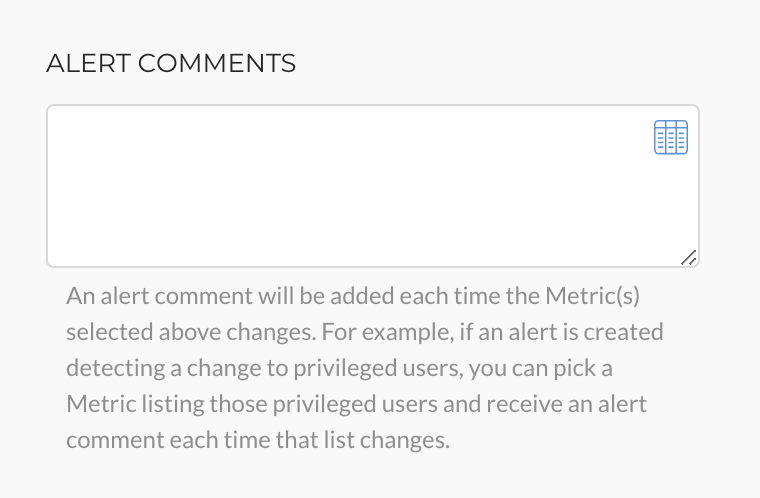
- Alert Comments (Optional): An Alert Comment is meant to give you additional, dynamic context on a triggered alert. Alert Comments can provide an audit trail. If you would like to utilize this Alert Comment, add the desired text, and select the Metric(s) you would like to display here.
- Add a Metric: The Alert Comment will be added to the Alert each time the Metric selected, in the Alert Comment section, changes.
- If using the "changed" operation condition, do NOT add the Metric used for the “changed” operation condition to the Alert Comments of these rules. With the "changed" operation condition, a Roarbot comment will automatically be added each time the Alert triggers, outlining the changes to the Metric output.
Testing Section

- Testing: Based on the System/Inspector selected above, select the Inspection Date(s) you would like to test your rule against.
- Inspection Results: Once you have selected Inspection Dates, the results of your rule will display here.

Step 4: Save the Rule
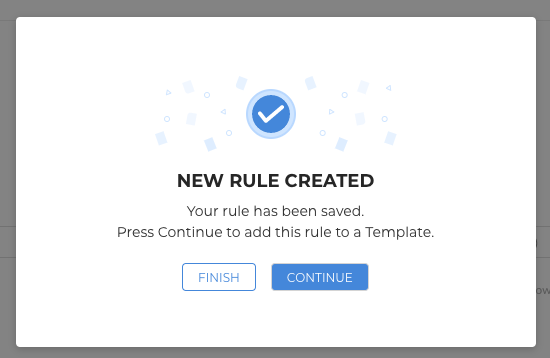
Once you have edited all fields, select "Save."
Rules must be added to Templates, which are applied to Environments, to trigger Alerts.
- Finish: Select Finish if you do not wish to add this Rule to a Template at this time.
- Continue: To add this Rule to a Template, select Continue.
Step 5: Add Rule to Template
If you selected Continue, follow the steps below.
- Using the checkboxes on the lefthand side of the table, to select the Template(s) you would like to add your new rule to.
- Once selected, click Apply.

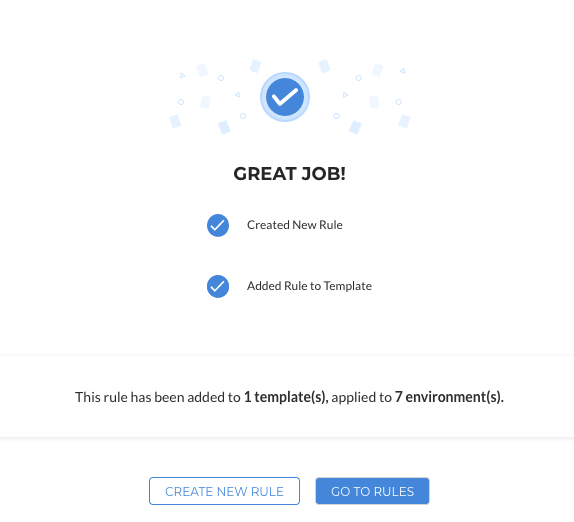
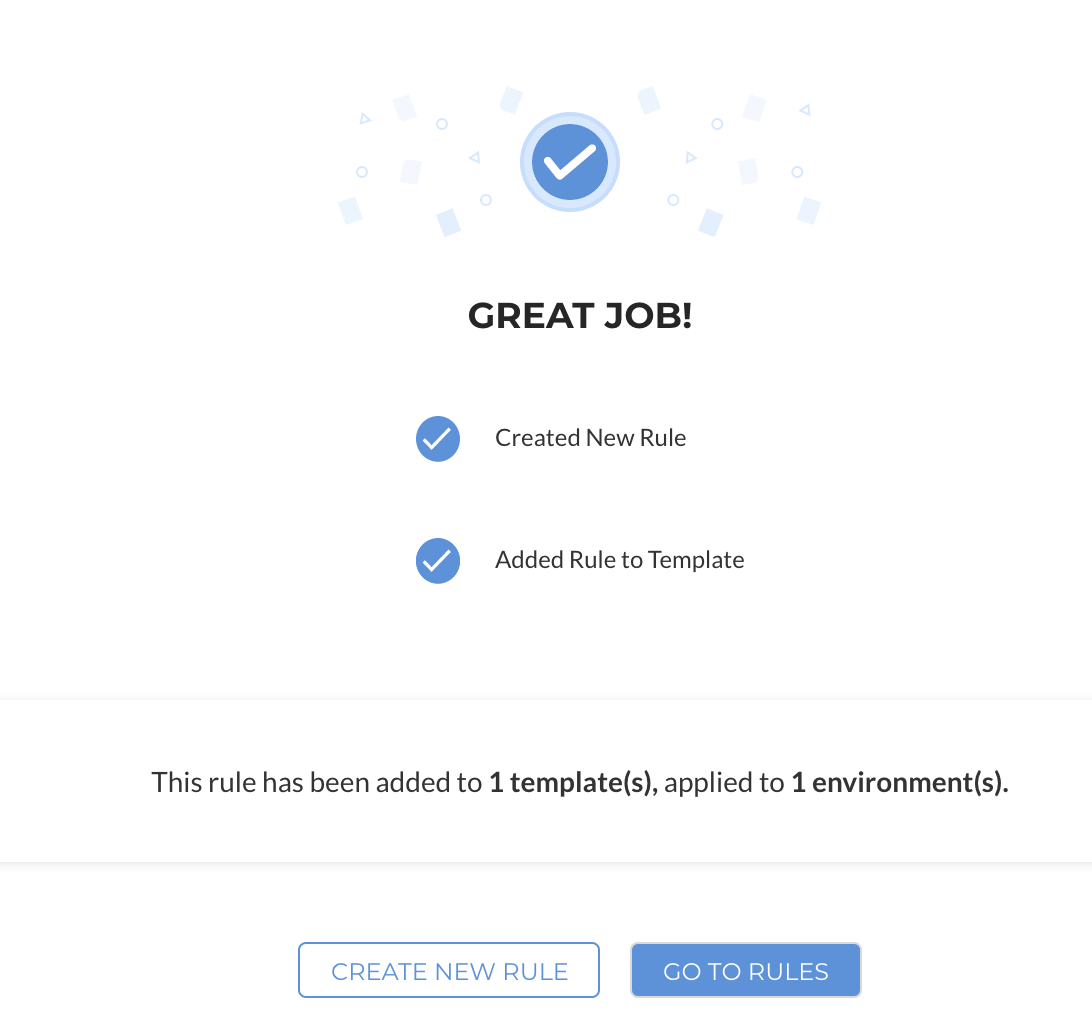
- Once you have applied the rule to a Template(s), you will see the screen below. If the Template is applied to Environment(s), once the rule is triggered, you will receive an Alert.
Step 6: Disable Old Rules
Because you cloned an existing rule, you will want to disable this rule in any active Templates, so you do not receive alerts based on old thresholds and priorities.
- On the Rules tab, search the Rule Name you recorded in Step 1. This is the Rule Name for the rule you cloned.
- Write down the Template name{s) listed in the Template column. You will need to know each Template that the rule is enabled in.

- Navigate to the Templates tab. Select the three dotsin the Action column next to a Template where the Rule is active. Select Edit the Template.
- In the Rules Section, search the Rule Name.
- Toggle off the Enabled toggle
- Select Save

- Repeat this process for each additional Template that the rule is enabled in.
- To ensure the rule is disabled in all Templates, navigate to the Rules tab, search the rule in the Rule Name column, ensure that the Templates column is blank.
Write a Custom Actionable Alert
Desired Metric(s)Prior to creating your new Rule in the Rule Builder, you will need to predetermine the Metric(s) you would like to base the Rule on.
For more information on Metrics, please review our Metrics documentation
Step 1: Open Rule Builder
- Navigate to Admin > Actionable Alerts Select the "Create Rule" button in the top righthand corner

Step 2: Edit the Rule Builder
General Section

- Select the Inspector you would like to build a rule for
- Edit the Title to name the new Rule
Rule Conditions Section
Here you will create rules based on thresholds. Using the "+" sign, you can create multiple rules within one condition.
You can also clone conditions to adjust the priority of each conditional statement.
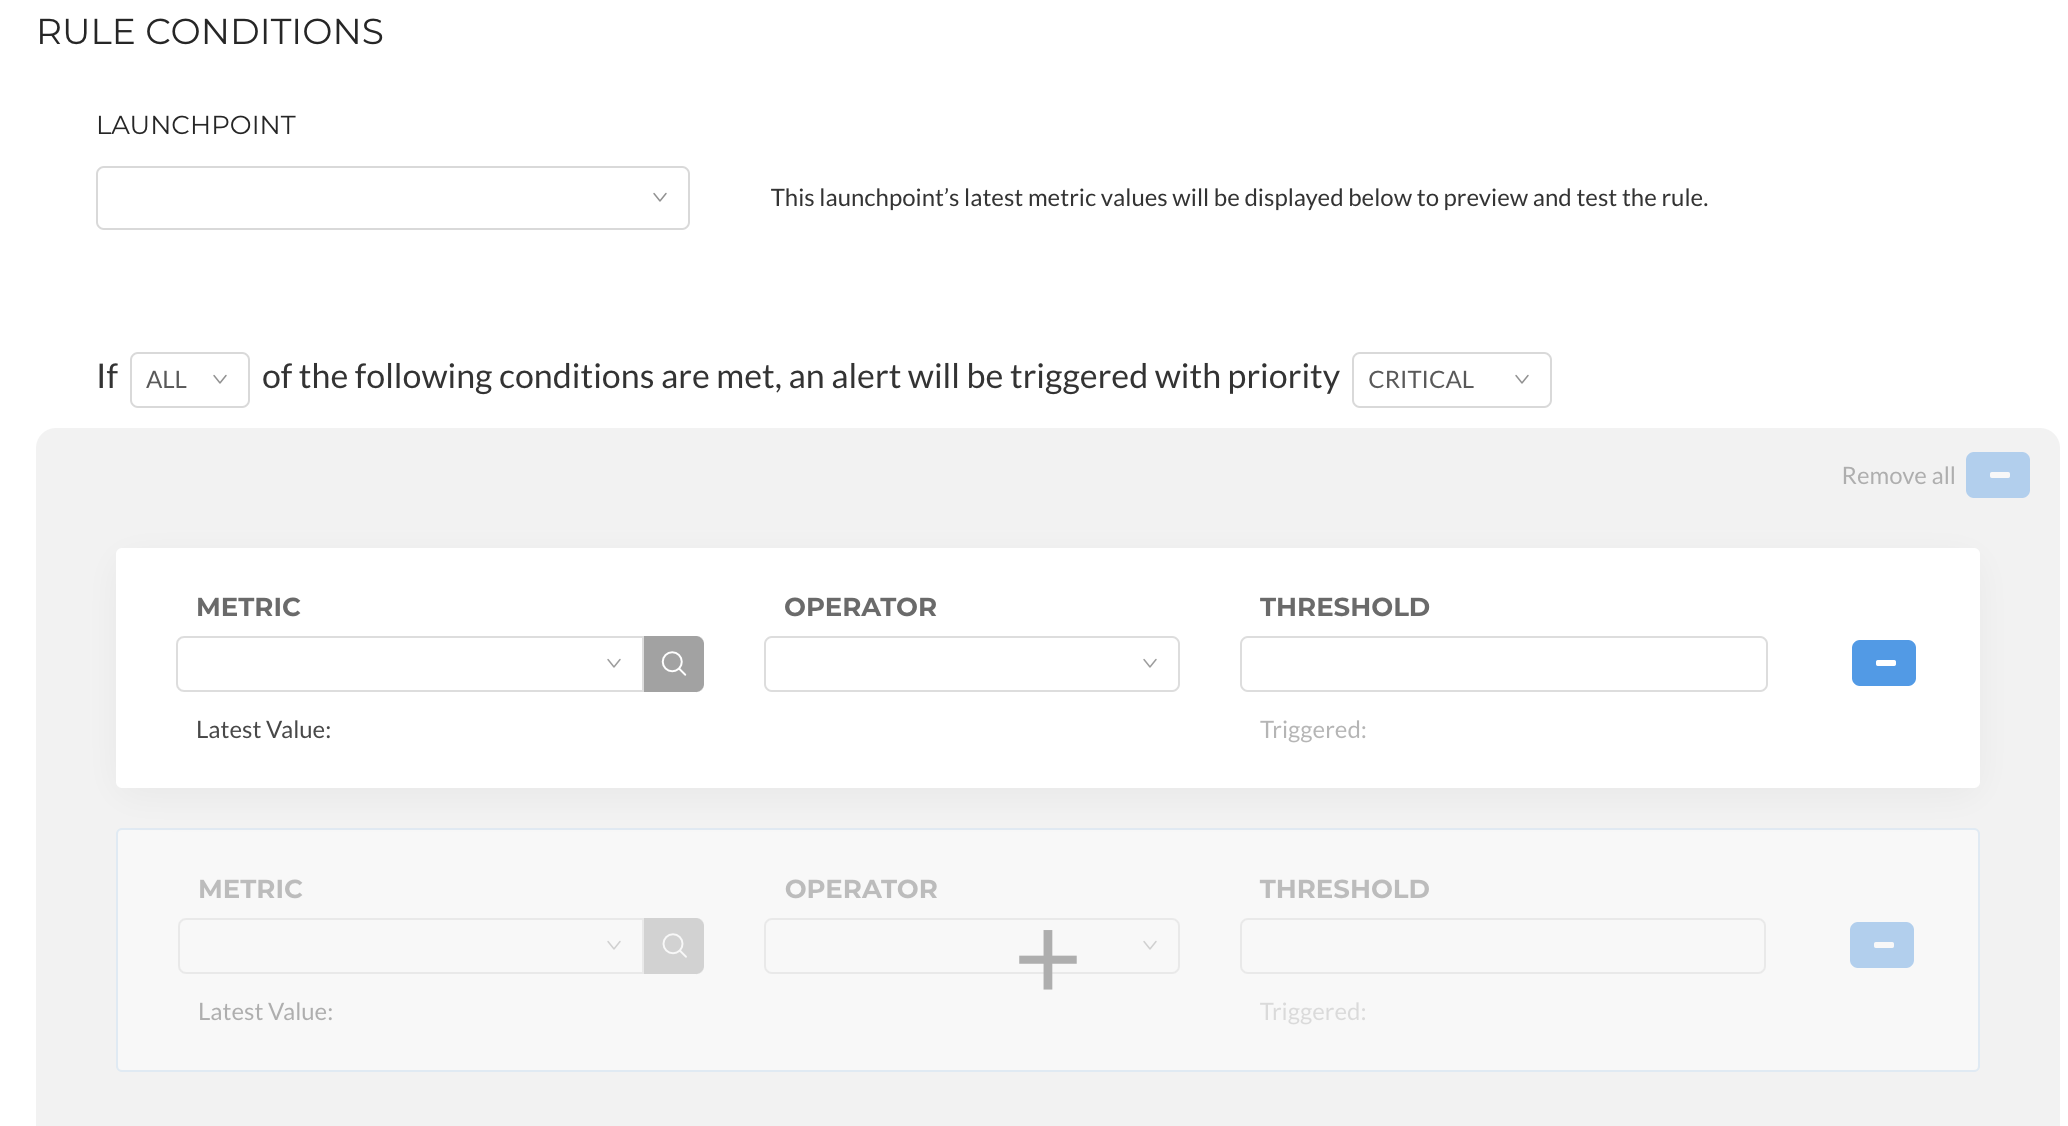
- System: Select the System/Inspector you would like to test your rule against.
- Conditional Statement: Edit the Conditional Statement to meet your team's needs.
- In the If statement, select:
- ALL: Trigger an alert if ALL statements outlined below are met.
- ANY: Trigger an alert if ANY statements outlined below are met.
- Priority: Select the priority desired for the alert based on the conditions below.
- In the If statement, select:
- Metric: Select the Metric you would like to base your Rule on. Use the Search icon to view more details about available Metrics.
- Operator: Change the operator to fit your Rule's needs.
Operator | Value |
|---|---|
> | Greater than |
< | Less than |
= | Equals |
> = | Greater than or equal to |
< = | Less than or equal |
!= | Does not equal |
changed | Will trigger an Alert if the Metric selected changes from one inspection to another. Additionally, any time the selected Metric changes the Roarbot will trigger an Alert Comment showing the change to the Metric. If selected, this operator automatically triggers a Change Detection. For more information, review our Change Detections documentation. |
empty | Will trigger an Alert if this Metric is empty. A Threshold is not required. |
is not empty | Will trigger an Alert if this Metric is not empty. A Threshold is not required. |
contains | Will trigger an Alert if this Metric contains what is listed in the Threshold field. The Threshold field is case sensitive. |
does not contain | Will trigger an Alert if this Metric does not contain what is listed in the Threshold field. The Threshold field is case sensitive. |
- Threshold: Edit as needed. This field is case sensitive. Ensure you are using exact spelling and capitalization.
You can clone the conditional statement to create additional conditions for the rule. Edit these conditions as needed.
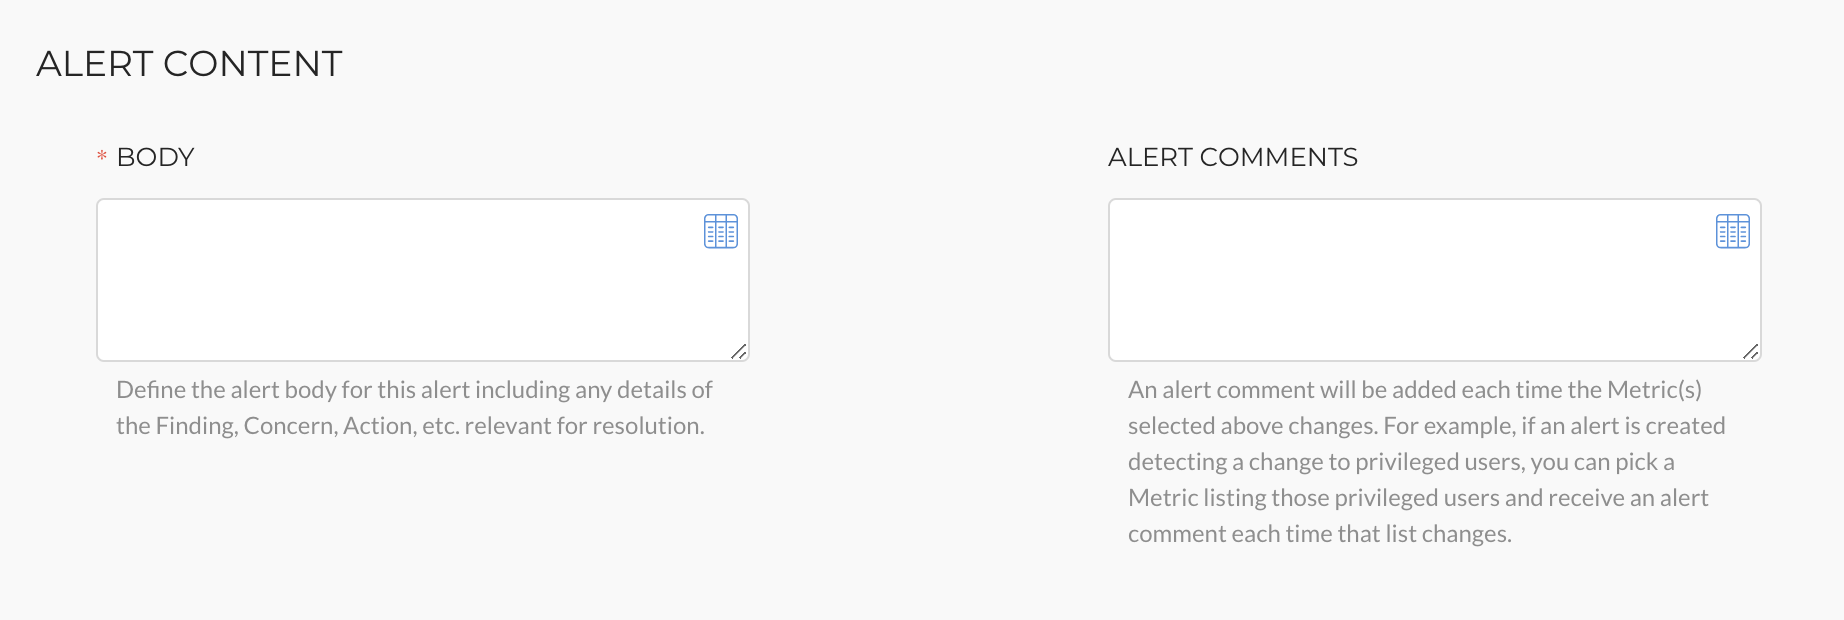
Alert Content Section
-
Body of the Alert: Edit the Body to best suit your team's needs.
- Liongard's Alerts include information, such as Finding, Concern, Attack Vector, and/or Action
- Add a Metric (Optional): Using the table icon, add an additional Metric(s) if you would like for it to be included in the Body of the Alert. This Metric(s) is not dynamic and will not change if there are updates to alert.
-
Alert Comments (Optional): An Alert Comment is meant to give you additional, dynamic context on a triggered alert. Alert Comments can provide an audit trail. If you would like to utilize this Alert Comment, add the desired text, and select the Metric(s) you would like to display here.
- Add a Metric: The Alert Comment will be added to the Alert each time the Metric selected, in the Alert Comment section, changes.
- If using the "changed" operation condition, do NOT add the Metric used for the “changed” operation condition to the Alert Comments of these rules. With the "changed" operation condition, a Roarbot comment will automatically be added each time the Alert triggers, outlining the changes to the Metric output.
Testing Section

-
Testing: Based on the System/Inspector selected above, select the Inspection Date(s) you would like to test your Rule against.
-
Inspection Results: Once you have selected Inspection Dates, the results of your Rules will display here.
Step 3: Save the Rule
Once you have edited all fields, select "Save." Rules must be added to Templates, which are applied to Environments, to trigger Alerts.
- Finish: Select Finish if you do not wish to add this Rule to a Template at this time.
- Continue: To add this Rule to a Template, select Continue.
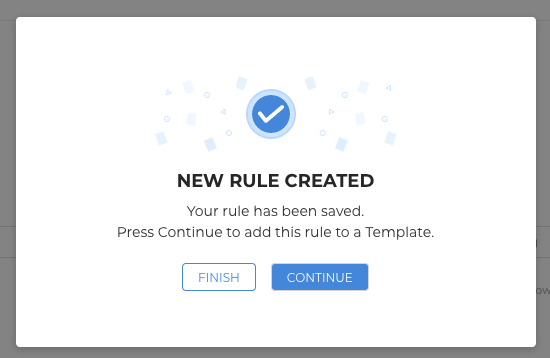
Step 4: Add Rule to Template
If you selected Continue, follow the steps below.
- Using the checkboxes on the lefthand side of the table, select the Template(s) you would like to add your new rule to.
- Once selected, click Apply.

- Once you have applied the rule to a Template(s), you will see the screen below. If the Template is applied to Environment(s), once the rule is triggered, you will receive an Alert.
Priority Field Grayed OutPlease note that a Priority can only be selected once per Actionable Alert Rule. If the priority option you want to select is grayed out, review all Conditional Statements in the Rule Builder, and adjust the priority to avoid duplicate priorities.
Updated about 2 months ago
