Sophos SG
This document provides the steps required to configure the Sophos SG Inspector.
Quick Details:Recommended Agent: Self-Managed
Supported Agents: Self-Managed
Is Auto-Discovered By: N/A
Can Auto-Discover: N/A
Parent/Child Type Inspector: No
Inspection via: API
Data Summary: Here
Overview
See it in Action
Inspector Setup Preparation
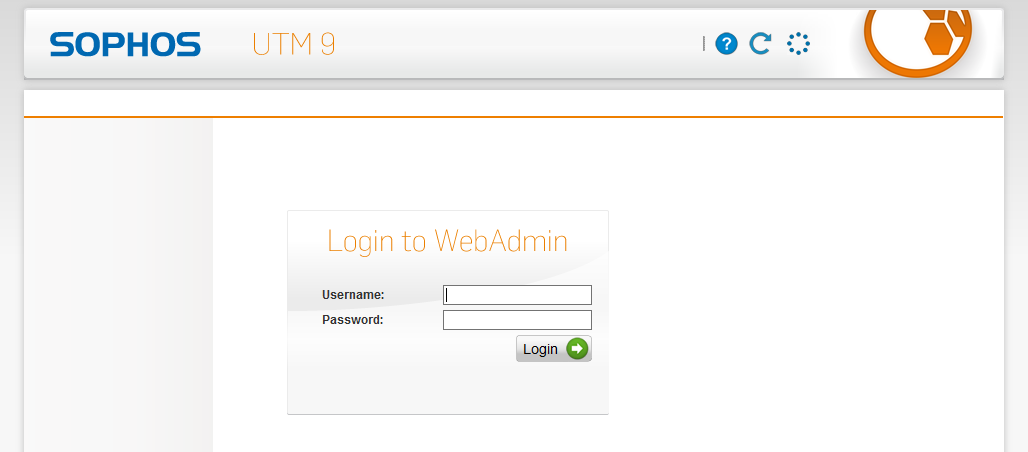
Log into the Sophos SG interface

Liongard Sophos SG Inspector Setup Step 1
Create a Read-Only Local User
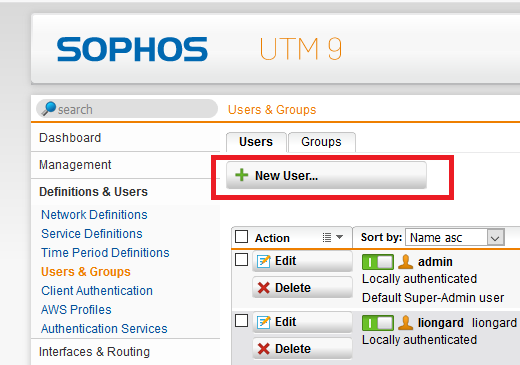
- Navigate to "Definitions & Users" > "Users & Groups" and then click "New User"
- Fill in the Username and Real name fields with "liongard"
- Set Authentication to Local and set a password
- Make this user a member of the Read-Only group so that "liongard" has read-only access
- This user will be used later only to map the API token in later steps

Liongard Sophos SG Inspector Setup Step 2
Enable the REST API
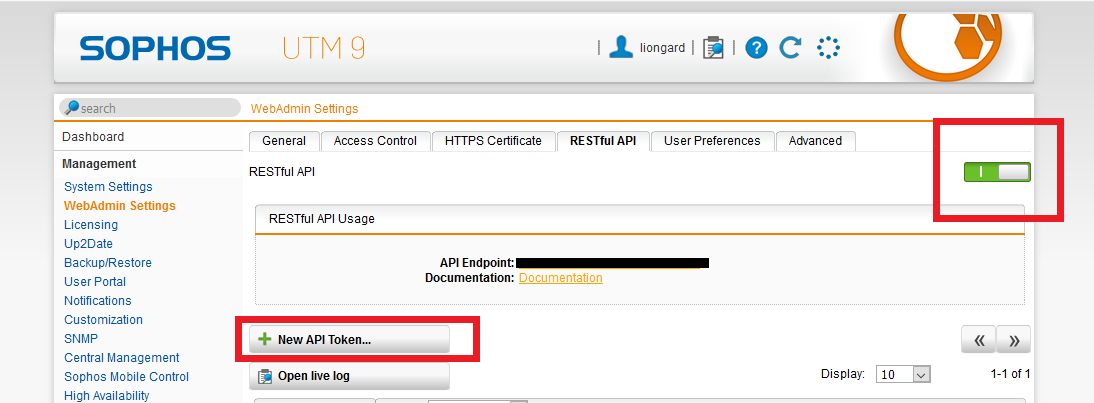
- Enable the REST API on Sophos SG by going to Management > WebAdmin Settings > RESTful API.
- Click the checkbox to enable the API, and then create a new API token.
- Map the token to the "liongard" user you created in the earlier step.
- Save this token for later when setting up the Sophos SG Liongard Inspector.

Liongard Sophos SG Inspector Setup Step 3
Liongard Inspector Setup
In Liongard, navigate to Admin > Inspectors > Inspector Types > Navigate to the Sophos SG Inspector > Select Add System.
Fill in the following information:
- Environment: Select the Environment this System should be associated to
- Friendly Name: Suggested "Sophos SG ment Name]"
- **Ag"
- Agent: Select the On-premises Agent installed for this Environment or the Self-Hosted Agent
- Inspector Version: Latest
- IP Address: Input the IP address of the Sophos SG firewall. Do not include the protocol (http://, https://)
- Port: Input the Port for the Sophos SG firewall. The Sophos default is 4444.
- Token: Input the Token from the steps above.
- Scheduling: The Inspector will default to run once a day at the time the Inspector is set up. Here you can adjust the schedule
Select Save. The Inspector will now be triggered to run within the minute.
If you have any issues with connectivity after setting up the Inspector, then you may need to allowlist the IP of the Agent running the Inspector to allow access to the Sophos SG firewall.
Serverless EnvironmentWe recommend deploying the Sophos SG Inspector using an On-Premises Agent. However, if a client network is serverless, you can deploy and allowlist a Self-Hosted Agent and use that Agent to run the Inspector. Please review this documentation for more information.
This Inspector runs on Port 4444.
Roll out Inspectors at Mass via CSV Import
For more information detailed information, please visit our documentation.
To import Sophos XG Inspectors via CSV Import, navigate to Admin > Inspectors > Sophos SG > Select the down arrow icon in the top right-hand to Download CSV Import Template.
In the CSV Template, each row, starting on row three, will represent an Inspector. Fill in the following information for each Inspector you want to roll out:
- Agent.Name: This column is case sensitive. Copy and paste the associated Agent name from the Admin > Agents screen
- Inspector.Name: Enter "sophos-sg-inspector"
- Environment.Name: This column is case sensitive. Copy and paste the associated Environment name from the Dashboard screen
- Alias: Enter the Desired Friendly Name
- Config.Base_URL: Enter the IP Address of your Sophos SG console
- Config.PORT: Enter the port number of your Sophos SG console
- Config.TOKEN: Enter the token you created in the Inspector Setup Preparation
- FreqType: Enter "days"
- FreqInterval: Enter "1"
When ready to Import the CSV Template of Inspectors, navigate to Admin > Inspectors > Sophos SG > Select the up arrow icon in the top right-hand to Import CSV > Select your saved template.
After the successful import notification, reload your browser to find your imported Inspectors.
These Inspectors will automatically trigger themselves to run within a minute.
Optional: Turn on Flexible Asset/Configuration Auto-Updating
If you would like this Inspector's data to be sent to ConnectWise and/or IT Glue, turn on Flexible Assets/Configurations for this Inspector:
- ConnectWise: Admin > Integrations > ConnectWise > Configuration Types > Confirm the "Configuration Auto-Updating" toggle is enabled
- IT Glue: Admin > Integrations > IT Glue > Flexible Assets > Confirm the "Flexible Asset Auto-Updating" toggle is enabled
Common Setup Issues
401 Access denied with 401 Unauthorized. Please verify that the credentials are correct.
403 The request is forbidden due to limited privileges. Please confirm that the credentials have the right privileges.
503 Service unavailable. Please verify that you have the REST API enabled.
Updated 4 months ago
