QuickBooks
This document provides the steps required to configure the QuickBooks Inspector.
Quick DetailsRecommended Agent: On-Demand
Supported Agents: On-Demand
Is Auto-Discovered By: N/A
Can Auto-Discover: N/A
Parent/Child Type Inspector: No
Inspection via: API
Data Summary: Here
Overview
The QuickBooks Inspector returns customer, vendor, and employee information from QuickBooks Online.
Inspector Setup Preparation
Step 1: Create an OAuth App
- Navigate to the Intuit Developer portal and log in. Once logged in, navigate to the Dashboard in the top-right corner of the page.

- Select "Create an app."

- Select the "QuickBooks Online and Payments" option
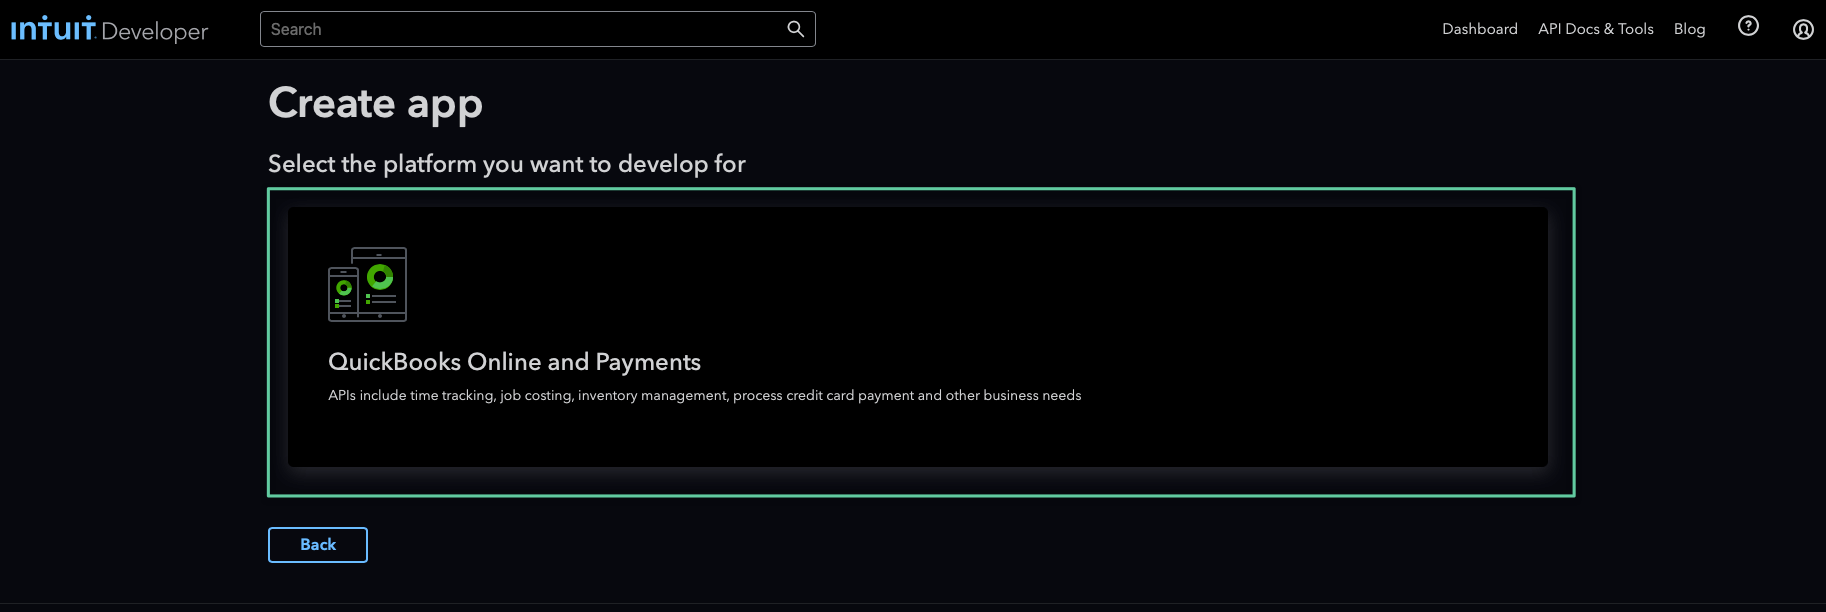
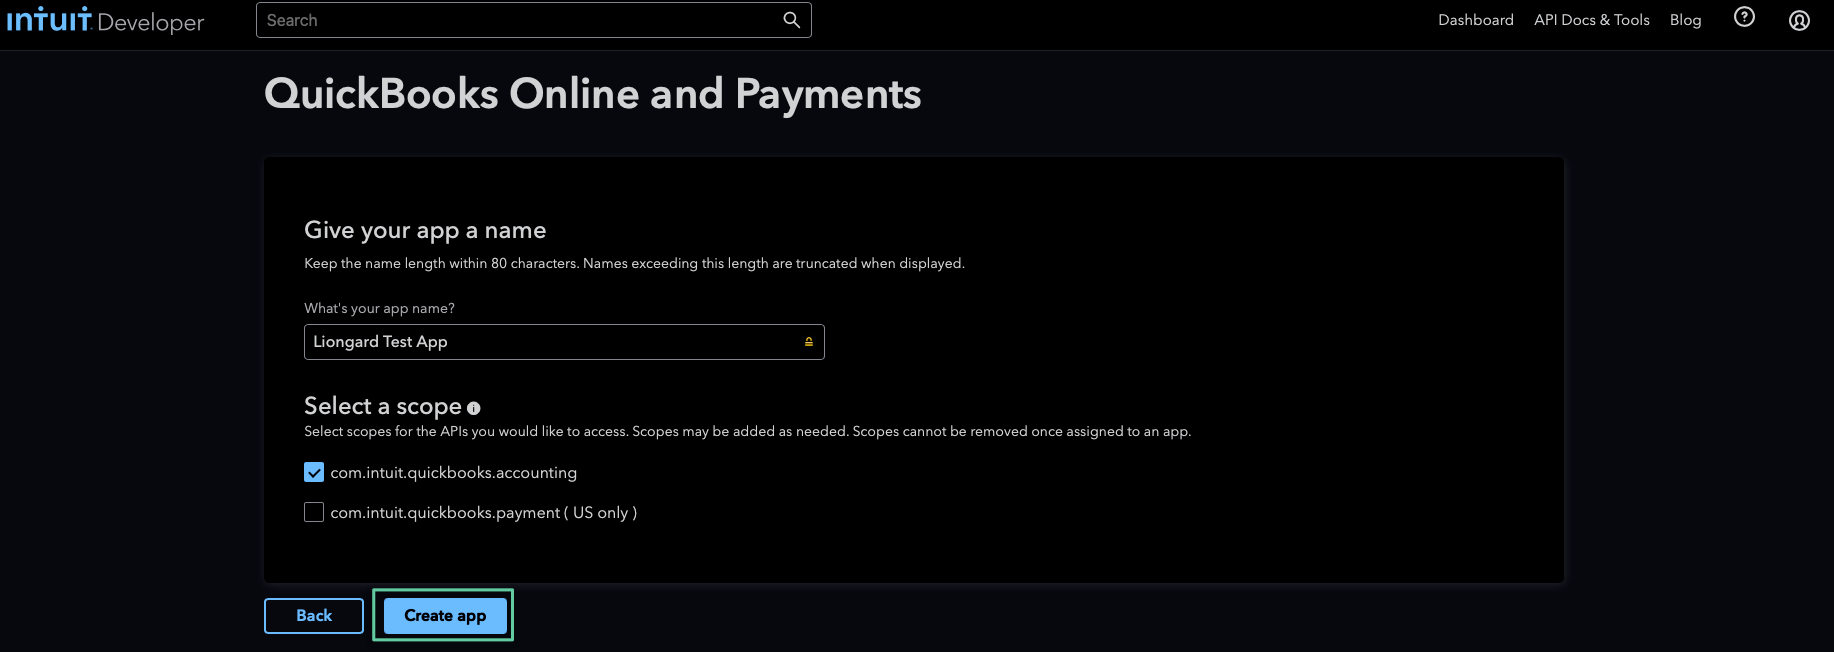
- Complete the following fields:
- Name your application
- Select the Scope "com.intuit.quickbooks.accounting"
- Press "Create app."
Step 2: Copy Client ID and Client Secret
- Open the newly created app and navigate to the Production section.
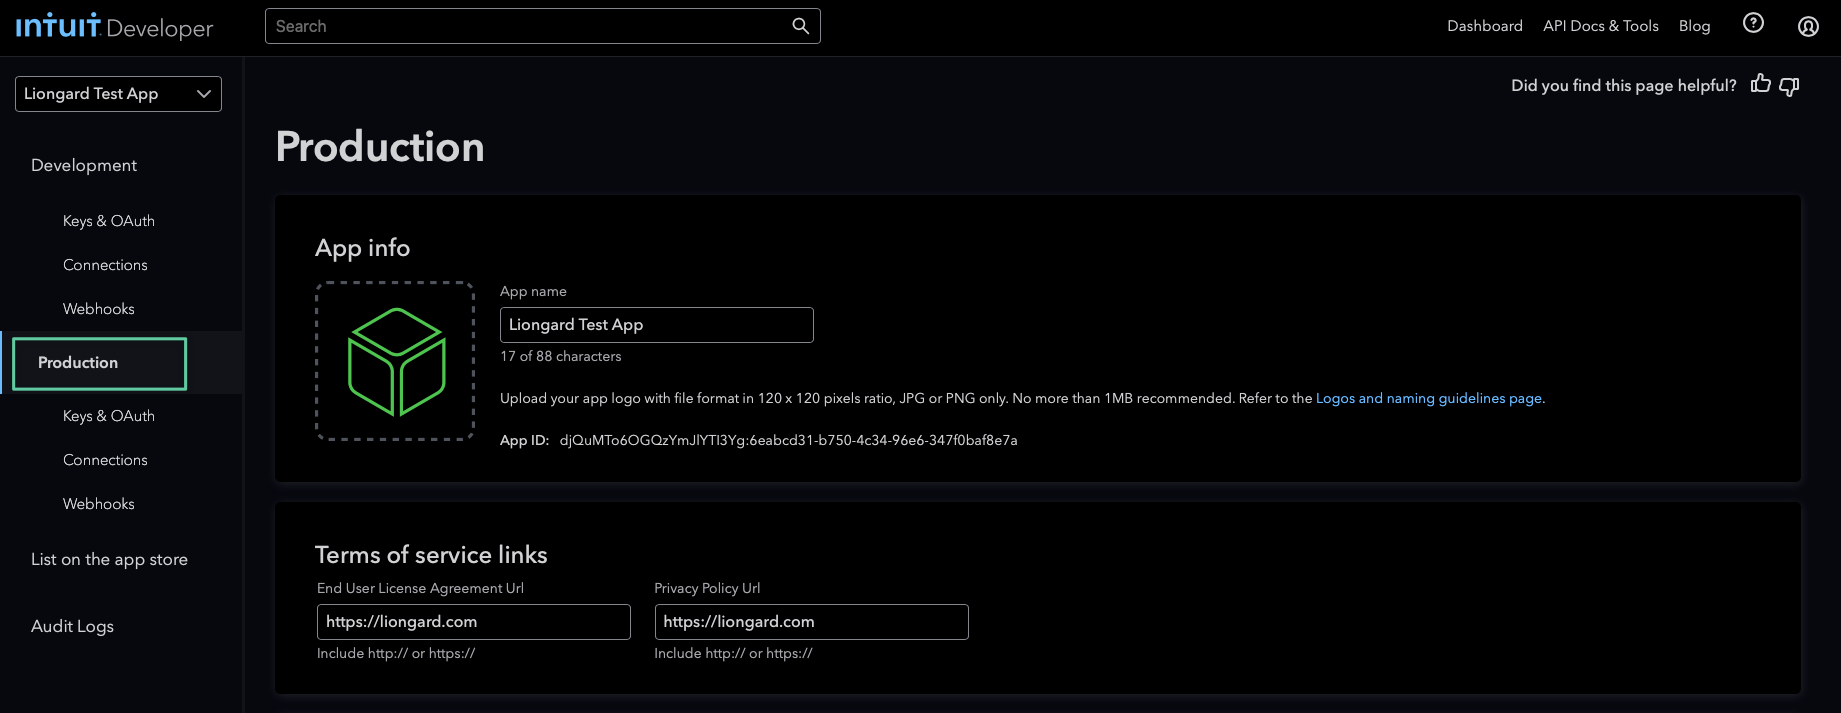
- Select "Keys & OAuth" under the Production section
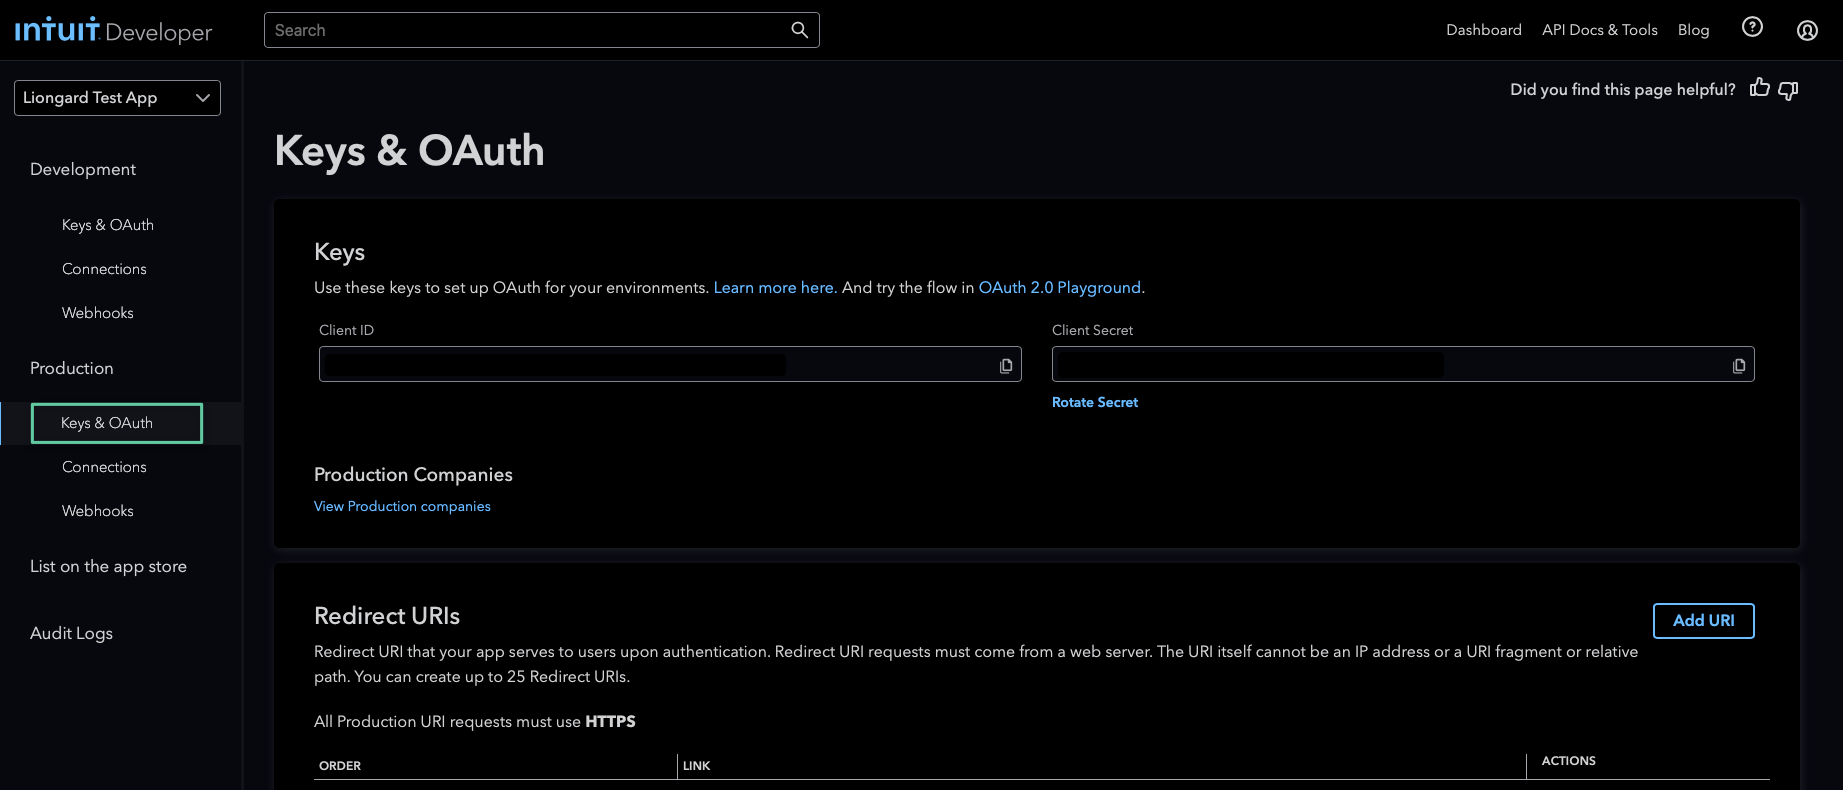
- Copy the "Client ID" and "Client Secret" to use in the Inspector setup below
Step 3: Get Realm ID and Refresh Token
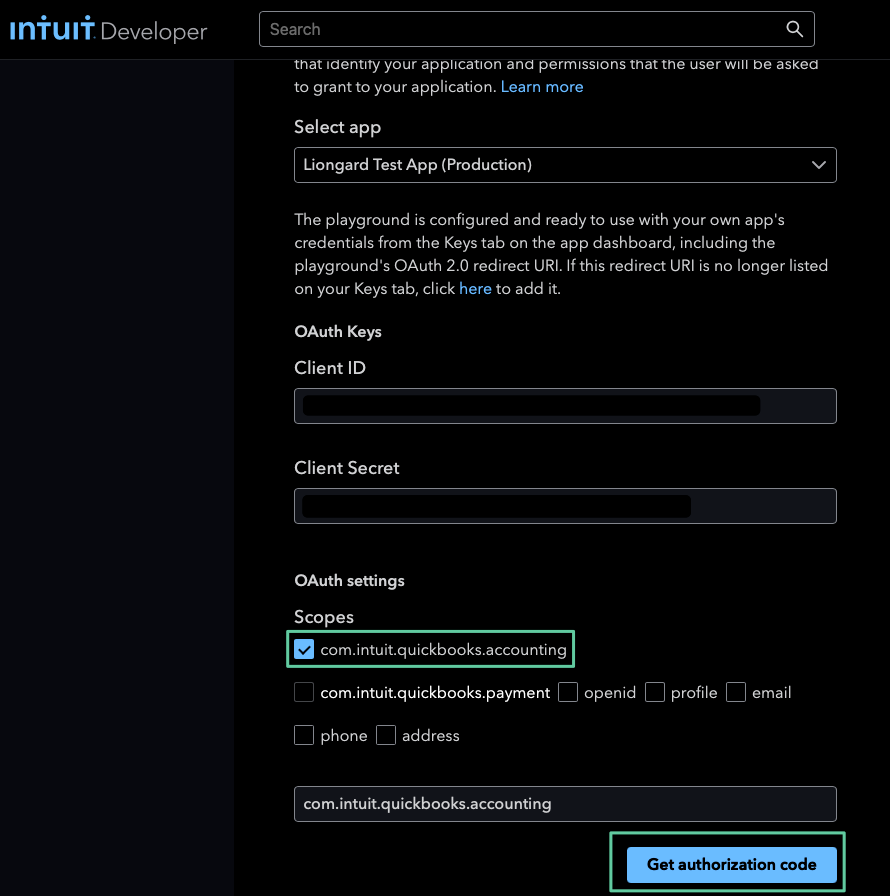
- Navigate to the OAuth 2.0 Playground

-
Select the app for which you would like to generate credentials. Take note of whether it is in the Production or Sandbox environment. This will be indicated in the name of the app. (Ex:
<app name> (Sandbox)or<app name> (Production)) -
Confirm that the Client ID and Secret match the ones copied in Step 2. Select the "com.intuit.quickbooks.accounting" scope and click "Get authorization code."
-
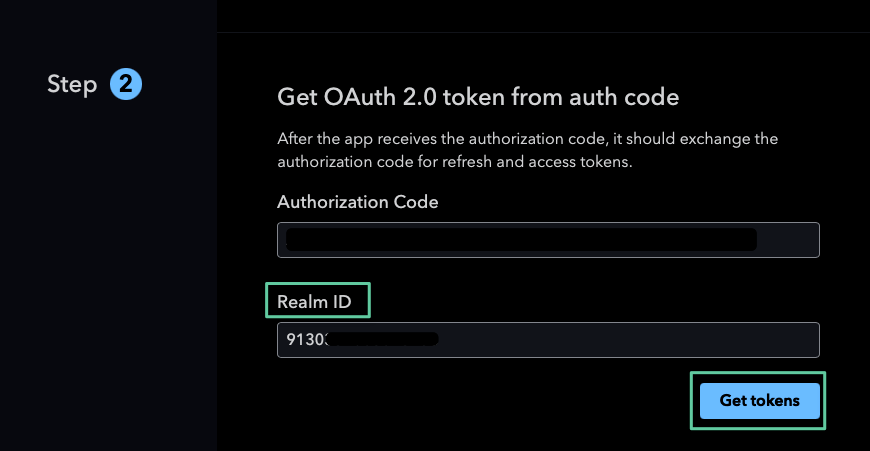
After the page redirects, scroll to the section "Step 2" and select "Get token."
-
On Step 2, save the Realm ID for use in the Inspector setup below.
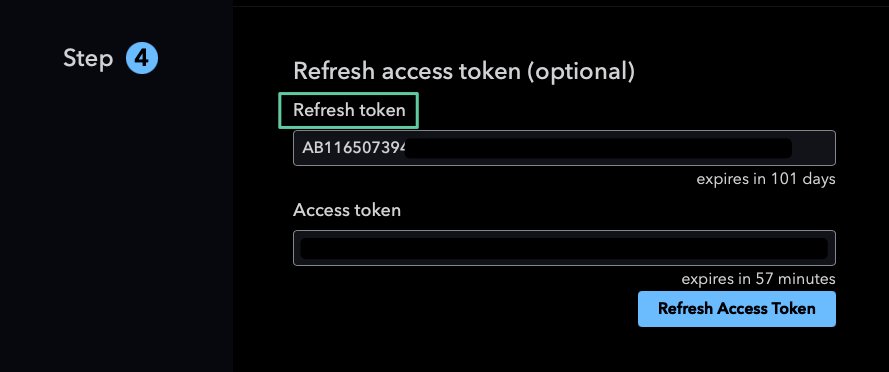
- Scroll to Step 4 and find the "Refresh token." Save the Refresh token for use in the Inspector setup below.
Liongard Inspector Setup
In Liongard, navigate to Admin > Inspectors > Inspector Types > Navigate to the QuickBooks Inspector > Select Add System.
Fill in the following information:
- Environment: Select the Environment this System should be associated to
- Friendly Name: Suggested "Quickbooks Online [Environment Name]"
- Agent: Select the On-Demand Agent
- Inspector Version: Latest
- Realm ID: The Realm ID (aka Company ID) generated in the QuickBooks platform
- QuickBooks Client ID: The Client ID generated in the Inspector Setup Preparation
- QuickBooks Client Secret: The Client Secret generated in the Inspector Setup Preparation
- QuickBooks Refresh Token: The Refresh Token generated in the Inspector Setup Preparation
- Sandbox Environment: (Optional) Toggle this to "On" if the Inspector should run against the QuickBooks Sandbox Environment
- Scheduling: The Inspector will default to run once a day at the time the Inspector is set up. Here you can adjust the schedule.
Select Save. The Inspector will now be triggered to run within the minute.
Updated 5 months ago
