NinjaOne
Quick DetailsRecommended Agent: On-Demand
Supported Agents: On-Demand or Self-Managed
Is Auto-Discovered By: N/A
Can Auto-Discover: NinjaOne Child Inspectors
Parent/Child Type Inspector: Yes
Inspection via: API
Data Summary: Here
Overview
See it in Action
Inspector Description
The NinjaOne Inspector is a dedicated Inspector for the NinjaOne platform.
Inspector Setup Preparation
To set up this Inspector, you will generate an API Access Key and Access Key Secret from your NinjaOne instance.
Step 1: Generating API Key and Secret
- Log in to your NinjaOne instance with a system user that has access to generate API Credentials.
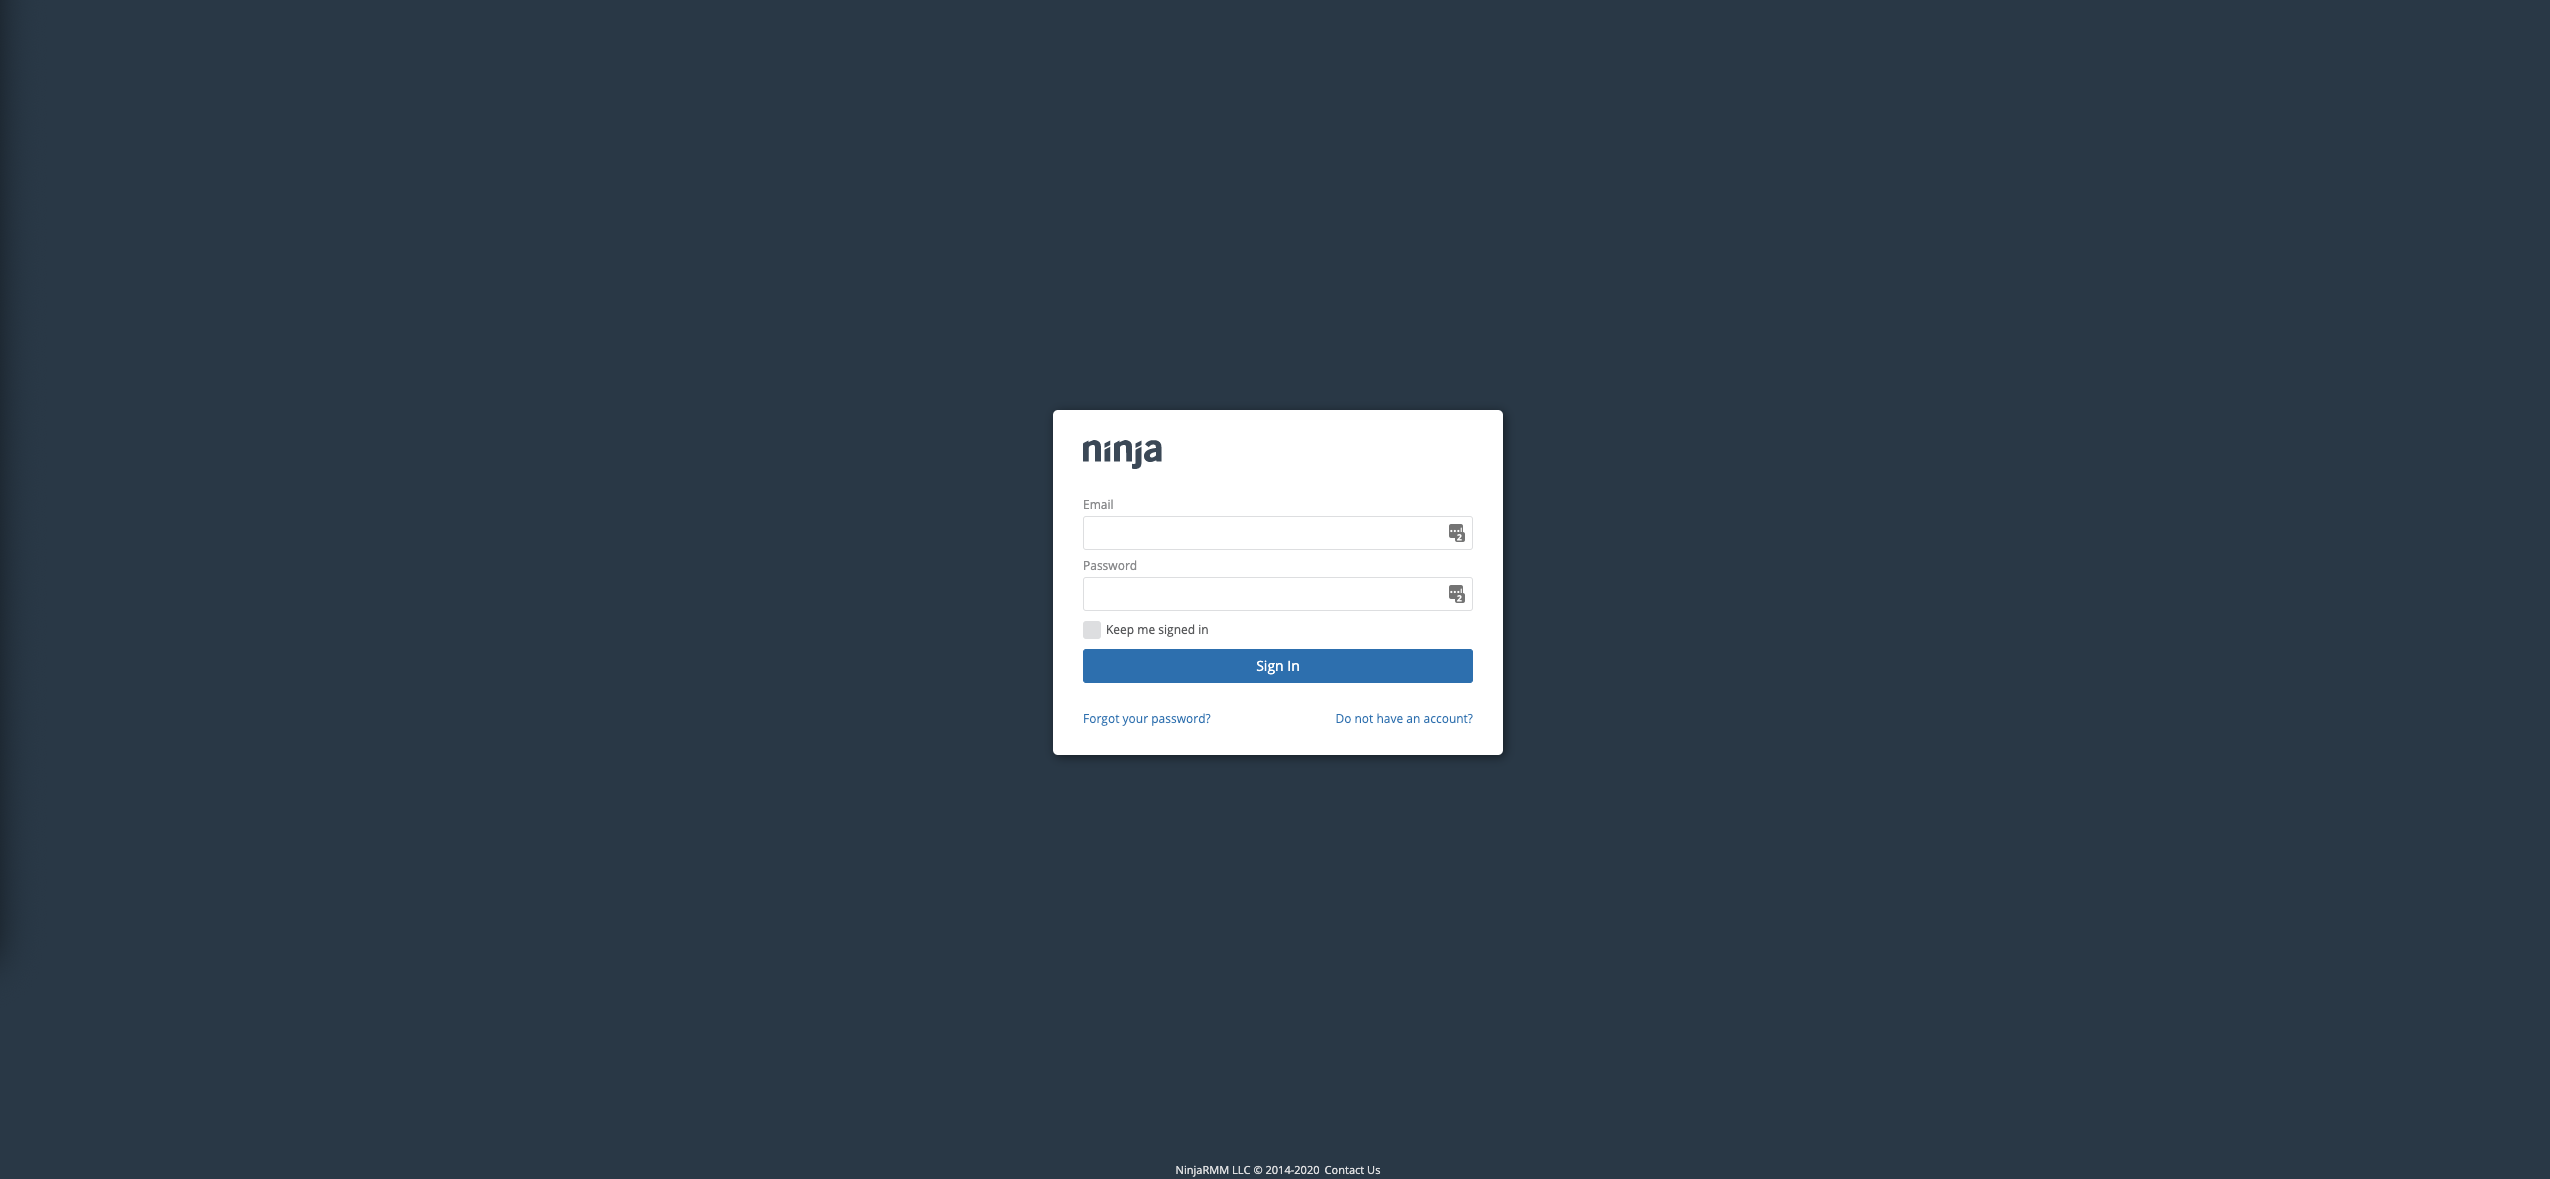
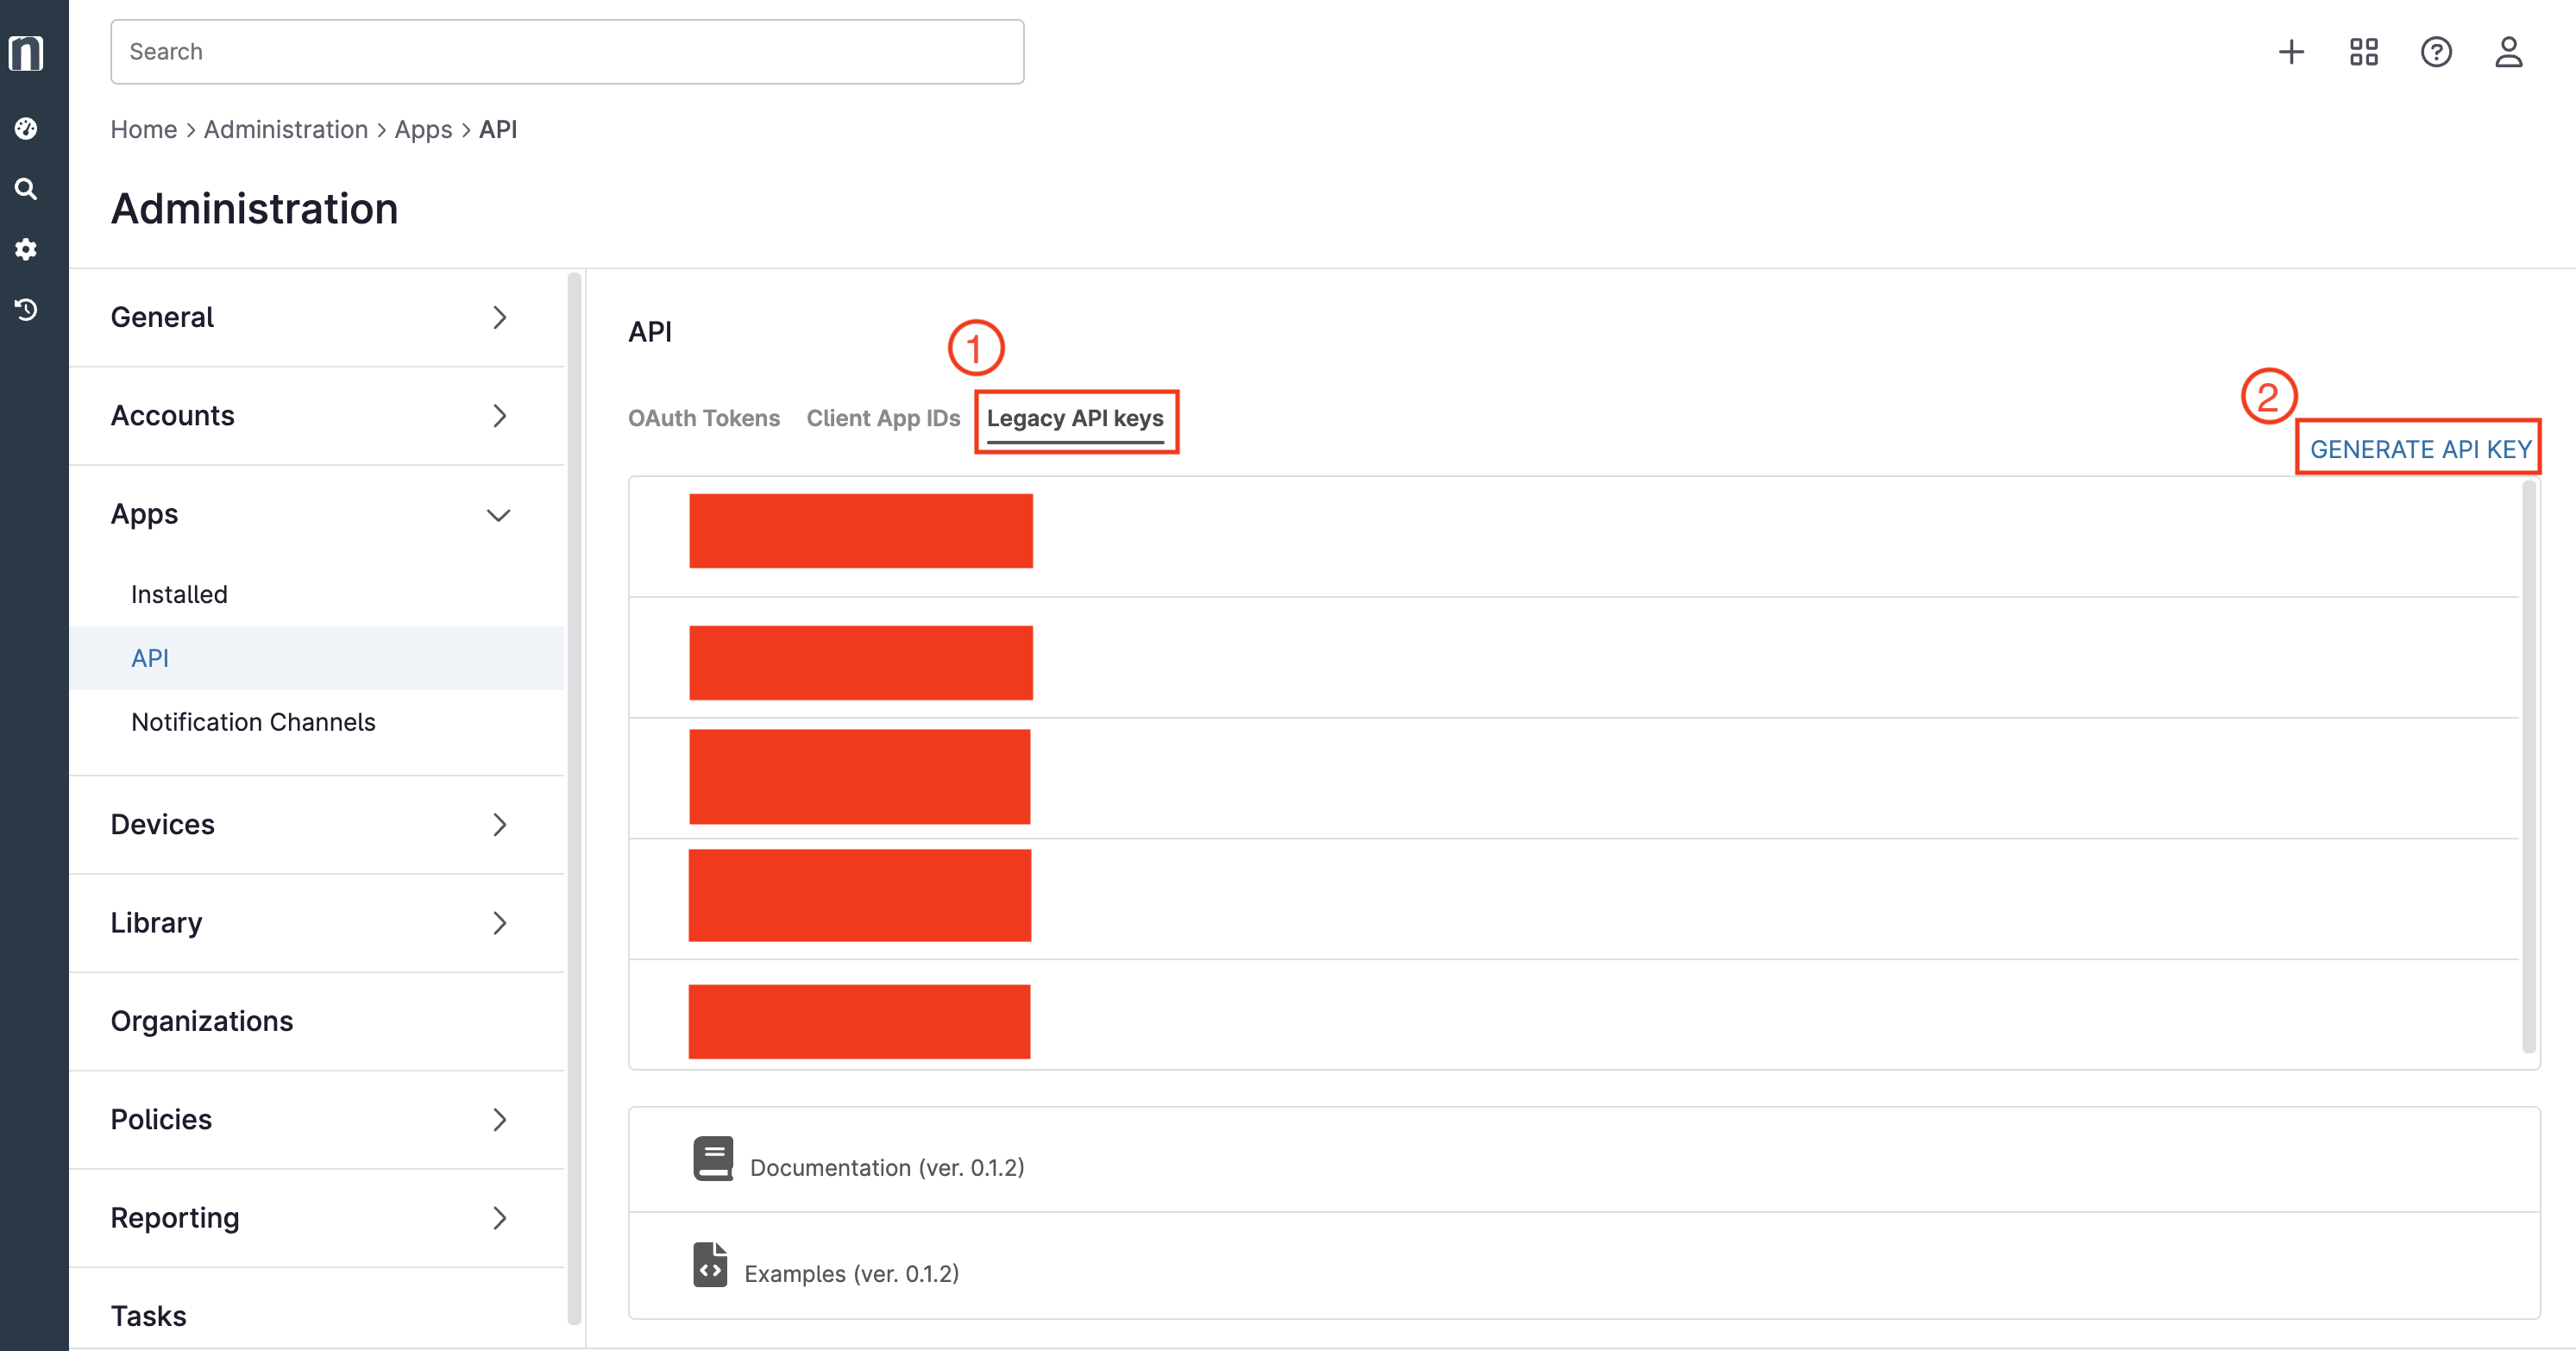
- Once logged in, navigate to Administration on the left-hand side of your instance.
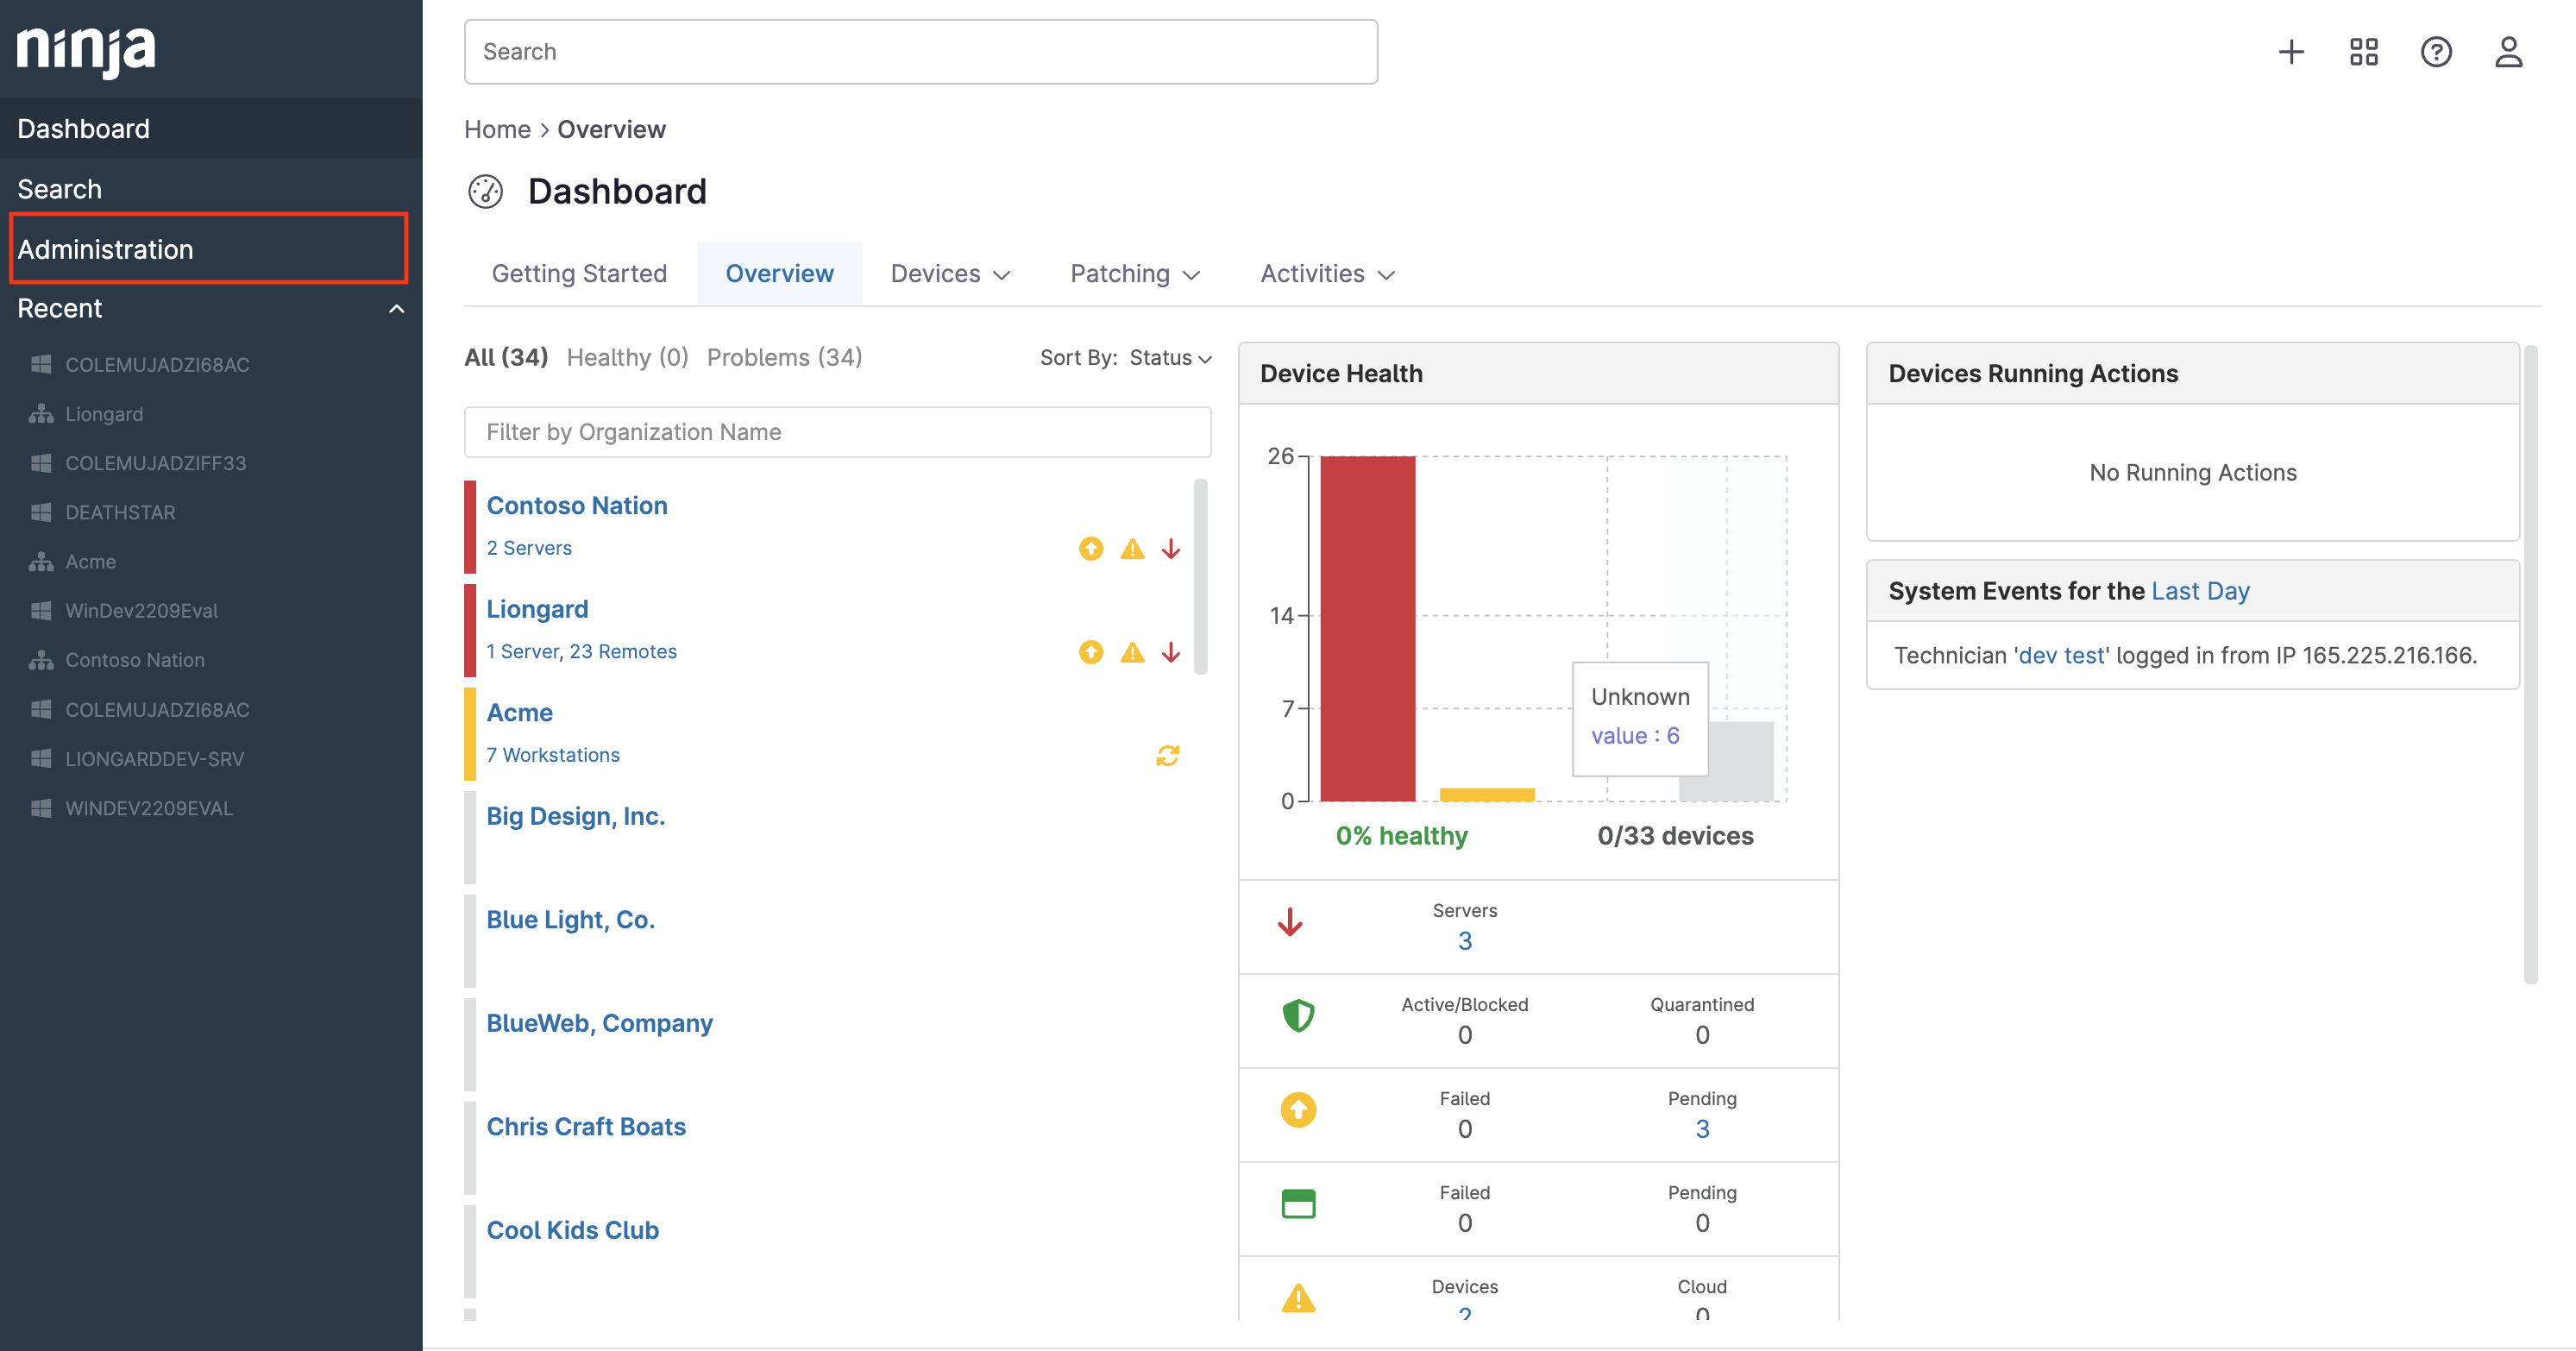
- Then, navigate to Apps under the Administration options.
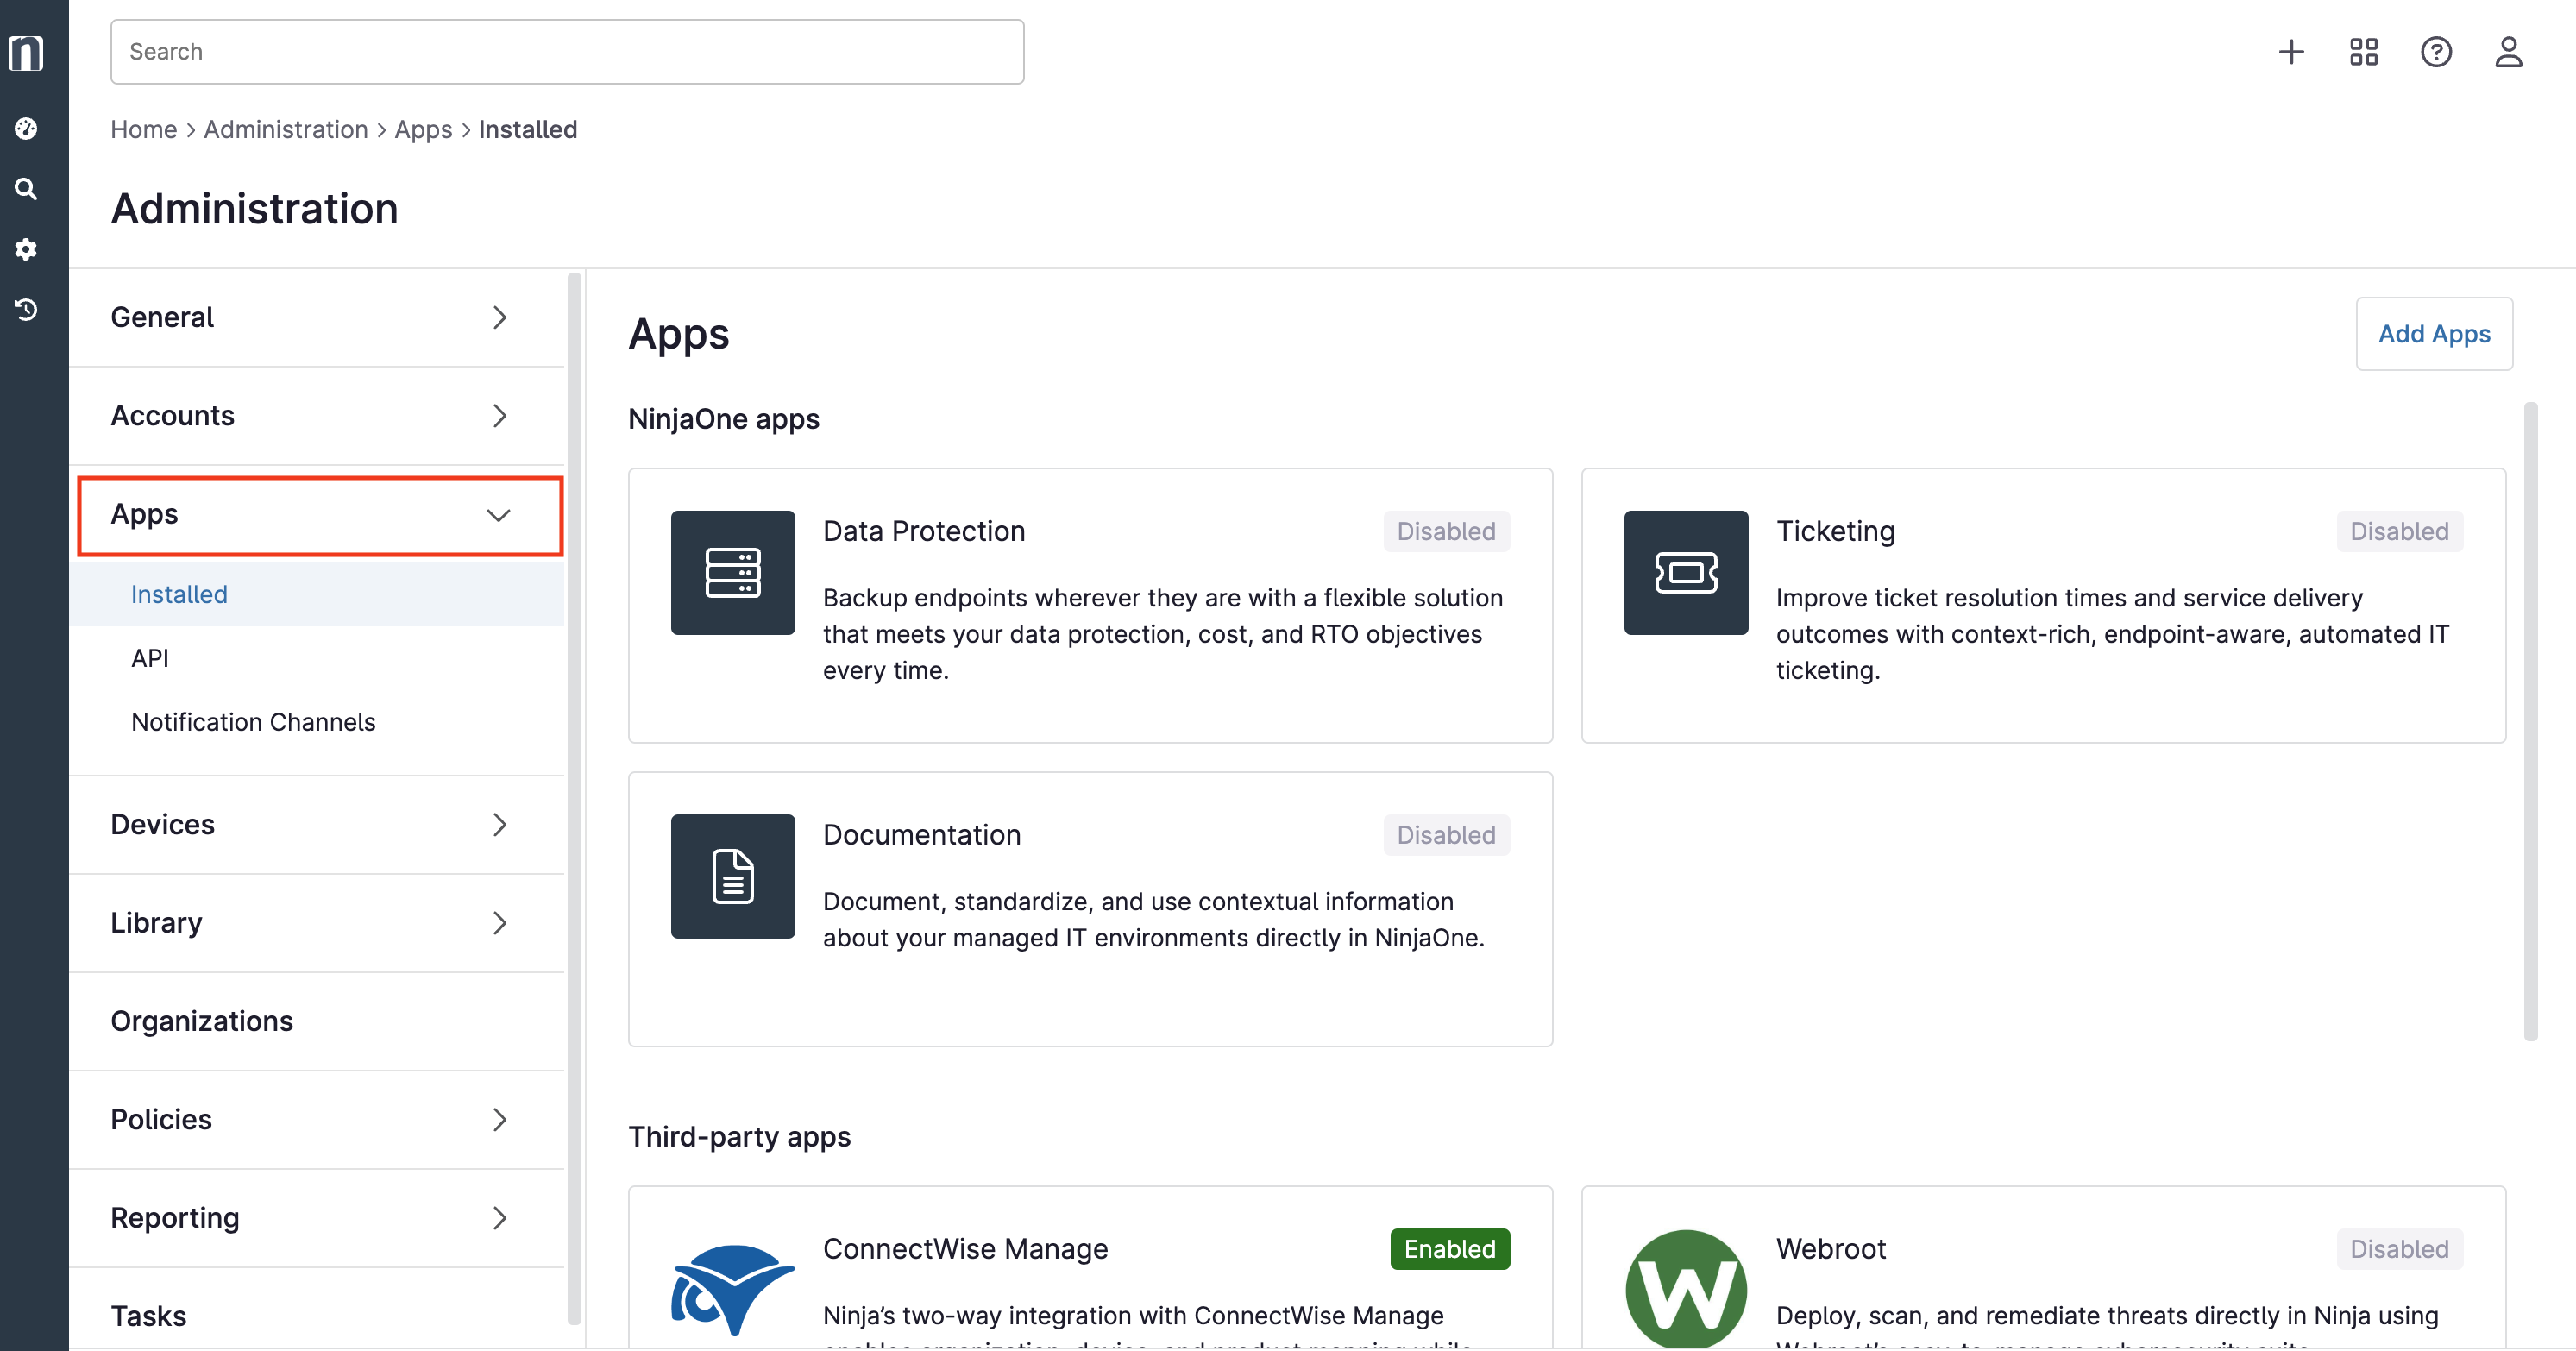
- Once you are on the Apps screen, navigate to API under the Apps dropdown.
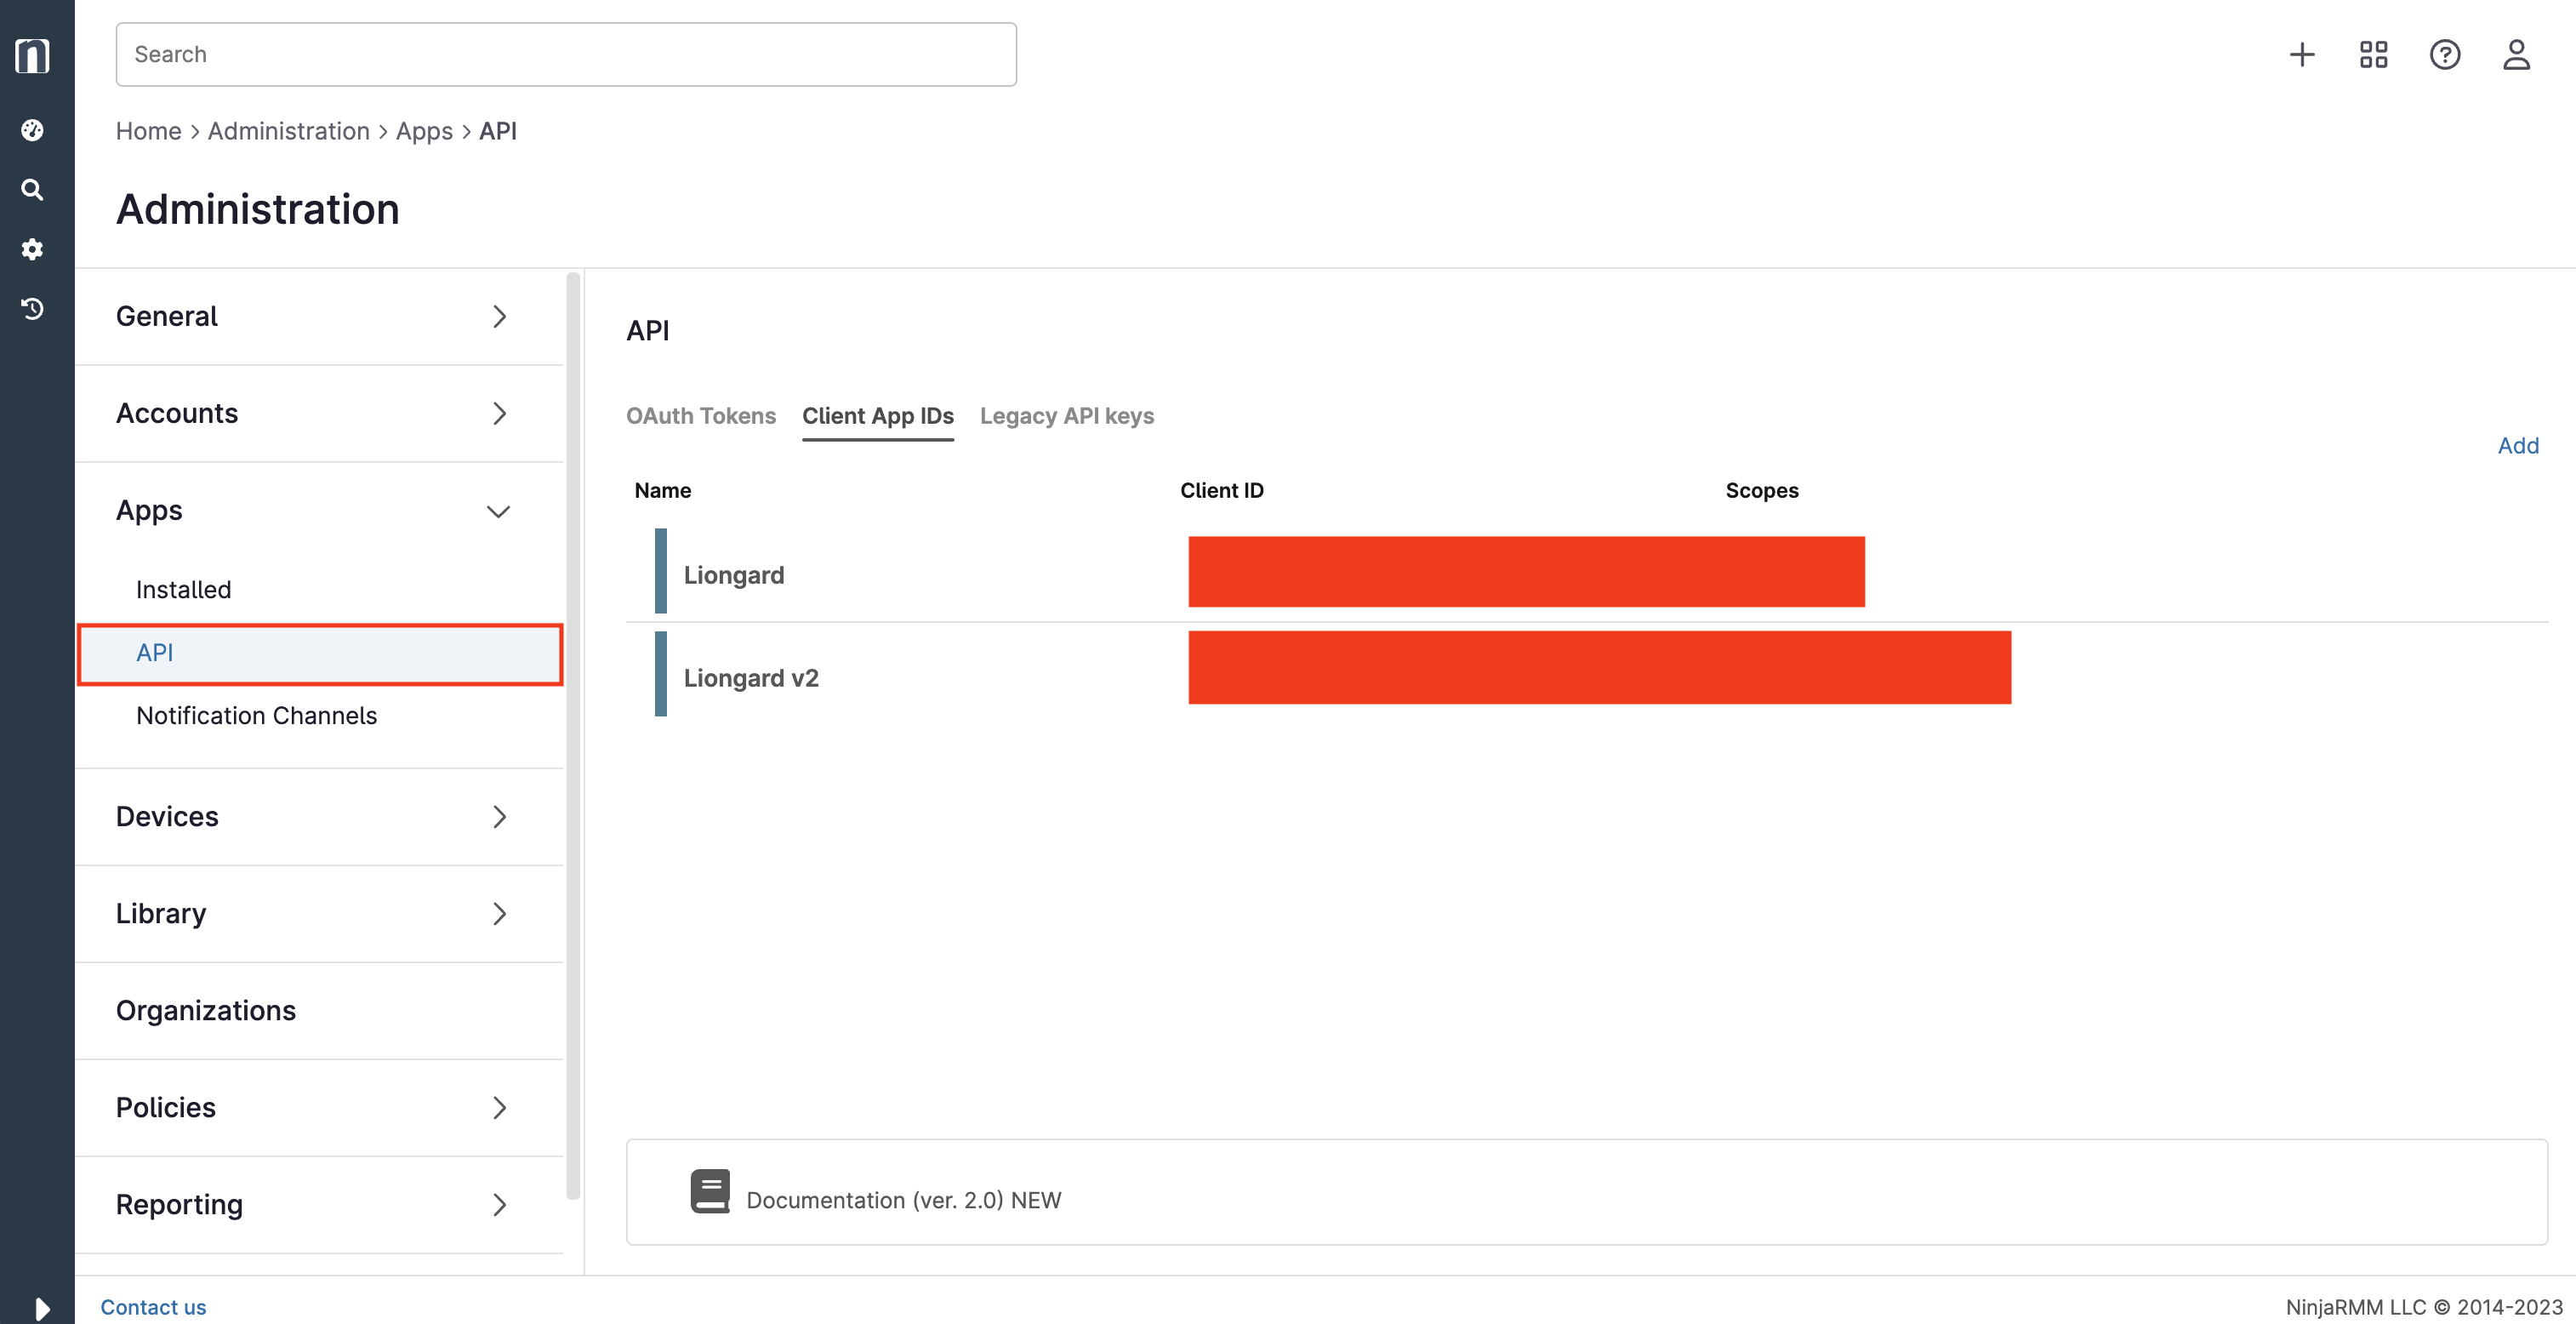
- Once you are on the API screen, you should see a list of your legacy API Keys. You will want to select Generate API Key in the top right-hand corner of the page.
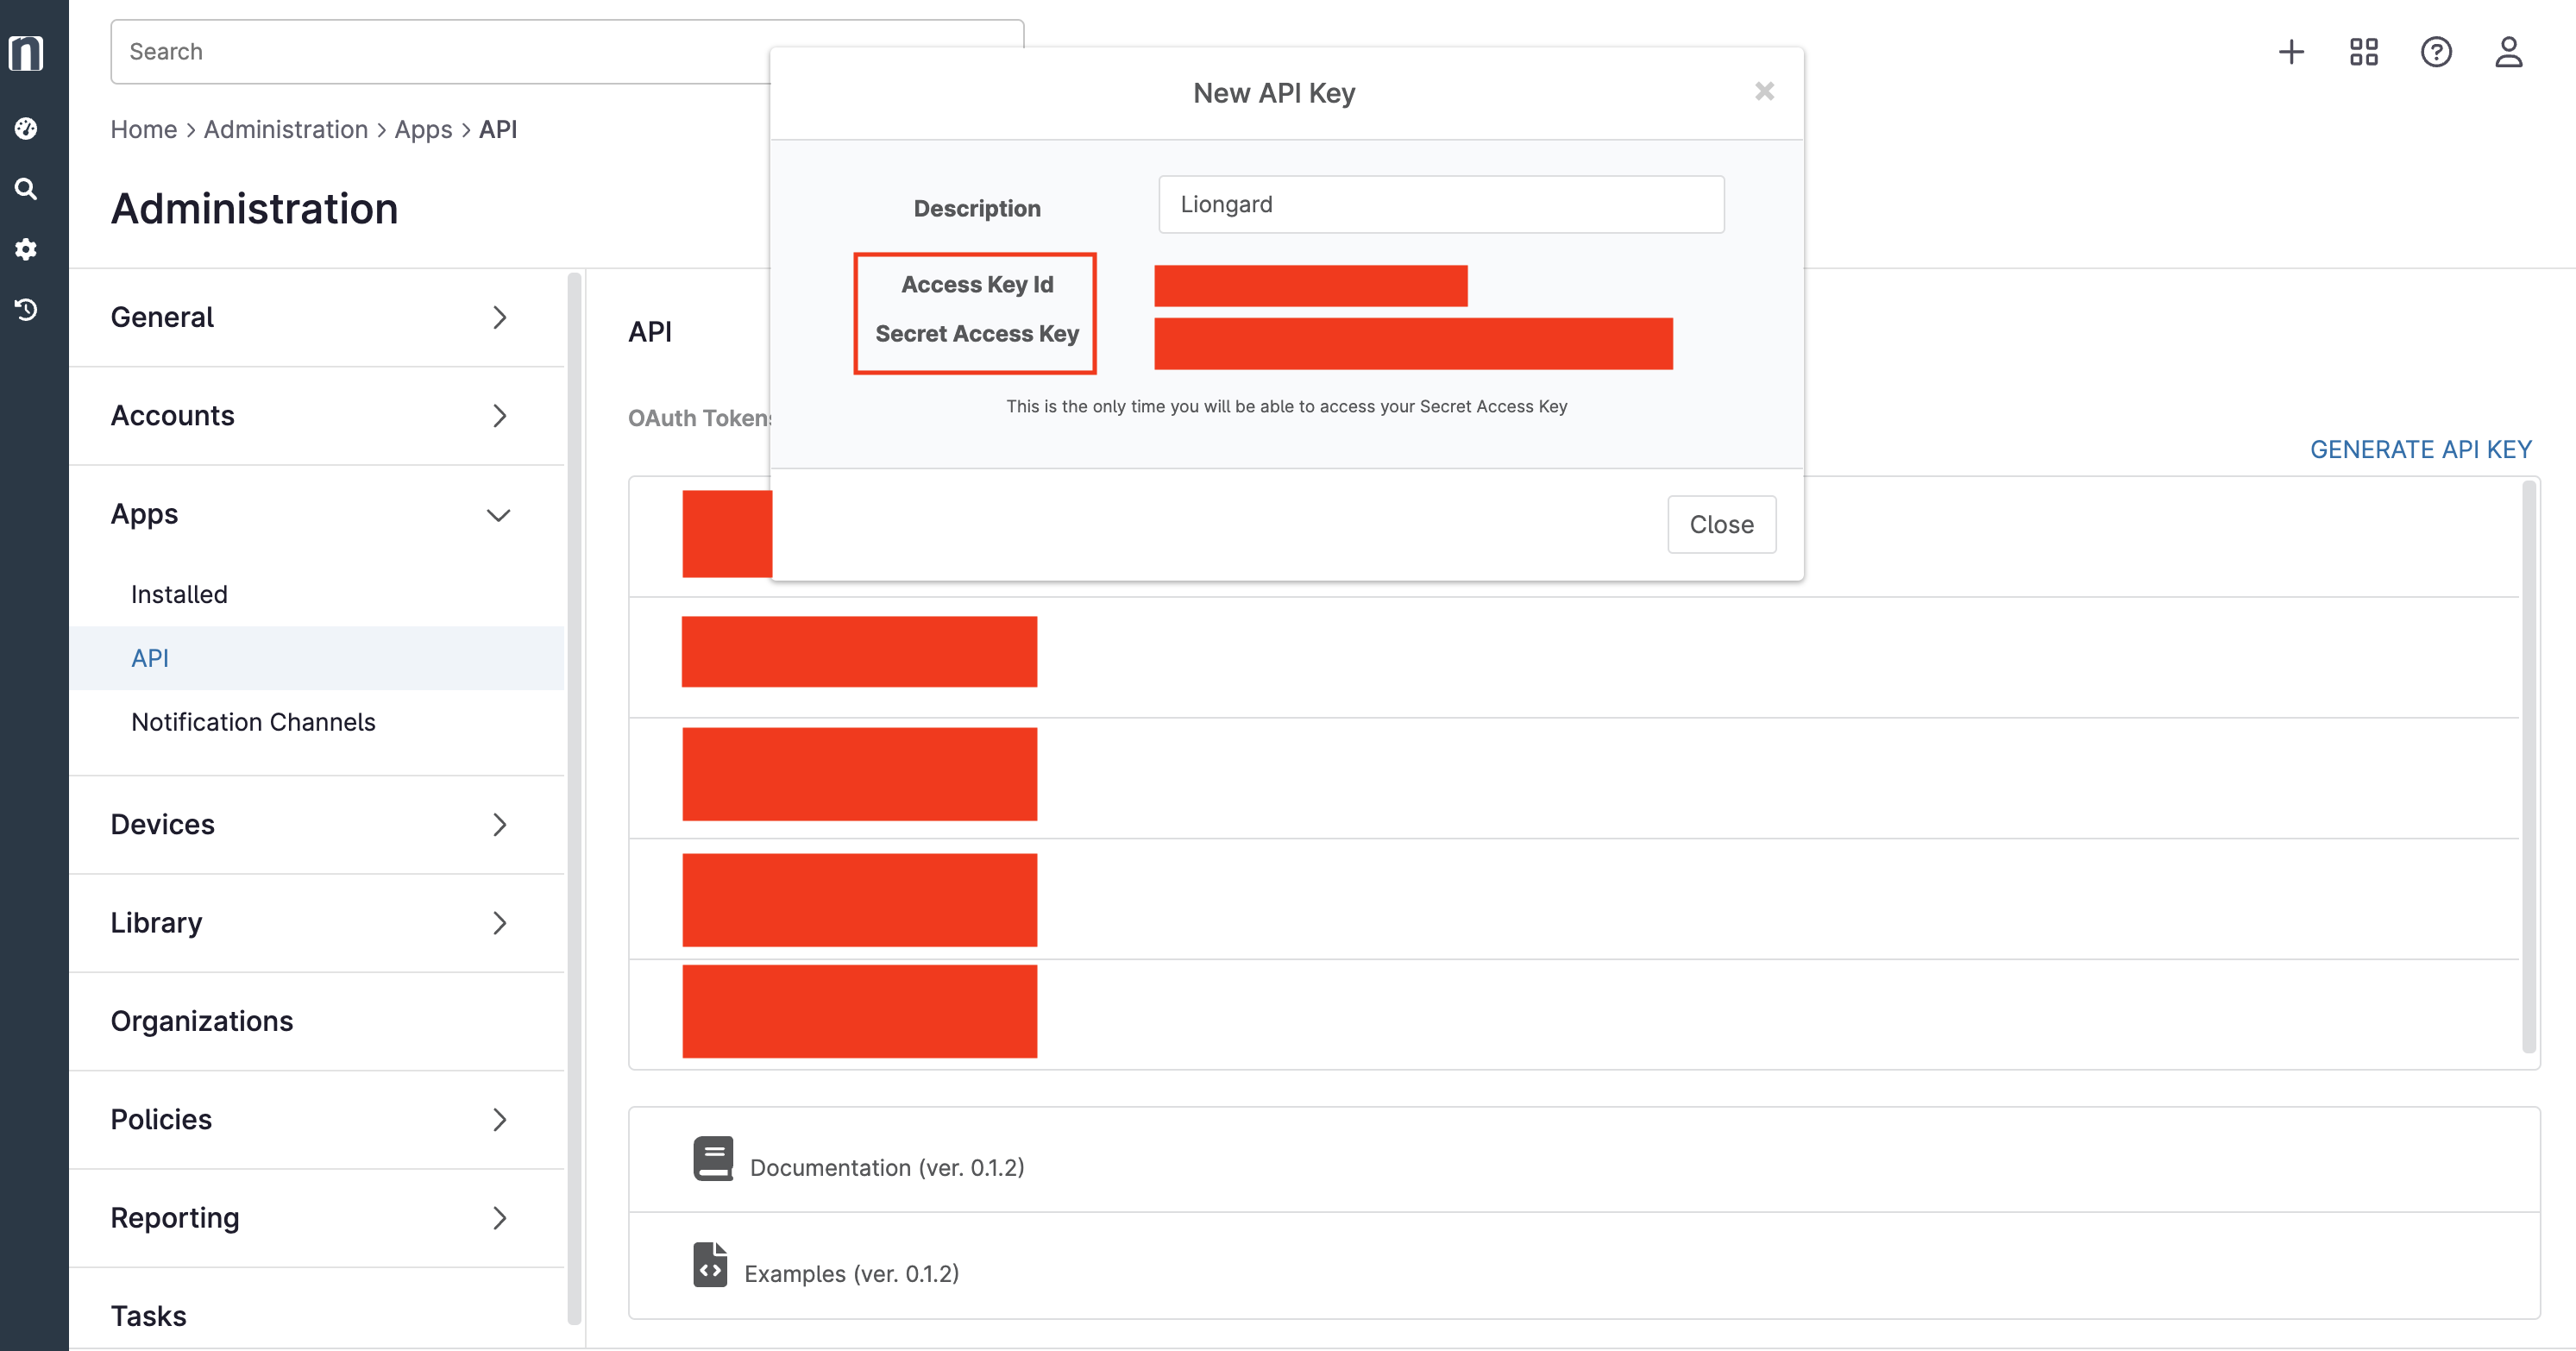
- Then, note down the Access Key ID and Secret Access Key for your Inspector setup. If you desire, include a description for the API Key. Close the window once you take note of the credentials.
Liongard Inspector Setup
Step 1: Parent Inspector Setup
Since NinjaOne is a multi-tenant system where a single portal is used to manage many Environments, you will set up a single "Parent" Inspector with the API Credentials setup above that will then auto-discover "Child" Inspectors for each Environment.
In Liongard, navigate to Admin > Inspectors > Inspector Types > Navigate to the NinjaOne Inspector > Select Add System.
Fill in the following information:
- Type of Inspector: Parent
- Environment: Select your MSP's Environment
- Friendly Name: Suggested Naming: SP Name] NNinjaOne Parent
- Agent: Select On-Demand Agent
- Inspector Version: Latest (Auto-Update)
- Access Key ID: Access Key ID copied from NinjaOne
- Secret Access Key: Access Secret copied from NinjaOne
- Region: The region of your instance. Possible choices are: North America (US), EU, and Australia and Oceania (OC)
- Scheduling: The Inspector will default to run once a day at the time the Inspector is set up. Here you can adjust the schedule
Select Save. The Inspector will now be triggered to run within the minute.
Step 2: Child Inspector Setup
After the first run of the Parent Inspector, your client(s)' NinjaOne organizations will be Auto-Discovered and surfaced on the Discovered Systems page.
Navigate to the Discovered Systems tab in your Inspectors > NinjaOne page
- Activate your Discovered Systems by ensuring they're mapped to the correct Environment > Select the checkbox to the left of Inspector(s) > Select the Actions drop-down menu > Activate Launchpoints.
- Users may also Archive Discovered Systems by Selecting the checkbox to the left of the Inspector(s) > Select the Actions drop-down menu > Archive Launchpoints.
Optional: Turn on Flexible Asset/Configuration Auto-Updating
If you would like this Inspector's data to be sent to ConnectWise and/or IT Glue, turn on Flexible Assets/Configurations for this Inspector:
- ConnectWise: Admin > Integrations > ConnectWise > Configuration Types > Confirm the "Configuration Auto-Updating" toggle is enabled
- IT Glue: Admin > Integrations > IT Glue > Flexible Assets > Confirm the "Flexible Asset Auto-Updating" toggle is enabled
Updated 5 months ago
