Updating Windows Agents for Local Deployment
Overview
Liongard has updated the way it captures data with the Windows Server Inspector, making it even more efficient and secure to deploy and use. Here's what's new:
- Simplified Process: Our inspector now works directly from a local agent to review your Windows Servers. No need for additional setups like WinRM, making things safer and smoother for you.
- Enhanced Security: We've eliminated the need for domain credentials, allowing the inspector to work seamlessly with the default system account most applications use.
- Added Value: We're capturing more useful data for you, including details on firewall rules, certificates, scheduled tasks, and print drivers.
Transitioning to this improved method is simple. If you have Windows servers without an Agent, simply add one. As you register new agents, Liongard will use its new Inspector Auto-Reassignment Feature to check if there's a match with any existing remote Inspection and align each of those Inspectors to the new local Agent on your behalf.
Using Liongard's Inspector Auto-Reassignment Feature
Step 1: Identify Remote Windows Server Inspections
In Liongard, navigate to Admin > Inspectors. On the Inspectors page, navigate to Windows Server within the Inspector Type column on the provided table and click on the Windows Server icon to find the Windows Server inspector page.
The table provided on the Windows Server inspector page will allow you to identify which Windows Server inspectors are currently running a remote inspection. You can use the provided "Remote Inspection" column to filter down.
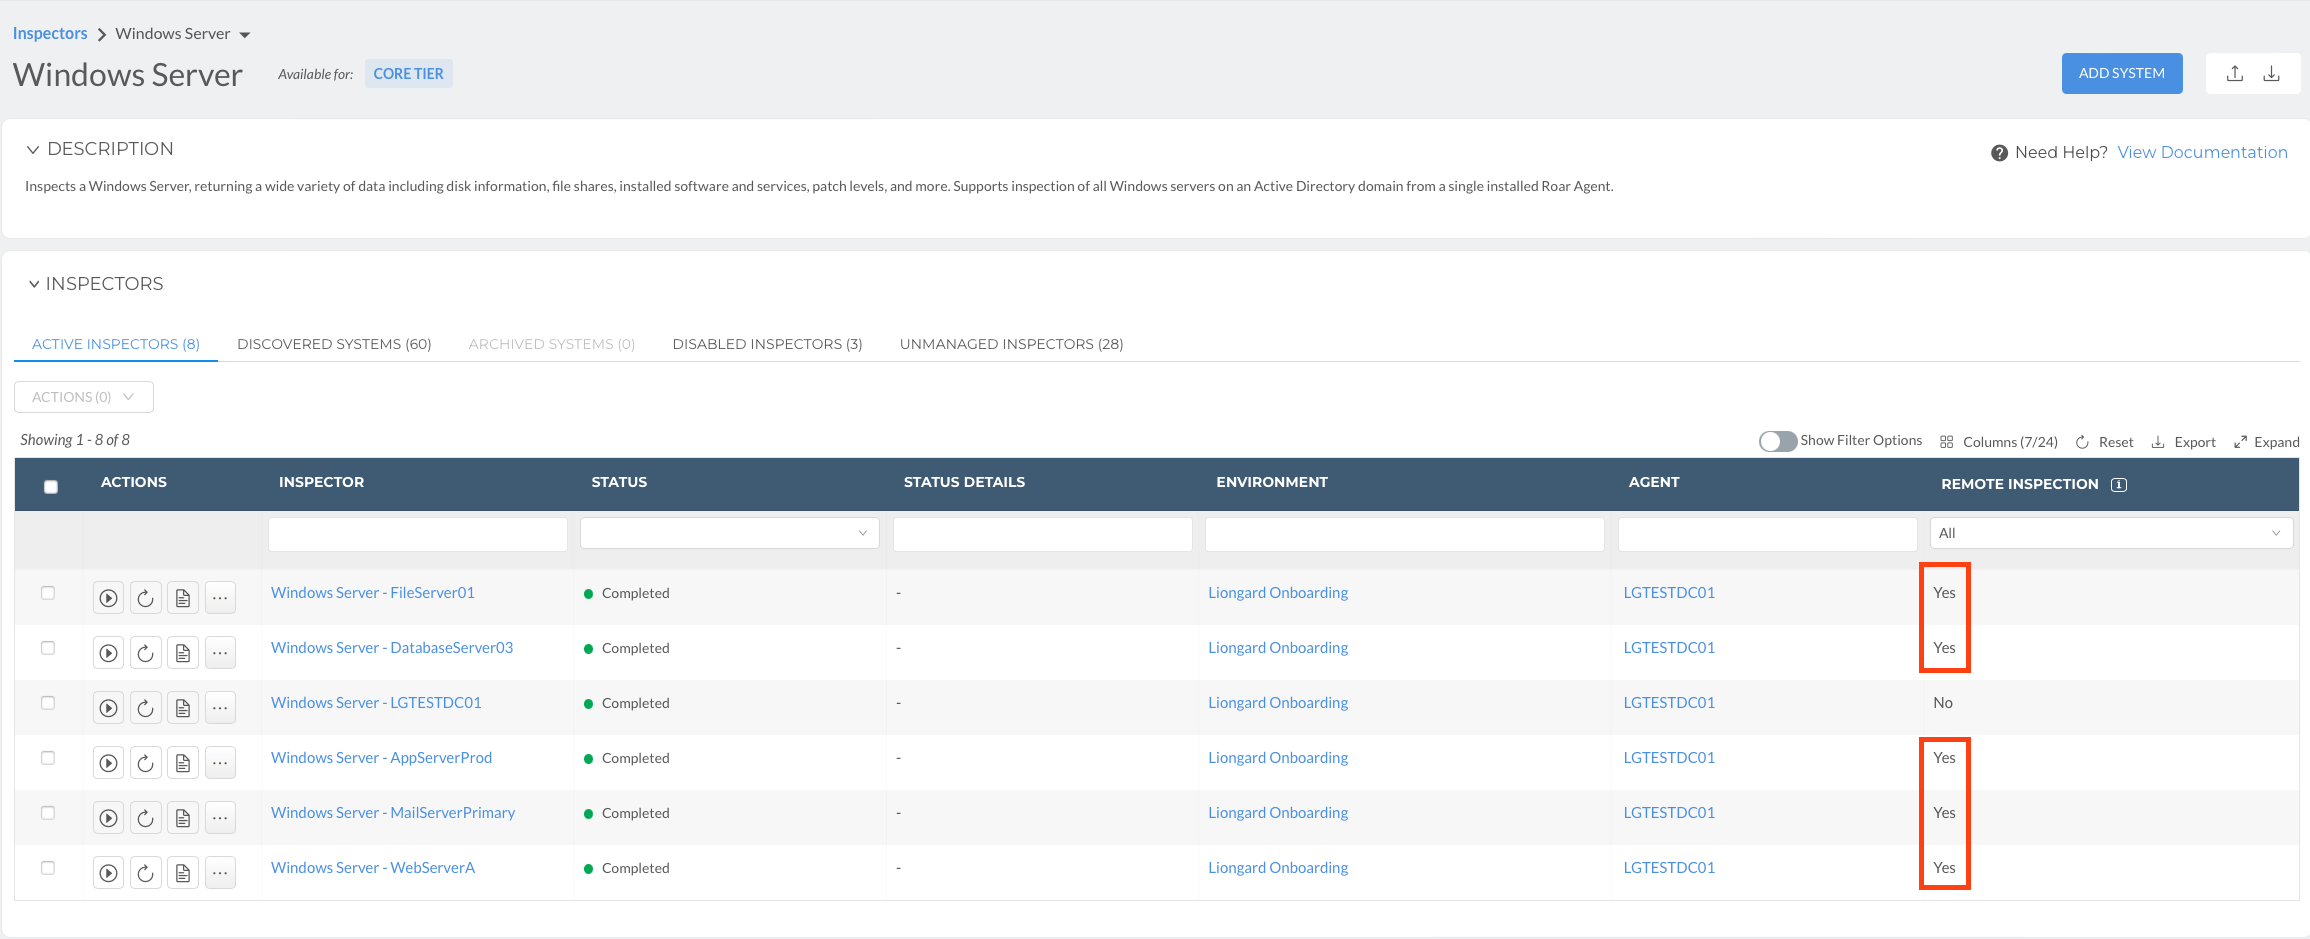
After identifying the Windows Server Inspectors that are running a remote inspection, export the list using the Export feature available in the top-right of the table. This will be the list you will target for redeploying a Liongard Agent.
Remote Inspection
Windows Server inspectors that have a "Yes" value in the Remote Inspection column indicate a Windows Server machine that is currently being inspected by a Liongard agent installed on the network but not installed locally on the machine itself.
Step 2: Deploy Agents to Target Servers
Using the list you exported from the previous step, deploy a Liongard Agent onto the servers. It's important to note that you do not have to provide a user account during the install. Rather, by not providing a user account, the default install method will be able to run the Liongard Agent service as SYSTEM.
For assistance with deploying a Liongard Agent, the best place to start is here
Environment Assignment During Agent Install
Mapping the Environment name during the Agent install process will not only save you an extra step after installation is complete, but it is also a requirement to ensure the launchpoint is assigned to the correct Agent.
Step 3: Auto-Reassignment in Action
After you install the Liongard Agent, you can validate that the Auto-Reassignment feature completed successfully by revisiting the Windows Server Inspector list from Step 1. For the targeted Inspectors, validate that you now see the new Agent automatically assigned to the respective Windows inspector as well as the remote inspection column now displaying a "No" value.
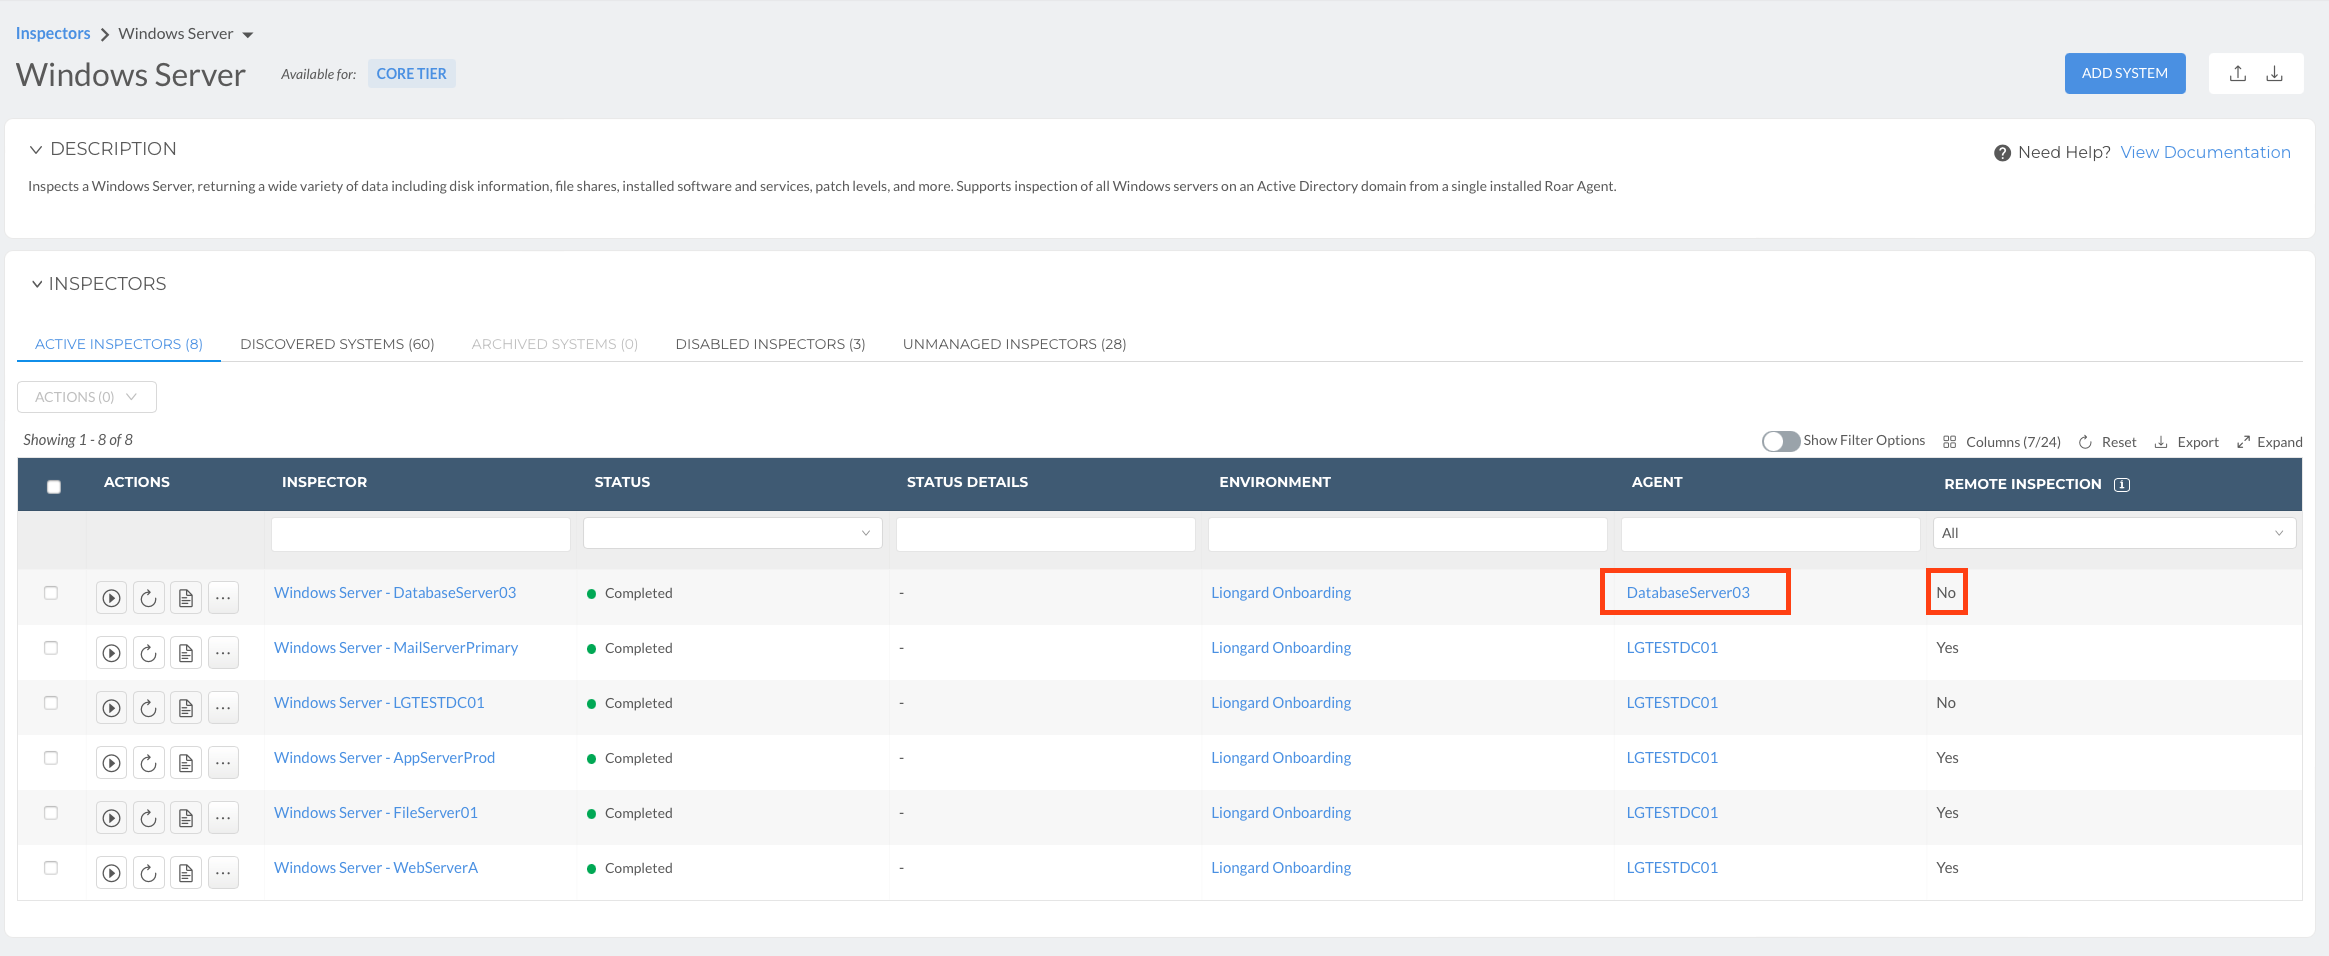
Please note, that the Auto-Reassignment feature will only work once the newly installed Agent is mapped to an Environment. If you haven't performed this step, you may do so by navigating to Admin > Agents and using the "Assign Environment" action.
Updated about 1 month ago