Webroot Secure Anywhere GSM
This document provides the steps required to configure the Webroot Secure Anywhere GSM Inspector.
Quick Details
Recommended Agent: On-Demand
Supported Agents: On-Demand and Self-Managed
Is Auto-Discovered By: N/A
Can Auto-Discover: Webroot Child Inspectors
Parent/Child Type Inspector: Yes
Inspection via: API
Data Summary: Here
Overview
See it in Action
Inspector Setup Preparation
Liongard can be used to inspect the configuration of customer Webroot installations and status by integrating with the Webroot SecureAnywhere console via their Unity API. You will need to create credentials for the Liongard platform.
Step 1: Create API Access Key
- Log in to your Webroot SecureAnywhere portal with an administrator credential.
- Navigate to Settings > API Access and click New to start the process.


- Enter appropriate names and click Create
- Recommended Name: Liongard and Description
- Recommended Description: Liongard Unified Visibility API.
- Click Create to save the new credentials.

- Record the Client ID and Client Secret in your password repository. These will need to be entered into Liongard.

Step 2: Obtain the GSM Parent Keycode for your Webroot instance.
Navigate to Settings > Account Information
The information Liongard needs is labeled as the Parent Keycode, the GSMKey or GSM Console Key.

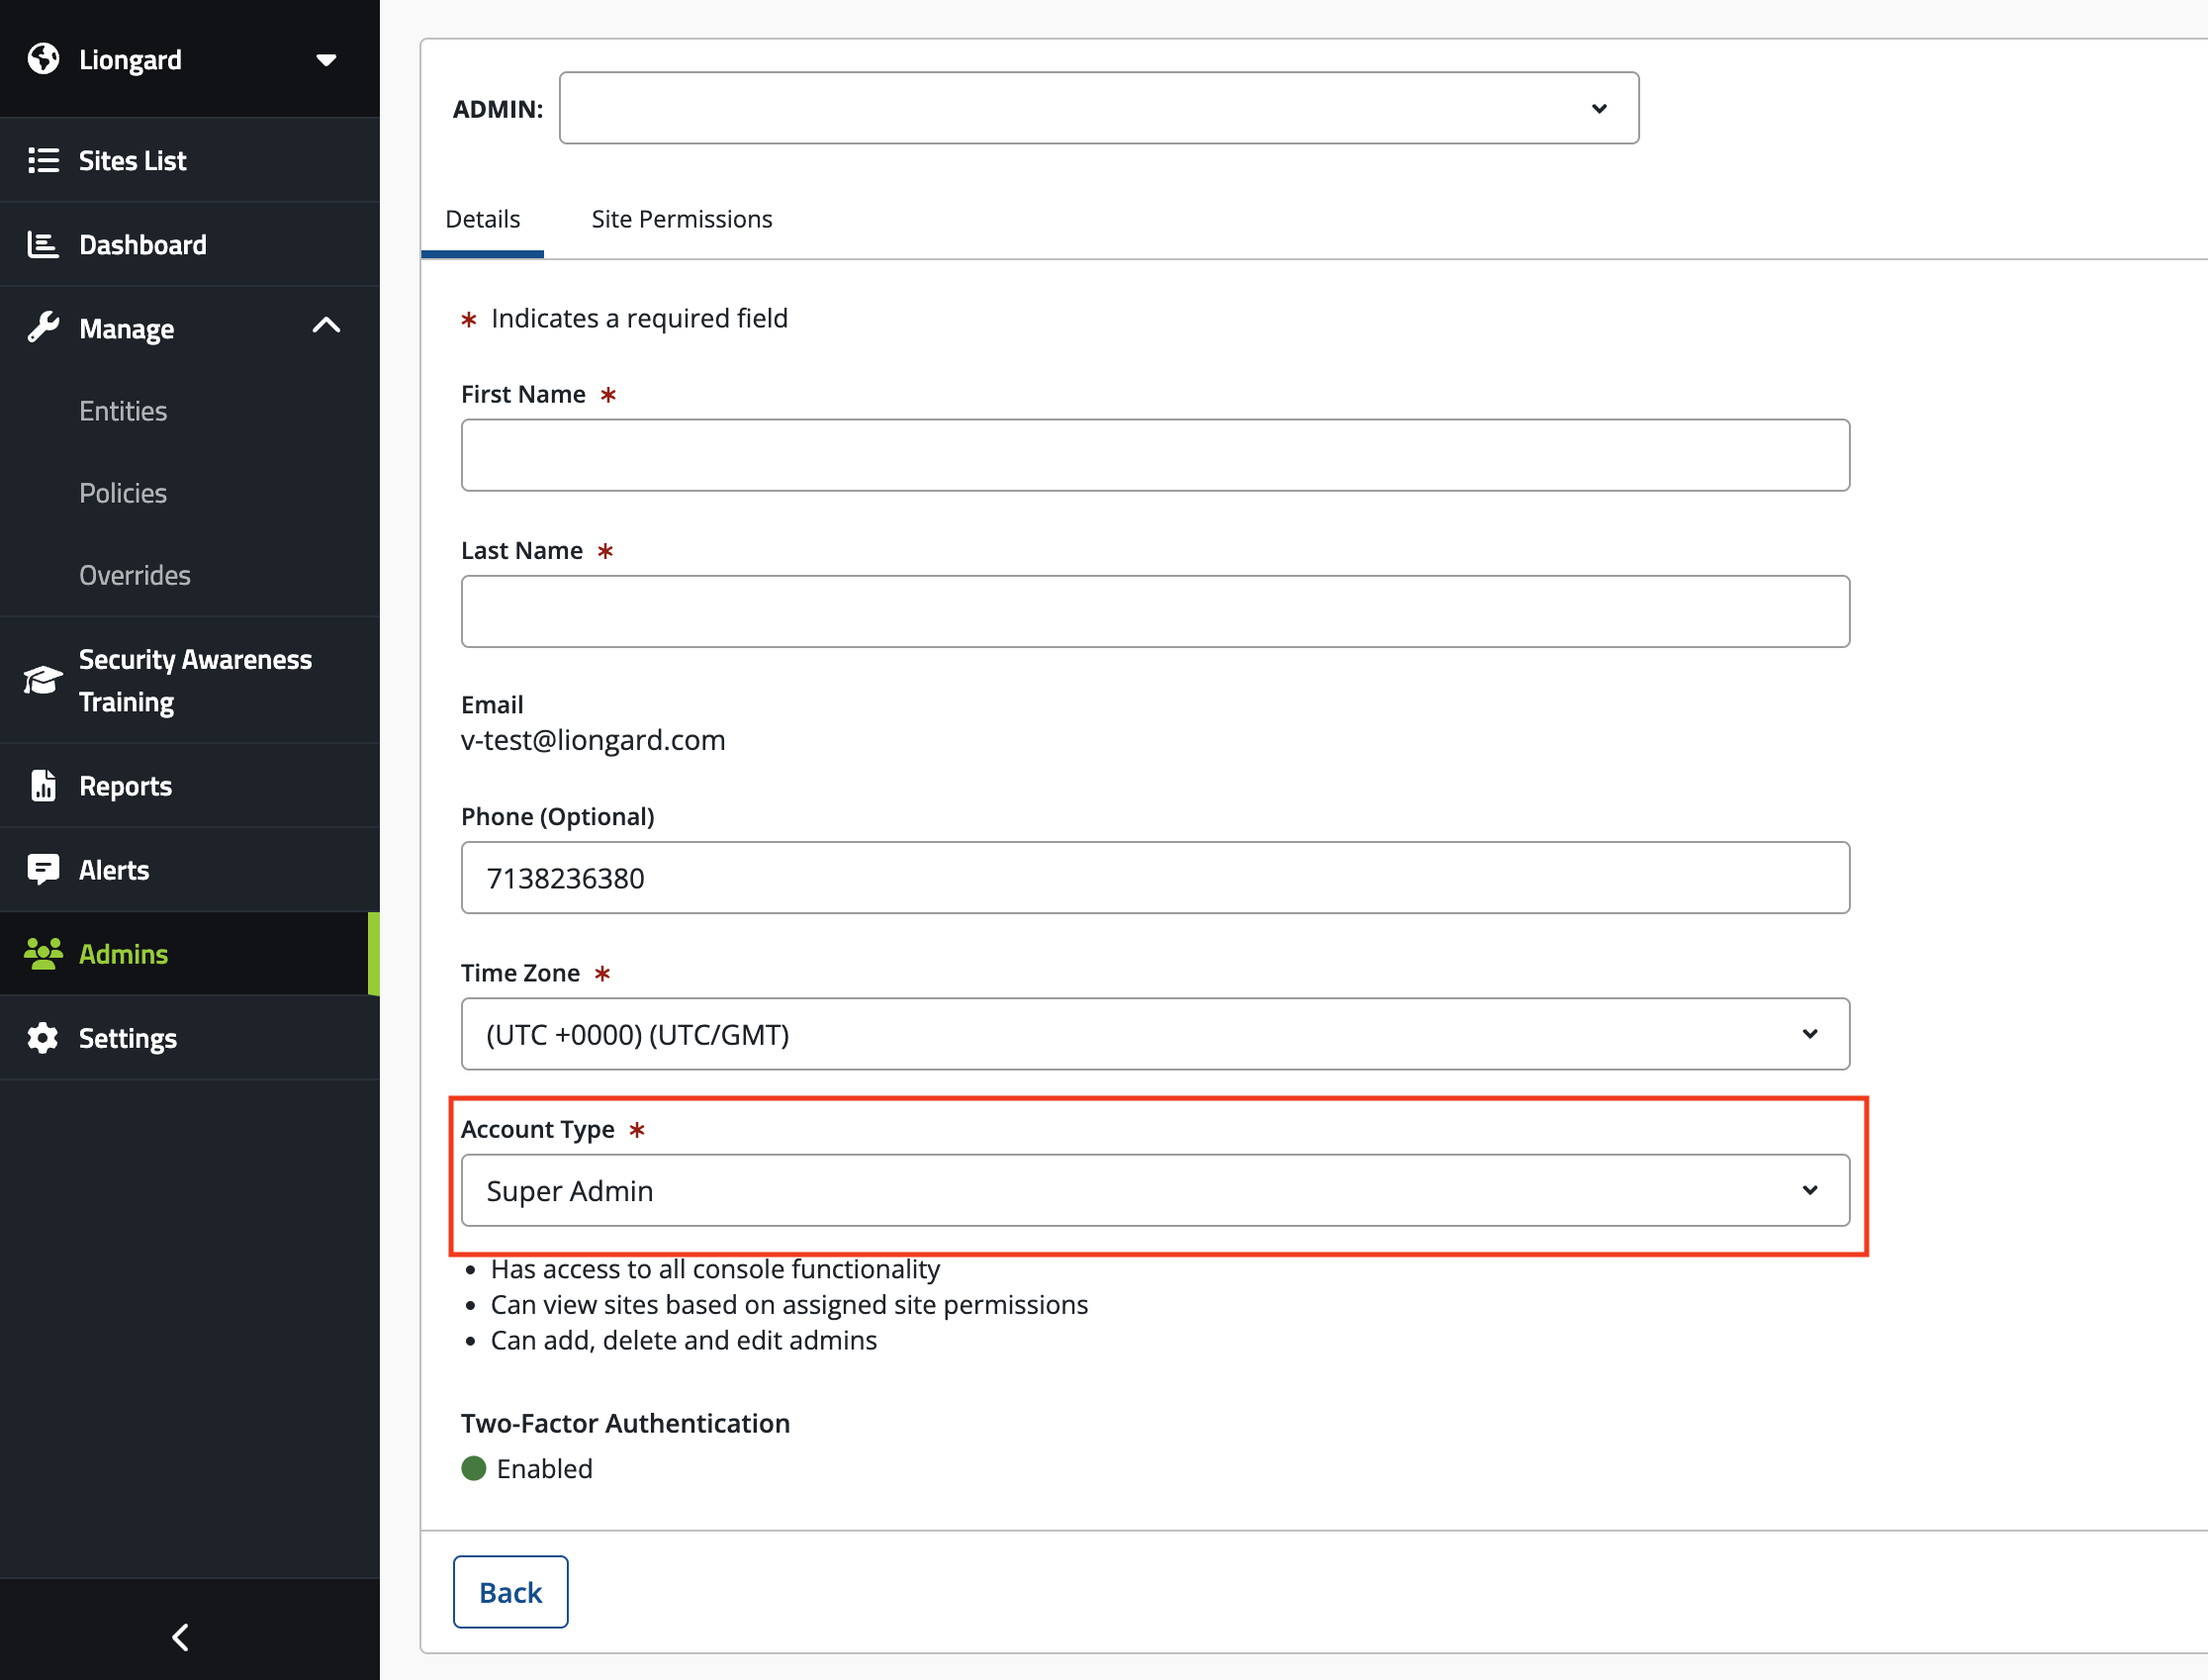
Step 3: Verify Admin Rights for User Account
In addition to the API Keys, the Webroot API also requires a username and password of a portal user account.
- Navigate to the Admin tab and select the Admin user that you would like Liongard to authenticate with. Ensure that this Admin user account is set to Admin on all sites under the Site Permissions tab.
- Make note of the email address. You will need this and the user password for the next step.
- Select the user. The details for the user will appear in the right pane.
- Look under Account Type to ensure that the user has Super Admin or Limited Admin selected.
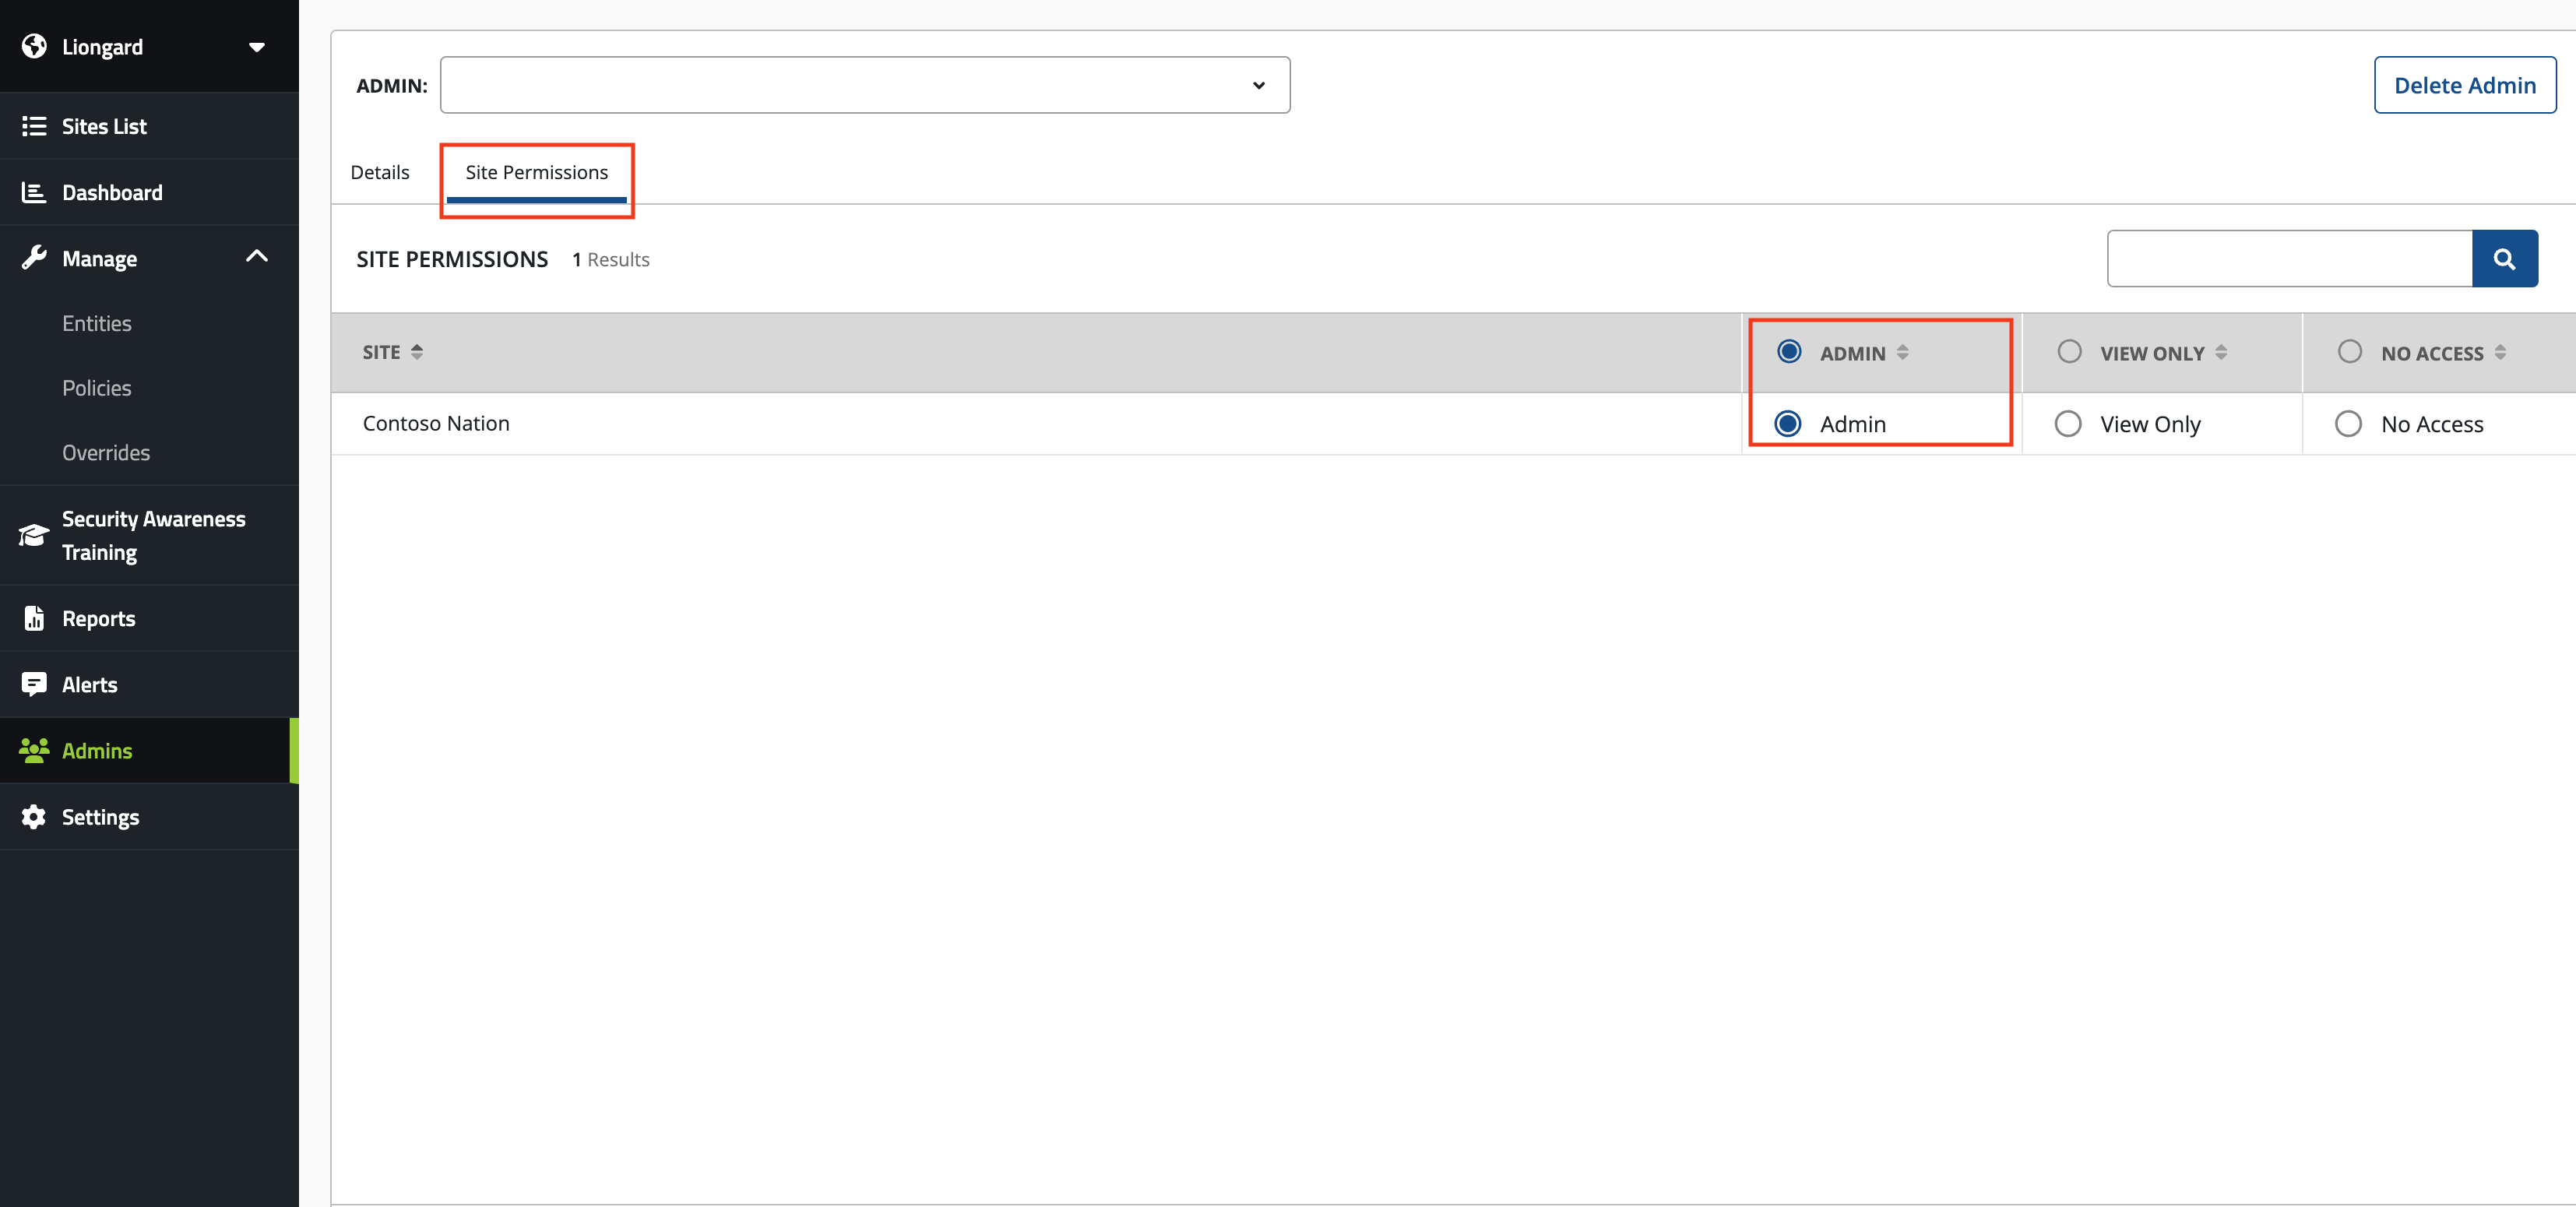
Step 4: Verify Site Permissions
Click on the Site Permissions tab and ensure that the Webroot Admin account must has “Admin” selected on all sites.
Webroot User Information
The Webroot Inspector only pulls Admin Users across each of your Webroot sites.
Liongard Inspector Setup
Step 1: Parent Inspector Setup
Since Webroot is a multi-tenant system where a single portal is used to manage many Environments, you will set up a single "Parent" Inspector with the access credentials for your Webroot portal that will then auto-discover "Child" Inspectors for each Environment.
In Liongard, navigate to Admin > Inspectors > Inspector Types > Navigate to the Webroot Inspector > Add System.
Fill in the following information:
- Type of Inspector: Parent
- Environment: Select your MSP's Environment
- Friendly Name: Suggested Naming: [MSP Name] Webroot Parent
- Agent: Select On-Demand Agent
- Inspector Version: Latest
- Portal Admin Username: Email address of admin credential identified above.
- This is not your API Key information. This is the email address used to login interactively to the Webroot portal.
- Portal Admin Password: Password for the above portal username.
- API Key- Client ID: The Client ID from the API (this should start with _client__)
** API Key- Client Secret: The Client Secret from the API - GSM Parent Keycode: The Parent Keycode found in prior step
- Scheduling: The Inspector will default to run once a day at the time the Inspector is set up. Here you can adjust the schedule
Select Save. The Inspector will now be triggered to run within the minute
Step 2: Child Inspector Setup
After the first run of the Parent Inspector, your client Webroot organizations will be Auto-Discovered in the Discovered Systems tab on the Inspectors > Webroot page.
Navigate to the Discovered Systems tab in your Inspectors > Webroot page
- Activate or Archive your Discovered Systems by ensuring that they're mapped to the correct Environment > Check the checkbox to the left of Inspector(s) > Select the Actions drop down menu > Activate Launchpoints
Optional: Turn on Flexible Asset/Configuration Auto-Updating
If you would like this Inspector's data to be sent to ConnectWise and/or IT Glue, turn on Flexible Assets/Configurations for this Inspector:
- ConnectWise: Admin > Integrations > ConnectWise > Configuration Types > Confirm the "Configuration Auto-Updating" toggle is enabled
- IT Glue: Admin > Integrations > IT Glue > Flexible Assets > Confirm the "Flexible Asset Auto-Updating" toggle is enabled
Common Setup Issues
401 Unauthorized - The client could not be authenticated.
This may indicate that the token used for authentication is invalid or has expired. Please confirm that your API key information and Parent Keycode (also known as GSMKey or GSM Console Key) are both correct. (Step 1 and Step 2)
403 Forbidden - The server understood the request, but is refusing to fulfill it.
The Webroot portal account being used does not have the correct permissions. Please ensure that the portal account that is used to configure the inspector has the Super Admin or Limited Admin role assigned. (Step 3)
Updated 5 months ago